
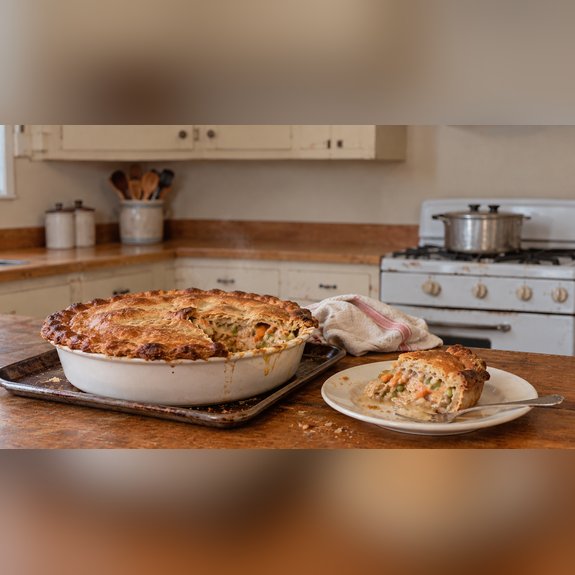
The pot pie I taught for thirty-four years: a thick filling, a crisp bottom crust, and a slice that holds its shape.
Pot pie week was the week my students always remembered. For a lot of them it was the first crust they ever made by hand, and it was the week they learned that a recipe can be followed perfectly and still come out wrong.
I learned that one myself. My very first year of teaching, nineteen eighty, I had twenty-two freshmen and six ovens, and we made pot pies on a Friday straight out of an old church cookbook. Every single pie came out with a wet, gray bottom.
One boy held his up on a fork and the bottom crust slid off like a wet leaf. I went home and called my own old home ec teacher, Miss Opal, and she asked me one question: “You sealed the bottom, didn’t you?” I hadn’t. I never taught a pot pie without sealing it again.
So this is the pot pie I taught after that. It takes a little longer than the soup-can version, and every extra minute is there for a reason. I’ll tell you each reason below, and if you’d rather watch, it’s all in the video.
Watch: Why Your Chicken Pot Pie Goes SOGGY – The Home Ec Teacher’s Trick
Seven reasons pot pies go soggy (and what this recipe does about each)
7. Wet vegetables. Frozen peas and carrots are covered in frost, and frost is water. We thaw them and pat them dry.
6. A thin sauce. Canned soup is thin on purpose; it was made to be soup. We make a real sauce with butter and flour, thick enough to pass Miss Opal’s spoon test. And the chicken: we use thighs, which stay tender through two rounds of cooking.
5. Hot filling in a raw crust. Steaming filling melts the cold butter in the pastry before the oven can turn it into flakes. We cool the filling first.
4. A bottom crust with no head start. It sits under a pound of wet filling. We bake it on its own first (blind baking), then brush the inside with egg while it’s hot. The egg cooks into a thin seal, like a raincoat for the crust.
3. Too much filling and nowhere for the steam to go. We fill it level with the rim and cut slits in the top.
2. A pale top. Egg and a little milk on top, and a hot oven, about 400°F.
1. The heat is all at the top. We bake it low, on a sheet pan that’s been heating on the bottom rack, and let it rest 15 minutes before cutting.
About the ingredients
Chicken thighs, not breast. Breast gets cooked twice in a pot pie, once in the pan and again in the oven, and turns stringy. Thighs stay tender and taste like more. Poaching them in the broth means the broth tastes like chicken before it ever goes into the sauce. Leftover roast chicken or a store rotisserie chicken works too (see the notes in the card).
Frozen or fresh vegetables. Either is fine. Frozen peas and carrots get thawed under warm water and patted dry on a clean towel. Using fresh carrots and peas? Dice them small and cook them with the onion until they stop looking wet.
Broth. Use low-sodium. The sauce cooks down and gets saltier, and you can always add salt at the end.
Butter and flour. This is the old way of thickening, and it’s what makes the sauce thick enough to stand up in the slice. Don’t rush the minute or two of cooking the flour; that’s what takes away the raw flour taste.
Store-bought or homemade crust. A box of refrigerated pie crusts works well, and that’s what most of my students’ families had at home. If you’d like to make your own, the recipe is in the card notes. Either way, keep it cold until it goes in the oven.
The egg. One egg does two jobs: the seal inside the bottom crust, and the shine on top. You’re already holding it.
How it comes together
- Poach the chicken in the broth. Gentle bubbles only.
- Thaw and dry the vegetables.
- Make the sauce and do the spoon test. Run your finger across the back of a coated spoon; if the line stays clean, it’s ready.
- Cool the filling in a wide dish until just warm, or overnight in the refrigerator.
- Blind bake the bottom crust until the edges are the color of a cracker.
- Seal it with egg while it’s hot.
- Fill level, top, crimp and cut slits.
- Bake low, on the hot pan, until deep golden and bubbling through the slits. Then rest 15 minutes.
The full measurements and times are in the recipe card below.
Cooking for two
Walt and I can’t finish a whole pie in one go, and we don’t try. Two ways to handle it:
- Half tonight, half later in the week. Cover the rest and keep it in the refrigerator. It warms up best in the oven, not the microwave, so the crust stays crisp.
- Two small pies, one for the freezer. Divide everything between two small metal or foil pie pans. Bake one tonight. Give the other one’s bottom crust its head start and its egg too, fill it with cold filling, put the top on, and wrap it, unbaked, tight in plastic wrap and then foil. On a busy night it goes straight from the freezer into the hot oven, onto that hot pan. It just needs longer, until the filling bubbles up through the slits. Walt calls that one his rainy day pie. (Use metal or foil for a pie you’ll bake from frozen; glass can crack.)
About the money: a pan of homemade pot pie feeds the two of us for supper tonight and supper again later in the week, and you can see every piece of chicken in it.
Storing, freezing and warming it up
- Refrigerator: cool it, cover it and refrigerate within 2 hours of baking. It keeps 3 to 4 days.
- Freezer, baked: wrap slices or the whole pie tightly; keeps about 3 months for best quality. Thaw overnight in the refrigerator.
- Freezer, unbaked: see “Two small pies” above; bake from frozen.
- Warming up: in a 350°F oven until it’s hot all the way through, 165°F in the middle. Cover the top with foil if it browns too fast.
When it goes wrong
- The filling runs across the plate: the sauce was too thin, or it was cut before its 15-minute rest.
- The bottom is gummy: the bottom crust needed its head start and its egg, or the pie wasn’t on the hot pan.
- The top burned before the bottom was done: the pie was sitting too high in the oven.
- The crust is tough instead of flaky: the dough was handled too much, or the butter got warm.
[Fix-It Card sign-up: Kit form]
Already baked, and it’s soggy anyway? My Pot Pie Fix-It Card is one page you can print and keep by the stove: what to do when the filling is runny, the bottom is wet, the top is too dark or it’s too salty, even after it’s on the table. Tell me where to send it, and I’ll send you each new Fix-It Card as I make them.
[First name] [Email] [Send me the Fix-It Card]
No spam. Unsubscribe any time.
Ingredients
For the chicken
- 1 1/2 pounds boneless, skinless chicken thighs (about 5)
- 2 1/2 cups low-sodium chicken broth
For the filling
- 1 1/2 cups frozen peas and carrots
- 5 tablespoons butter
- 1 small onion, diced (about 1 cup)
- 1 rib celery, diced (optional)
- 1/3 cup all-purpose flour
- 1 3/4 cups of the broth from poaching the chicken
- 1/2 cup whole milk
- 1/2 teaspoon dried thyme
- 1/2 teaspoon salt, plus more to taste
- 1/4 teaspoon black pepper
For the crust
- 2 refrigerated pie crusts (one box), or a homemade double crust (see notes)
- 1 large egg
- 1 tablespoon milk
Instructions
- Poach the chicken. Put the thighs in a saucepan, pour in the broth and bring to a gentle simmer. Cover and cook at a low simmer 15 to 20 minutes, until the thickest piece reads at least 165°F. Lift out the chicken, let it cool, then cut or shred it into bite-size pieces. Measure 1 3/4 cups of the broth for the sauce (add water if you’re short).
- Dry the vegetables. Put the frozen peas and carrots in a colander and run warm water over them until thawed. Spread them on a clean towel and pat dry.
- Make the sauce. In a wide pan over medium heat, melt the butter. Add the onion (and celery) and cook about 5 minutes, until soft and no longer wet. Stir in the flour and cook 1 to 2 minutes, stirring. Slowly pour in the 1 3/4 cups broth, stirring the whole time, then the milk. Let it bubble gently 3 to 5 minutes, until thick.
- Do the spoon test. Dip a spoon in the sauce and run a finger across the back. If the line stays clean, it’s thick enough; if it runs together, cook a few minutes more. It should be thicker than you think. Stir in the thyme, salt, pepper, chicken and vegetables. Taste for salt.
- Cool the filling. Spread it in a wide dish and let it cool until just warm, about 30 minutes, or cover and refrigerate up to 1 day.
- Heat the oven and the pan. Put a rimmed sheet pan on the lowest oven rack and heat the oven to 400°F.
- Give the bottom crust its head start. Fit one crust into the pie plate and chill 15 minutes. Line with foil, fill with dried beans or pie weights, and bake on the hot sheet pan 15 minutes. Lift out the foil and beans and bake 3 to 5 minutes more, until the bottom looks dry and the edges are the color of a cracker.
- Seal it with egg. Beat the egg in a small bowl. As soon as the crust comes out, brush a thin coat over the inside while it’s hot. Stir the 1 tablespoon milk into the egg that’s left for the top.
- Fill and top. Spoon in the cooled filling, level with the rim, not mounded. Lay the second crust over the top, trim, fold the edge under and crimp. Cut 3 or 4 slits. Brush the top with the egg and milk.
- Bake low, on the hot pan. Set the pie on the hot sheet pan on the lowest rack. Bake 30 to 35 minutes, until the top is deep golden and the filling bubbles through the slits. If the edges brown too fast, cover them with strips of foil.
- Rest 15 minutes before cutting, so the filling sets and stays in the slice.
Notes
- Leftover roast chicken, rotisserie chicken or turkey: use 3 cups cooked meat and 1 3/4 cups store-bought low-sodium broth; skip step 1.
- Two small pies: divide the crust and filling between two 5- to 6-inch metal or foil pie pans (or dishes marked freezer-to-oven safe). Bake one as above (start checking at 25 minutes). For the other, blind-bake and egg-seal its bottom crust too (steps 7 and 8), let it cool completely, then fill with cold filling, top, crimp and cut the slits. Wrap it tight in plastic wrap and then foil, and freeze up to 3 months.
- Baking a frozen pie: use a metal or foil pan for a pie you’ll bake from frozen; glass can crack. Don’t thaw it. Bake at 400°F on the hot sheet pan, lowest rack, 50 to 60 minutes, until the filling bubbles through the slits and the center reads 165°F. Cover the top with foil if it browns before the center is hot.
- Leftovers: refrigerate within 2 hours, covered, 3 to 4 days. Reheat in a 350°F oven until 165°F in the middle.
- Homemade double crust: whisk 2 1/2 cups all-purpose flour and 1 teaspoon salt; cut in 1 cup (2 sticks) cold butter, cubed, until the pieces are the size of peas; sprinkle in 6 to 8 tablespoons ice water a tablespoon at a time, just until the dough holds when squeezed. Divide in two discs, wrap and chill at least 1 hour. Roll each to about 12 inches. Handle it as little as you can.
- Nutrition: let WP Recipe Maker calculate it, or leave it off. Never type numbers by hand.
Want my Pot Pie Fix-It Card for when it goes wrong? It’s right below.
Questions people ask me
Can I use a store-bought crust?
Yes. A box of refrigerated pie crusts has two, one for the bottom and one for the top. Keep them cold, and still give the bottom one its head start and its egg.
Can I make it ahead?
The filling, yes: up to a day ahead, covered in the refrigerator. That’s actually the best way, because a cold filling makes the flakiest crust. You can also put the whole pie together, with its bottom crust blind-baked and sealed, and freeze it unbaked in a metal or foil pan (see “Cooking for two”).
Do I really have to blind bake the bottom crust?
If you want a bottom you can pick up, yes. It’s about 20 minutes, and you can do it while the filling cools. If you’d rather skip it, make a top-crust-only pie instead.
Can I make it with just a top crust?
Of course. My mother made hers that way, because flour was dear and she didn’t waste a scrap. Put the cooled filling in a baking dish, lay the crust over it, cut the slits and bake. No bottom crust means no soggy bottom.
Can I use leftover turkey?
Yes. Use 3 cups of cooked turkey in place of the chicken, and store-bought low-sodium broth for the sauce. It’s a good home for the day after Thanksgiving.
Come back and tell me how it turned out. And tell me, top crust only, or top and bottom in your house?
Clean plates. That’s the only review I ever trusted.
Miss Peggy
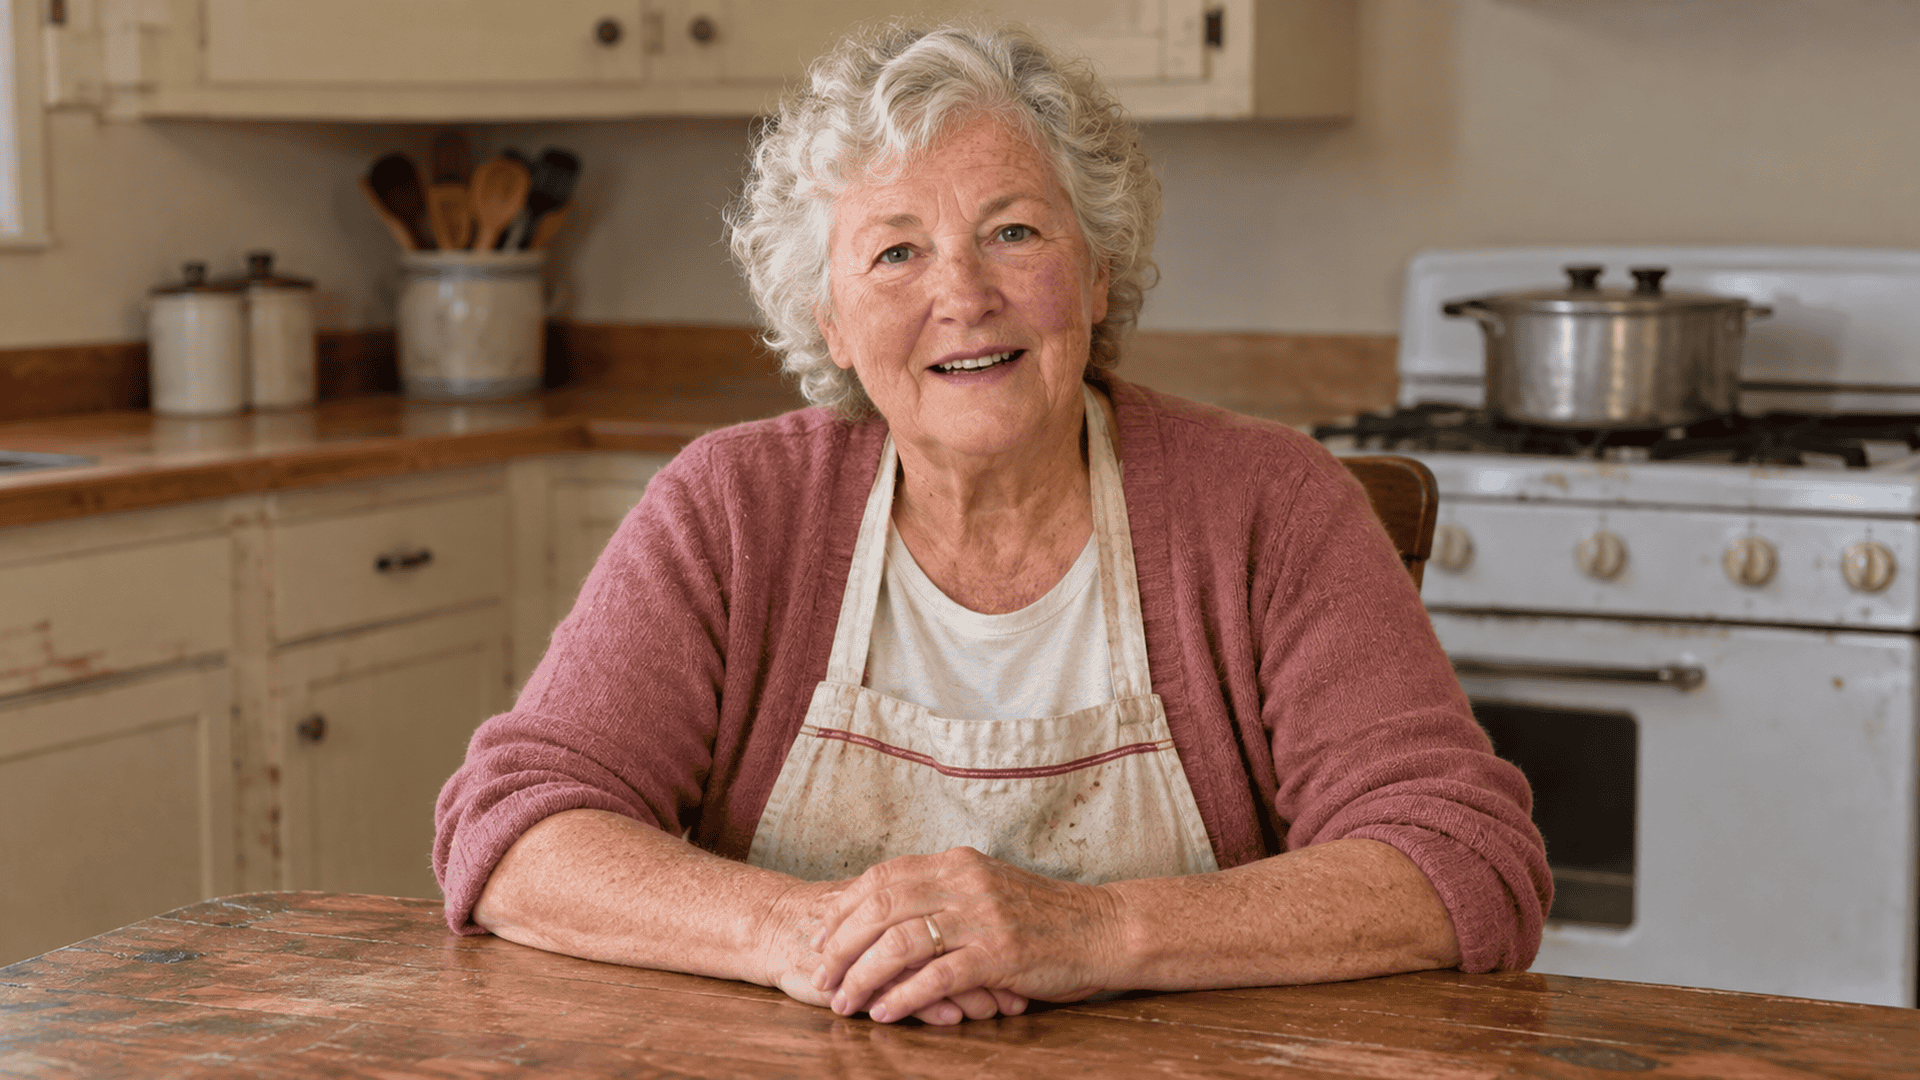
Miss Peggy taught home economics for thirty-four years at the high school in Tell City, Indiana. Now she cooks for two, her and Walt, and she still believes most kitchen failures have a simple, oldfashioned fix.