
Imagine crafting Chocolate Blossom Cookies in your kitchen, where each step transforms simple ingredients into a delicious masterpiece.
You’ll find the balance of cocoa’s rich depth and delicate sweetness intriguing, as precision and creativity converge.
With butter, sugar, and cocoa powder forming the basis, anticipation builds.
The addition of a chocolate kiss atop each cookie promises a delightful contrast.
Curious to discover the artistry behind this classic treat?
Kitchen Tools Required
- 1 Mixing bowl
- 1 Electric mixer
- 1 Baking sheet
- 1 Cooling rack
- 1 Tablespoon
- 1 Wire whisk
Ingredients
- 1/2 cup unsalted butter, softened
- 3/4 cup granulated sugar
- 1 egg
- 1 teaspoon vanilla extract
- 1 1/2 cups all-purpose flour
- 1/3 cup unsweetened cocoa powder
- 1 teaspoon baking soda
- 1/4 teaspoon salt
- 24 chocolate kisses, unwrapped
Cook & Prep Time
To efficiently manage your time while making Chocolate Blossom Cookies, follow this timeline based on the prep, cook, and resting times:
- Prep Time (15 minutes):
- 0:00 – 1:00 minutes: Gather all the ingredients and equipment (mixing bowl, electric mixer, baking sheet, cooling rack, tablespoon, wire whisk).
- 1:00 – 5:00 minutes: Preheat the oven to 350°F (175°C).
- 5:00 – 10:00 minutes: Cream together the softened butter and sugar until light and fluffy using the electric mixer.
- 10:00 – 12:00 minutes: Add the egg and vanilla extract to the butter mixture and beat until well combined.
- 12:00 – 14:00 minutes: In a separate bowl, whisk together the flour, cocoa powder, baking soda, and salt.
- 14:00 – 15:00 minutes: Gradually add the dry ingredients to the wet ingredients and mix until a dough forms.
- Cooking Time (8 minutes):
- 15:00 – 16:00 minutes: Scoop tablespoon-sized amounts of dough and roll them into balls.
- 16:00 – 17:00 minutes: Place the dough balls onto a baking sheet, leaving space between each.
- 17:00 – 25:00 minutes: Bake in the preheated oven for 8 minutes.
- Immediate Action Post Baking:
- 25:00 – 26:00 minutes: Remove the cookies from the oven and immediately press a chocolate kiss into the center of each cookie.
- Resting Time (10 minutes):
- 26:00 – 36:00 minutes: Transfer the cookies to a cooling rack and allow them to rest before serving.
Recipe
Chocolate Blossom Cookies are a delightful treat that combines the rich flavor of chocolate with the classic sweetness of a soft, chewy cookie.
These cookies are perfect for any occasion, whether you’re entertaining guests, celebrating a holiday, or simply indulging in a sweet craving.
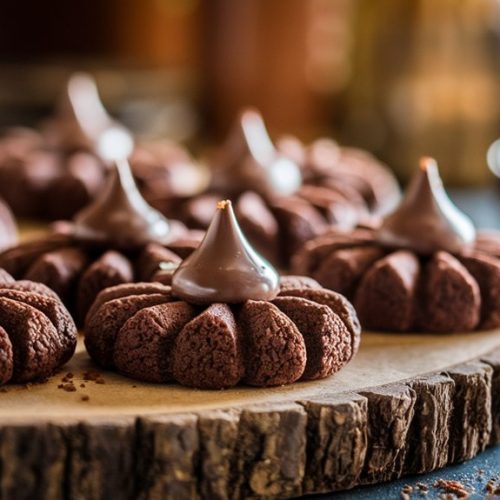
The combination of a chocolate cookie base topped with a single, irresistible chocolate kiss creates a delectable dessert that’s both simple to make and visually appealing.
To create these delicious cookies, you’ll start by preparing a chocolate-infused dough using a mixture of softened butter, sugar, egg, and vanilla, combined with dry ingredients like flour and cocoa powder.
The dough is then rolled into small balls, baked, and topped with a chocolate kiss, which adds an extra layer of indulgence.
The result is a batch of cookies that are soft in the center with a delightful chocolatey finish.
To make the cookies, preheat your oven to 350°F (175°C).
In a mixing bowl, cream together the softened butter and granulated sugar until the mixture becomes light and fluffy.
Add in the egg and vanilla extract, mixing until fully incorporated.
In a separate bowl, whisk together the all-purpose flour, unsweetened cocoa powder, baking soda, and salt.
Gradually add the dry ingredients to the wet mixture, stirring until a dough forms.
Scoop tablespoon-sized portions of dough, shape them into balls, and arrange them on a baking sheet, leaving space between each.
Bake the cookies for 8 minutes.
Once out of the oven, immediately press a chocolate kiss into the center of each cookie.
Transfer them to a cooling rack and allow them to rest for 10 minutes before serving.
For the best results, make sure your butter is thoroughly softened before beginning.
This will help achieve a smooth, creamy texture when creaming it with sugar.
It’s also essential not to overbake the cookies; remove them from the oven when they’re just set to maintain a soft, chewy center.
If you prefer a less sweet option, consider using dark chocolate kisses instead of the traditional milk chocolate ones for a richer flavor profile.
Cooking Steps
You’ll start by setting your oven to 350°F, ensuring it’s perfectly preheated for that ideal bake.
Cream the softened butter and sugar to a light, airy consistency, then introduce the egg and a splash of vanilla to create a smooth, aromatic blend.
In a separate vessel, whisk together the flour, cocoa, baking soda, and salt, before elegantly merging these dry ingredients with the wet mixture to form a cohesive, chocolatey dough.
Step 1. Preheat Oven to 350°F
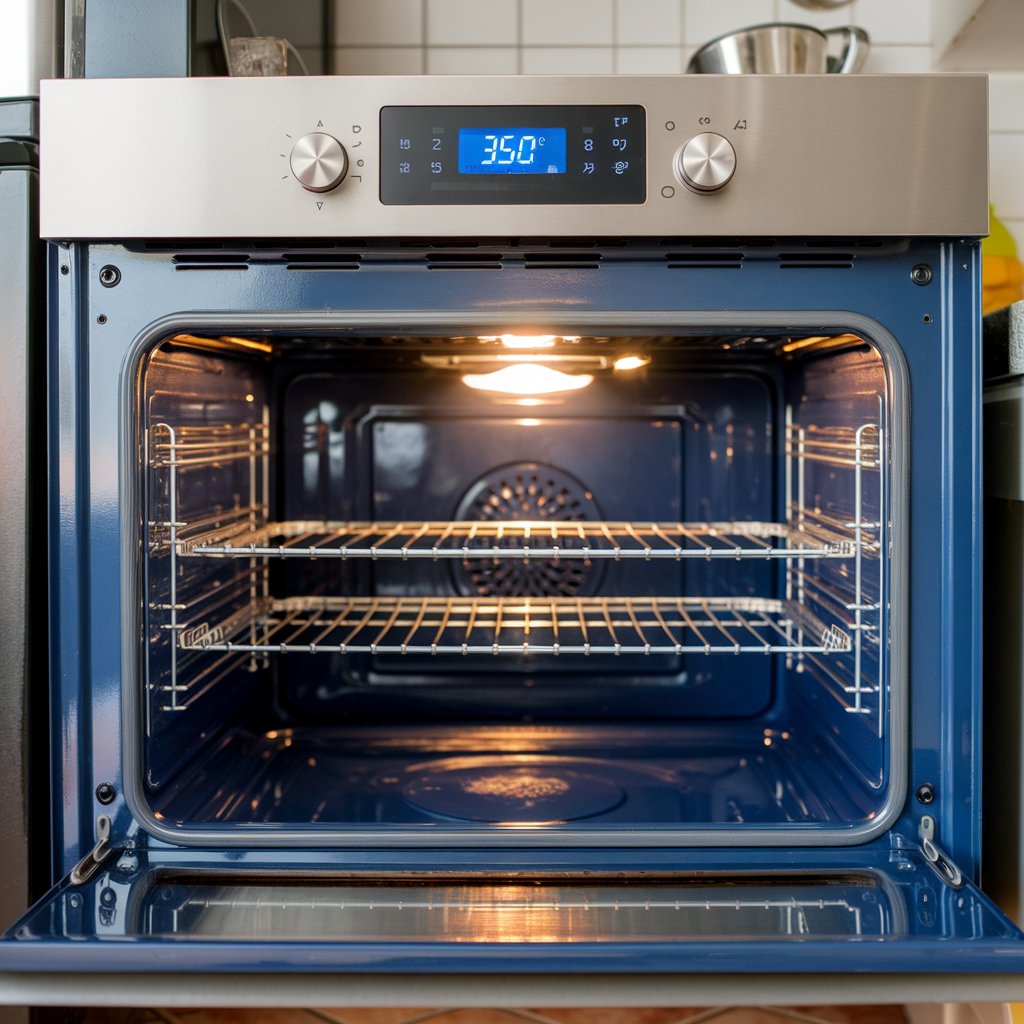
Although often overlooked, preheating the oven to 350°F (175°C) is an important step that sets the stage for perfectly baked Chocolate Blossom Cookies.
By reaching this precise temperature, you guarantee that your cookies bake evenly, achieving a harmonious balance between a tender interior and a slightly crisp exterior.
As you prepare your ingredients, switch on your oven to allow it ample time to warm up.
This will create a consistent heat environment, vital for activating the baking soda and guaranteeing the dough rises properly.
Think of it as setting the atmosphere for your culinary creation, where every ingredient plays its part under the spotlight.
Without this step, you risk uneven baking and compromised texture, so don’t skip it!
Step 2. Cream Butter and Sugar Together
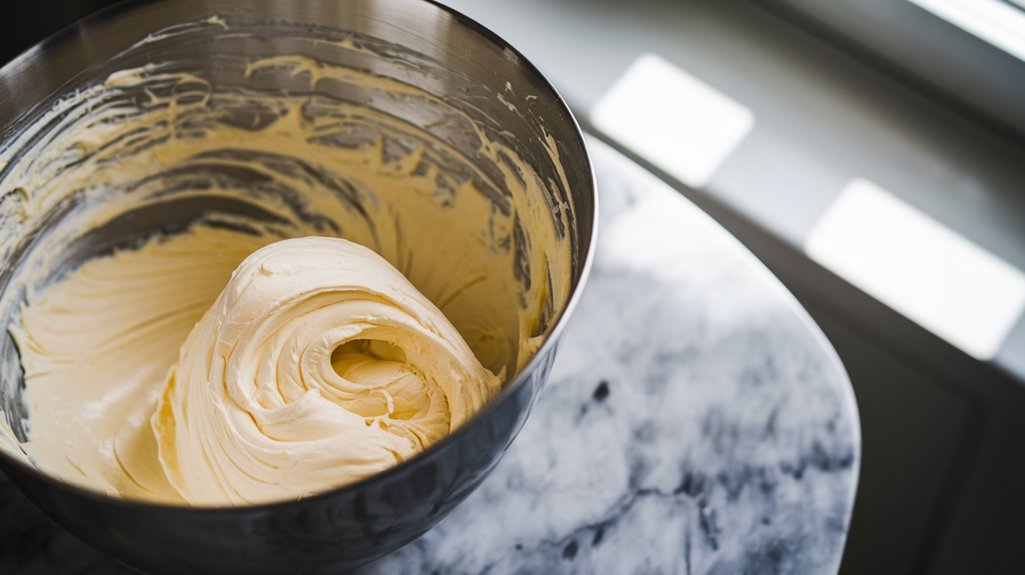
Begin by gently creaming the butter and sugar together until they’re light and fluffy, creating the perfect base for your Chocolate Blossom Cookies.
Use a softened, unsalted butter, allowing it to meld seamlessly with the granulated sugar.
Precision is key—ensure the butter is at room temperature to achieve an airy consistency.
As you mix, watch for the transformation: a pale, voluminous texture that’s akin to whipped cream.
This stage infuses air into the mixture, essential for the tender crumb of your cookies.
Employ an electric mixer for efficiency, but embrace the rhythm and artistry of the process.
The sugar crystals help aerate the butter, forming a harmonious blend that sets the stage for the remaining ingredients.
Step 3. Add Egg and Vanilla Extract
With the butter and sugar now perfectly creamed, it’s time to enrich your mixture by incorporating the egg and vanilla extract.
Crack the egg carefully into the bowl, ensuring no shell fragments sneak in.
Pour in the aromatic vanilla extract, letting its rich essence mingle with the creamy blend.
Use your electric mixer to beat the ingredients together until the mixture is smooth and uniform. This step is essential for:
- Emulsifying the fats and liquids, ensuring a tender cookie crumb.
- Infusing the dough with a subtle, fragrant vanilla aroma.
- Binding the ingredients, setting the stage for a cohesive dough.
- Enhancing the overall flavor, elevating your cookies’ taste profile.
- Providing structure, vital for a perfect bake.
You’ve prepared a luscious, velvety base for your cookies.
Step 4. Mix Dry Ingredients Separately
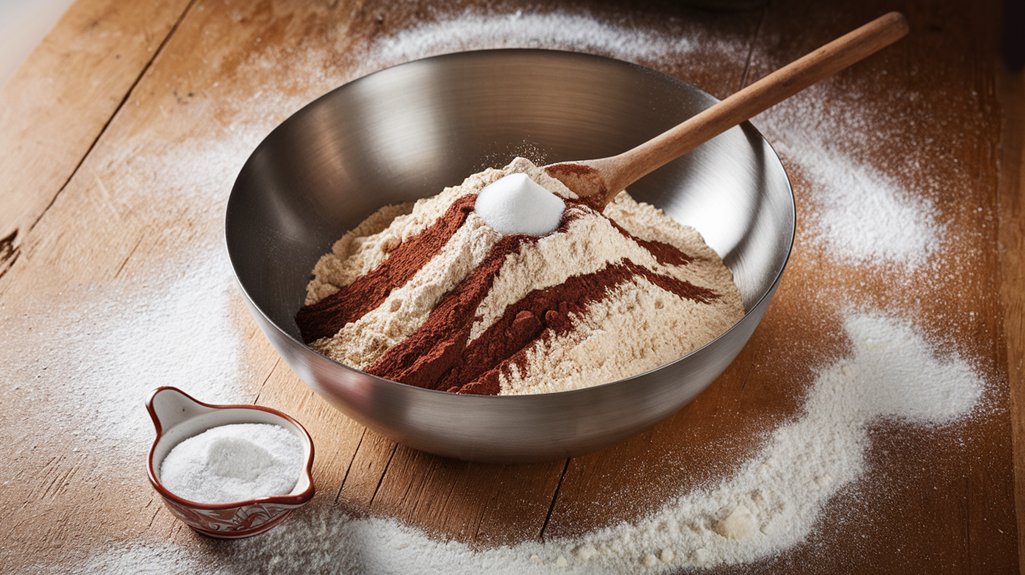
Before the dough can come together, you’ll need to create a harmonious blend of dry ingredients.
Begin by whisking all-purpose flour, unsweetened cocoa powder, baking soda, and salt in a mixing bowl.
This amalgamation guarantees even distribution and prevents clumps, enhancing the cookie’s texture and flavor.
Embrace the precision of your measurements, as each ingredient plays a crucial role in the final symphony of taste.
Here’s a quick reference to guide you:
| Ingredient | Amount | Purpose |
|---|---|---|
| All-Purpose Flour | 1 1/2 cups | Structure and body |
| Cocoa Powder | 1/3 cup | Chocolate flavor |
| Baking Soda | 1 teaspoon | Leavening |
| Salt | 1/4 teaspoon | Flavor enhancer |
Mix these components artfully, guaranteeing a uniform blend before proceeding to the next step.
Step 5. Combine Wet and Dry Ingredients
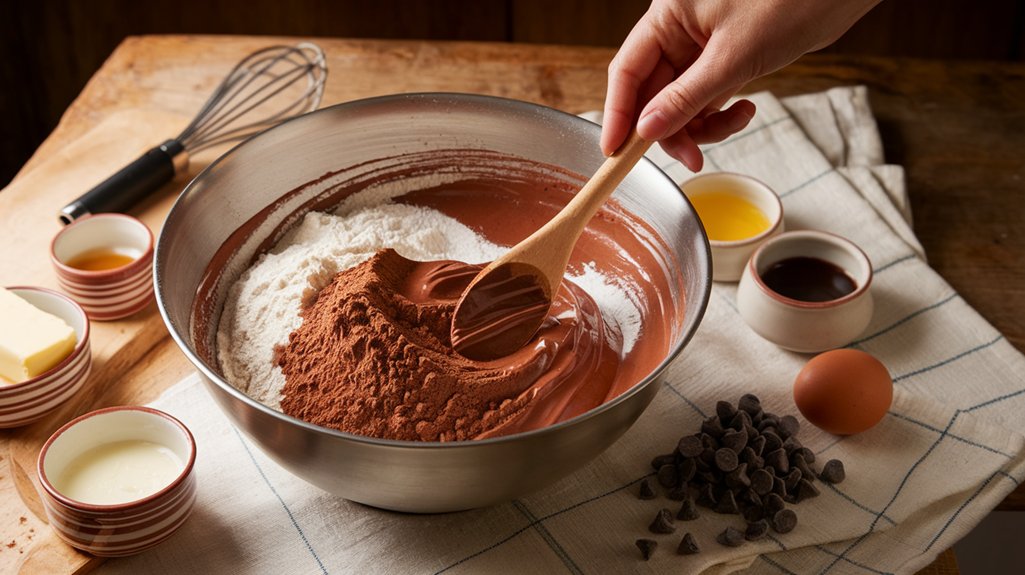
As you commence on the next phase of crafting these delightful cookies, gradually introduce the dry ingredients to the wet mixture you’ve expertly prepared.
Pour the flour, cocoa powder, baking soda, and salt into your creamed butter, sugar, egg, and vanilla concoction.
Use precision and patience to guarantee a homogeneous blend.
Stir until a cohesive dough forms, manifesting a rich, chocolatey hue.
Notice the transformation as textures meld perfectly together.
- Achieve balance: Blend without overmixing.
- Texture: Aim for a smooth, pliable dough.
- Consistency: Guarantee even distribution of dry components.
- Aroma: Enjoy the scent of cocoa enveloping the kitchen.
- Preparation: Ready the dough for shaping into balls.
This is where your cookie craftsmanship truly begins, setting the stage for delicious perfection.
Serving Tips
- Glass of Milk: Pair the cookies with a cold glass of milk for a classic and comforting combination.
- Ice Cream: Serve the cookies with a scoop of vanilla or chocolate ice cream to create a delightful dessert duo.
- Coffee or Hot Chocolate: Enjoy the cookies with a warm cup of coffee or hot chocolate for a cozy treat.
- Fruit Platter: Balance the sweetness of the cookies with a fresh fruit platter for a revitalizing contrast.
- Whipped Cream: Add a dollop of whipped cream on top of each cookie for an extra creamy and indulgent touch.
Storage/Freezing/Reheating
Storage: Store chocolate blossom cookies in an airtight container at room temperature for up to one week.
To maintain freshness, consider placing a piece of bread inside the container to prevent them from drying out.
Freezing: To freeze, arrange the cookies in a single layer on a baking sheet and freeze until solid.
Transfer to a freezer-safe bag or container, separating layers with parchment paper. Freeze for up to three months.
Reheating: To reheat, place cookies on a baking sheet and warm them in a preheated oven at 300°F (150°C) for 5 minutes.
Alternatively, microwave each cookie for 10-15 seconds for a quick, soft treat.
Final Thoughts
After mastering the art of storage and reheating, let’s reflect on the delightful journey of creating Chocolate Blossom Cookies.
You’ve combined the science of baking with the joy of crafting edible art.
From creaming softened butter with sugar to achieving the perfect dough consistency, each step required precision.
The unsweetened cocoa powder added a rich depth, balanced by a hint of vanilla.
Baking at 350°F for just the right time guarantees a tender, chewy center, while a quick press of a chocolate kiss brings it all together.
These cookies aren’t just treats; they’re a reflection of your skill and knowledge.
Each ingredient played its part, and your careful technique brought them to life.
Enjoy every bite of this culinary masterpiece!
Frequently Asked Questions
Can I Make These Cookies Gluten-Free?
You can make these cookies gluten-free by substituting all-purpose flour with a gluten-free flour blend. Confirm the blend includes xanthan gum for structure. This swap maintains texture and flavor, creating delicious, gluten-free cookies without compromise.
What Is the Best Way to Soften Butter Quickly?
Place the butter between two sheets of wax paper, then gently pound it with a rolling pin. You can also slice the butter into small cubes or microwave it in 5-second intervals, checking frequently.
How Can I Prevent My Cookies From Spreading Too Much?
Chill your dough for at least 30 minutes before baking to prevent excessive spread. Guarantee precise measurements of flour and sugar. Master the art of creaming butter and sugar for a balanced structure. Maintain oven temperature accuracy.
Can I Substitute the Egg With a Vegan Alternative?
You can substitute the egg with a flaxseed mixture for a vegan twist. Simply combine one tablespoon of ground flaxseed with three tablespoons of water. Let it sit for a few minutes, then blend seamlessly into your dough.
How Do I Store Leftover Chocolate Kisses?
Store leftover chocolate kisses in an airtight container to maintain their freshness. Keep them in a cool, dry place away from direct sunlight. If you’ve got excess, consider freezing them for later use to retain their quality.
Chocolate Blossom Cookies
Equipment
- 1 Mixing bowl
- 1 Electric mixer
- 1 Baking sheet
- 1 Cooling rack
- 1 tablespoon
- 1 wire whisk
Ingredients
- 1/2 cup unsalted butter softened
- 3/4 cup granulated sugar
- 1 egg
- 1 teaspoon vanilla extract
- 1 1/2 cups all-purpose flour
- 1/3 cup unsweetened cocoa powder
- 1 teaspoon baking soda
- 1/4 teaspoon salt
- 24 chocolate kisses unwrapped
Instructions
- Preheat the oven to 350°F (175°C).
- In a mixing bowl, cream together the butter and sugar until light and fluffy.
- Add the egg and vanilla extract to the butter mixture and beat until well combined.
- In a separate bowl, whisk together the flour, cocoa powder, baking soda, and salt.
- Gradually add the dry ingredients to the wet ingredients and mix until a dough forms.
- Scoop tablespoon-sized amounts of dough and roll them into balls.
- Place the dough balls onto a baking sheet, leaving space between each.
- Bake in the preheated oven for 8 minutes.
- Remove from the oven and immediately press a chocolate kiss into the center of each cookie.
- Transfer the cookies to a cooling rack and allow them to rest for 10 minutes before serving.
Notes

Cynthia Weatherford is a seasoned chef and culinary enthusiast who serves as the Recipe creator of Somonday. With decades of experience in the kitchen and a passion for exploring diverse cuisines, Cynthia brings a blend of creativity and technique to every dish. Known for transforming simple ingredients into show-stopping meals, Cynthia believes that cooking is an art form anyone can master. Dedicated to inspiring home cooks, Cynthia shares approachable recipes, pro tips, and culinary wisdom to make every meal memorable.


