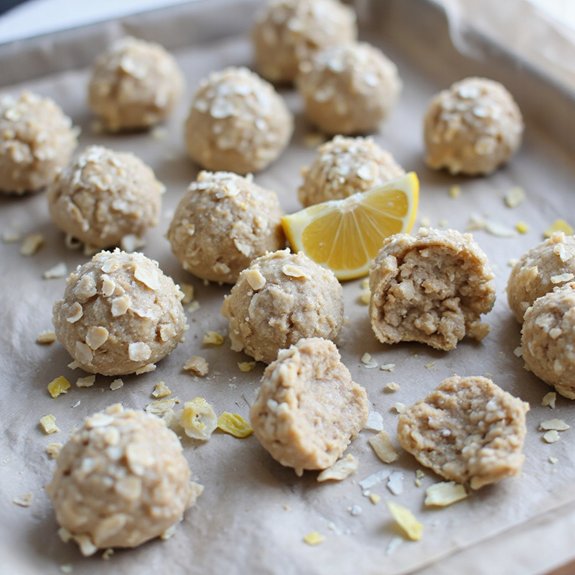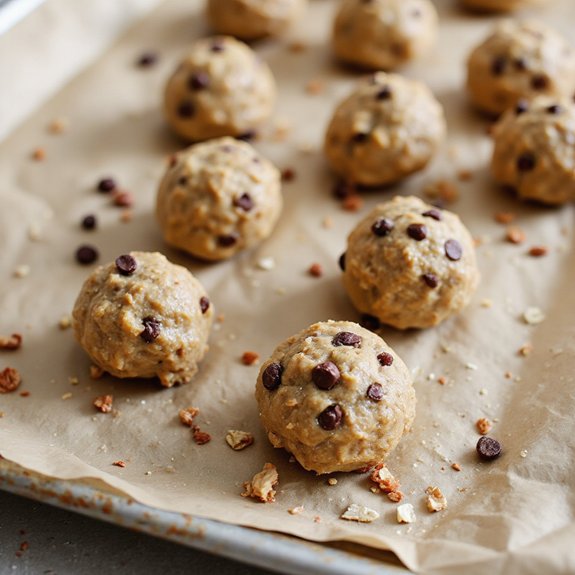
There’s something about rolling a tray of chocolate-flecked protein balls that feels both playful and deeply satisfying.
Picture smooth oats and nut butter coming together in a soft, cookie-dough–like mixture, dotted with melty chocolate chips and a hint of vanilla.
These bite-sized treats are a no-bake, grab-and-go snack that’s ready in about 15 minutes—perfect for busy mornings, afternoon slumps, or a quick post-workout boost.
They’re ideal for meal-preppers, families, beginners in the kitchen, and anyone who craves something sweet but still wants a bit of balance.
I first leaned on these protein balls during a hectic week of deadlines, when skipping snacks meant crashing by 3 p.m.
A batch in the fridge suddenly turned those chaotic days around—one or two bites, and I could keep going without raiding the vending machine.
They shine at lunchboxes, road trips, casual get-togethers, and late-night cravings. Ready to bring this snack to life?
Why You’ll Love It
- Delivers nostalgic chocolate chip cookie flavor in a nutritious, bite-sized snack.
- Packs protein, fiber, and healthy fats for satisfying, lasting energy.
- Uses simple pantry staples and comes together in just minutes.
- Requires no baking, making it perfect for quick, no-fuss prep.
- Stores and freezes well for grab-and-go snacks all week.
Ingredients
- 1½ cups rolled oats — use old-fashioned oats for best texture
- 1 cup natural peanut butter, creamy — stir well so the oil is evenly mixed
- ½ cup chocolate chips, mini — mini chips distribute more evenly
- ½ cup vanilla protein powder — pick a brand you like the taste of
- ¼ cup honey — adjust to taste for sweetness
- 1 teaspoon vanilla extract — real vanilla gives better flavor
- ¼ teaspoon fine sea salt — balances the sweetness
- 2 tablespoons ground flaxseed (optional) — adds fiber and healthy fats
- 2 tablespoons milk of choice, as needed — add only if mixture seems dry
Step-by-Step Method
Line the Tray
Prepare the base for chilling. Line a baking sheet or large plate with parchment paper or a silicone mat.
Make sure it lies flat so the balls don’t roll together.
Set it aside near your mixing area so you can transfer the protein balls quickly once they’re shaped and ready to chill.
Mix the Dry Ingredients
Combine the base mixture. Add rolled oats, vanilla protein powder, fine sea salt, and ground flaxseed if using to a medium mixing bowl.
Stir well with a wooden spoon or spatula until everything looks evenly distributed.
Break up any clumps so the dry ingredients mix smoothly with the wet ingredients later.
Add the Wet Ingredients
Incorporate the binders. Spoon natural creamy peanut butter, honey, and vanilla extract into the bowl with the dry mixture.
Make sure the peanut butter is at room temperature for easier mixing.
Scrape the sides of the measuring cups to get every bit into the bowl before you start stirring everything together.
Stir Until Combined
Bring the mixture together. Use a wooden spoon or spatula to stir thoroughly.
Press the mixture against the sides of the bowl to help the oats absorb the peanut butter and honey.
Continue mixing until it starts to clump and hold together, with no visible pockets of dry protein powder or oats remaining.
Fold in Chocolate Chips
Distribute the chocolate. Sprinkle mini chocolate chips over the mixture.
Gently fold them in with your spatula, turning the mixture from the bottom up.
Aim for even distribution so each protein ball has some chocolate throughout. Avoid overmixing to prevent melting the chips if your kitchen is warm.
Adjust the Consistency
Check the texture. Pinch a bit of mixture between your fingers. If it crumbles, add milk of choice 1 tablespoon at a time.
Stir after each addition until the mixture holds together when pressed.
Stop adding milk as soon as it forms a soft, cohesive dough that can be rolled into firm balls.
Roll into Balls
Shape the mixture. Scoop about 1 tablespoon of dough for each ball. Roll it between your palms until smooth and compact.
If the mixture sticks to your hands, lightly dampen them or chill the bowl briefly.
Aim for even sizes so they chill uniformly and are consistent for portion control.
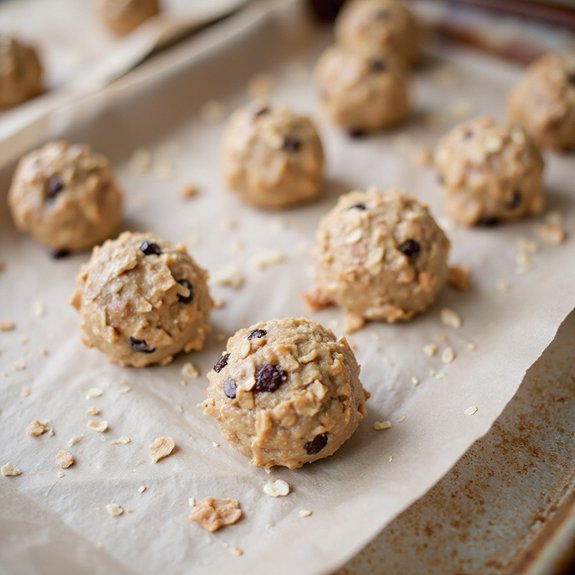
Arrange and Chill
Set the balls to firm. Place each rolled ball onto the prepared baking sheet or plate, spacing them slightly apart.
Once all the mixture is used, transfer the tray to the refrigerator.
Chill the protein balls for at least 30 minutes so they firm up and hold their shape before serving.
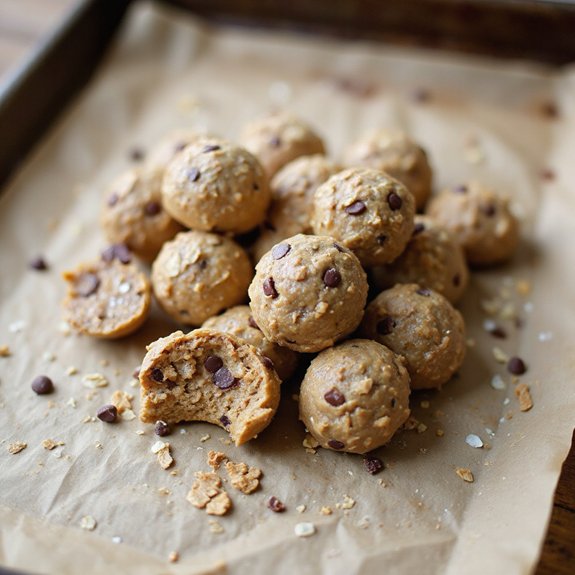
Store and Serve
Keep them fresh. Transfer the chilled protein balls to an airtight container once firm. Store them in the refrigerator for up to one week.
For longer storage, freeze them and thaw briefly before eating.
Let them sit at room temperature a few minutes before serving so they soften slightly but stay pleasantly firm.
Ingredient Swaps
- Nut-free: Swap peanut butter for sunflower seed butter or tahini; use allergy-friendly chocolate chips.
- Dairy-free: Use plant-based protein powder, dairy-free chocolate chips, and non-dairy milk.
- Gluten-free: Choose certified gluten-free oats and make certain protein powder is GF.
- Lower sugar: Reduce honey to 2 tablespoons, use unsweetened protein powder, or choose sugar-free chocolate chips.
- Budget/availability: Any creamy nut butter (almond, cashew, generic store-brand peanut butter) works; replace ground flaxseed with chia seeds or omit.
You Must Know
– Make-Ahead – To keep them from drying out over several days, portion the 16 balls into 2–3 small airtight containers and press plastic wrap directly onto the surface of each batch; this minimizes air exposure so they stay fudgy for up to 7 days in the fridge.
Serving Tips
- Serve chilled in mini cupcake liners for mess-free grab-and-go snacking.
- Pair with Greek yogurt and berries for a more filling, balanced snack plate.
- Arrange on a wooden board with sliced apples, bananas, and mixed nuts.
- Pack in small containers alongside carrot sticks and hummus for a lunchbox treat.
- Crumble over a smoothie bowl or chia pudding as a crunchy protein topping.
Storage & Make-Ahead
These protein balls keep well in an airtight container in the fridge for up to 1 week, making them perfect for meal prep.
You can also freeze them for about 1 month.
Freeze on a tray first, then transfer to a container or bag to prevent sticking.
Reheating
Gently warm protein balls briefly in the microwave on low power.
Or in a low oven just until slightly soft.
For stovetop, place in a covered pan over low heat, watching closely.
Protein Balls in Pop Culture
Every time I scroll through social media or flip past a cooking show, protein balls seem to pop up like the modern-day version of the cookie jar we grew up with—only dressed in athleisure.
They sit in glass meal-prep containers, glowing under fridge lights like little planet snacks, always next to a mason jar latte.
I can’t help comparing them to the after-school cookies my family kept in a dented tin.
Back then, we’d sneak chocolate chips with homework spread across the table; now I see influencers sneaking “just one more” protein ball between Zoom calls.
You’ll spot them in gym bags, office fridges, even TV dramas—rolled proof that our culture still craves comfort, just with macros tracked.
Final Thoughts
Give these chocolate chip protein balls a try and see how easy (and delicious) homemade snacks can be.
Feel free to tweak the mix-ins, nut butter, or protein powder to make them perfectly your own.
Frequently Asked Questions
Can I Make These Protein Balls Without Any Added Sweetener Like Honey?
Yes, you can, but you’ll want extra nut butter and maybe a splash of milk. I’d taste as I went, like sneaking bites of dough at Grandma’s table, chasing balance instead of sweetness.
How Can I Adapt This Recipe for a Low-Fodmap Diet?
You can adapt it by using smooth peanut butter, maple syrup, lactose‑free milk, and a low‑FODMAP protein powder. I picture you rolling sun‑warm dough like we did as kids, but gentler on your stomach now.
What’s the Best Way to Calculate Exact Macros for Each Ball?
I’d log each ingredient’s grams into a tracker like Cronometer, divide totals by how many pieces you roll. It’s like counting Halloween candy as a kid—except now we’re tallying protein, carbs, memories.

Chocolate Chip Protein Balls
Equipment
- 1 medium mixing bowl
- 1 Wooden spoon or spatula
- 1 set measuring cups
- 1 set measuring spoons
- 1 baking sheet or plate
- 1 sheet parchment paper or silicone mat
Ingredients
- 1 1/2 cup rolled oats
- 1 cup natural peanut butter creamy
- 1/2 cup chocolate chips mini
- 1/2 cup vanilla protein powder
- 1/4 cup honey
- 1 teaspoon vanilla extract
- 1/4 teaspoon fine sea salt
- 2 tablespoon ground flaxseed optional
- 2 tablespoon milk of choice as needed
Instructions
- Line a baking sheet or large plate with parchment paper or a silicone mat.
- In a medium mixing bowl, combine rolled oats, protein powder, salt, and ground flaxseed if using, and stir to mix.
- Add peanut butter, honey, and vanilla extract to the dry ingredients.
- Stir with a wooden spoon or spatula until the mixture starts to come together.
- Add chocolate chips and fold them into the mixture.
- If the mixture is too dry or crumbly, add milk of choice 1 tablespoon at a time until it holds together when pressed.
- Scoop out about 1 tablespoon of mixture and roll it between your palms to form a compact ball.
- Place each ball onto the prepared baking sheet or plate.
- Repeat with the remaining mixture until all the balls are formed.
- Refrigerate the protein balls for at least 30 minutes to firm up before serving.
- Store the chilled protein balls in an airtight container in the refrigerator.
Notes

Cynthia Weatherford is a seasoned chef and culinary enthusiast who serves as the Recipe creator of Somonday. With decades of experience in the kitchen and a passion for exploring diverse cuisines, Cynthia brings a blend of creativity and technique to every dish. Known for transforming simple ingredients into show-stopping meals, Cynthia believes that cooking is an art form anyone can master. Dedicated to inspiring home cooks, Cynthia shares approachable recipes, pro tips, and culinary wisdom to make every meal memorable.