There’s something about the sight of glossy chocolate batter swirling into cupcake liners that instantly feels like comfort.
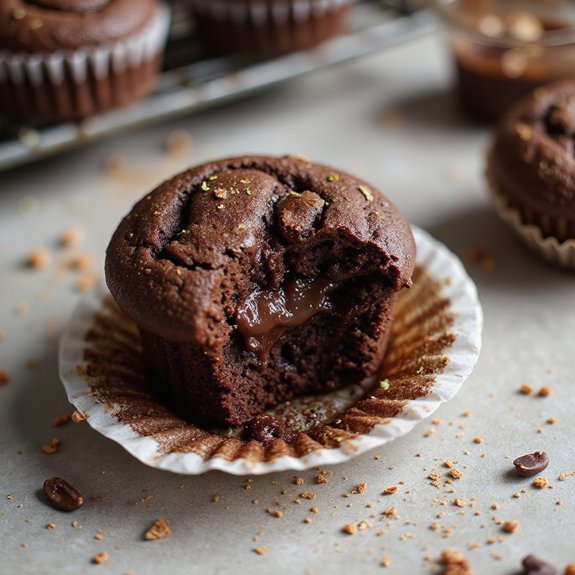
Imagine warm, cocoa-rich cupcakes rising in the oven, their tops softly domed and tender, the kitchen filling with the deep aroma of melted chocolate and vanilla.
These cozy desserts are quick enough for a weeknight treat—mixed and baked in under an hour—yet special enough to feel like a little celebration.
They’re perfect for sweet-tooth fans, busy families, and beginners who want a fail-safe baking win.
Once, on a drizzly Sunday when plans fell through, a batch of these cupcakes turned a gloomy afternoon into an impromptu “decorate-your-own” party, complete with sprinkles and laughter around the table.
They shine for last-minute cravings, school events, easy entertaining, or just a quiet evening with a cup of tea. Ready to bring this chocolate cupcake recipe to life?
Why You’ll Love It
- Delivers rich, ultra-moist chocolate cupcakes with tender, fluffy crumb
- Uses simple pantry ingredients plus sour cream for extra softness
- Mixes quickly in one bowl—no special baking skills required
- Stays fresh and moist for days; perfect make-ahead dessert
- Adapts easily with chips, fillings, or any favorite frosting
Ingredients
- 1 cup all-purpose flour — spoon and level for accurate measuring
- 0.5 cup unsweetened cocoa powder — use a good-quality Dutch-process if available
- 1 teaspoon baking powder — guarantees a good rise
- 0.5 teaspoon baking soda — reacts with sour cream for extra lift
- 0.25 teaspoon fine salt — balances sweetness and enhances chocolate flavor
- 0.75 cup granulated sugar — provides structure and sweetness
- 0.25 cup light brown sugar, packed — adds moisture and mild caramel notes
- 0.5 cup sour cream, full-fat — brings tenderness and tang
- 0.5 cup whole milk, room temperature — helps create a smooth, pourable batter
- 0.33 cup neutral vegetable oil — keeps cupcakes soft even when chilled
- 2 large eggs, room temperature — bind the batter and add richness
- 1 teaspoon vanilla extract — choose pure extract for best flavor
- 0.5 cup hot coffee or hot water — hot liquid blooms the cocoa for deeper flavor
- 0.75 cup semi-sweet chocolate chips (optional) — fold in gently for melty pockets
Step-by-Step Method
Preheat & Prepare Pan
Preheat the oven to 350°F (175°C). Line a 12-cup muffin tin with paper liners. Set the pan aside on a stable surface.
This step guarantees the batter can go straight into a properly heated oven.
Double-check your rack is centered for even baking and remove any extra pans from the oven.
Combine Dry Ingredients
Whisk together the flour, cocoa powder, baking powder, baking soda, and salt in a medium bowl. Break up any lumps in the cocoa and flour.
Mix until the color looks uniform. Set this bowl aside. Properly combining the dry ingredients guarantees the leaveners distribute evenly, giving the cupcakes a consistent rise.
Mix Wet Ingredients
In a large bowl, whisk the granulated sugar, brown sugar, sour cream, milk, vegetable oil, eggs, and vanilla until smooth. Make sure there are no streaks of sour cream.
Use room temperature ingredients so they blend easily. A smooth wet mixture helps the dry ingredients incorporate gently, keeping the batter even and silky.
Combine Wet & Dry Gently
Add the dry ingredient mixture to the wet ingredients. Whisk slowly and gently just until no dry flour streaks remain.
Stop as soon as the batter looks mostly smooth. Avoid vigorous mixing at this stage.
Overmixing can develop gluten and make the cupcakes dense instead of light and tender.
Add Hot Coffee or Water
Pour in the hot coffee or hot water. Whisk slowly until the batter becomes smooth and fairly thin.
Scrape the bottom of the bowl to ensure everything is incorporated.
Hot coffee enhances the chocolate flavor without giving a strong coffee taste. If you prefer, use hot water for a milder flavor.
Fold In Chocolate Chips
Use a rubber spatula to gently fold in the chocolate chips, if using. Lift and turn the batter, rather than stirring aggressively.
Distribute the chips evenly throughout. Folding helps avoid deflating the batter.
This keeps the cupcakes light while still packing pockets of melted chocolate in every bite.
Fill the Cupcake Liners
Divide the batter evenly among the 12 cupcake liners. Fill each liner about two-thirds full to allow room for rising.
A measuring cup or scoop helps portion evenly. Wipe any spills from the tin.
Evenly filled cups bake more uniformly, which helps each cupcake finish at the same time.
Bake Until Just Done
Place the muffin tin in the center of the oven. Bake for 16 to 18 minutes. Rotate the pan halfway if your oven has hot spots.
Check doneness by inserting a toothpick into the center of a cupcake; it should come out with a few moist crumbs, not wet batter. Avoid overbaking to keep them soft.
Cool Briefly in Pan
Remove the muffin tin from the oven and place it on a heat-safe surface. Let the cupcakes cool in the pan for about 5 minutes.
This short cooling period helps them set and release more easily.
Don’t leave them in the pan too long, or the residual heat can dry out the bottoms.
Transfer & Cool Completely
Carefully transfer the cupcakes to a wire cooling rack. Arrange them with space between each one for airflow.
Let them cool completely, about 25 minutes. Cooling fully prevents frosting from melting or sliding off.
Once cool, frost as desired or serve plain. Store leftovers in an airtight container for freshness.
Ingredient Swaps
- Use full-fat Greek yogurt instead of sour cream, and any neutral oil (canola, sunflower) instead of vegetable oil.
- Swap whole milk with oat, almond, or soy milk for dairy-free cupcakes; replace sour cream with a thick dairy-free yogurt.
- For egg-free: use 1/4 cup unsweetened applesauce or 1 tablespoon ground flaxseed + 3 tablespoons water per egg.
- No coffee on hand? Use the same amount of hot water, or hot milk for a slightly richer taste.
You Must Know
– Flavor Boost • For deeper chocolate and balanced sweetness… add 0.25 teaspoon espresso powder to the hot coffee and a pinch (about 1/16 teaspoon) extra salt to the dry ingredients.
Espresso intensifies cocoa flavor and the slight extra salt keeps the 1 cup+ of total sugar from tasting flat.
Serving Tips
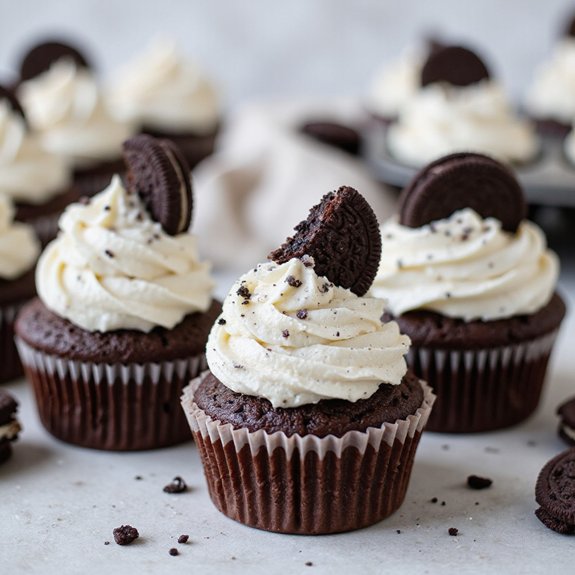
- Top with vanilla buttercream and chocolate shavings; serve on a white platter for contrast.
- Pair with cold milk or hot coffee to balance the rich chocolate flavor.
- Add a fresh raspberry or strawberry on each frosted cupcake for color and brightness.
- Drizzle with warm salted caramel and sprinkle flaky sea salt just before serving.
- Arrange cupcakes on a tiered stand for parties, alternating with fresh berries or flowers.
Storage & Make-Ahead
Chocolate cupcakes keep in the fridge, tightly covered, for 4–5 days.
Bring to room temperature before serving for best texture and flavor.
They’re great for make-ahead: unfrosted cupcakes freeze well for up to 2 months.
Wrap individually, then bag airtight.
Thaw at room temperature, then frost.
Reheating
Reheat cupcakes gently.
In microwave at 50% power for 10–15 seconds.
In a 300°F (150°C) oven for 5–8 minutes, covered loosely with foil.
Or steam briefly on the stovetop.
Birthday Party Cupcake Traditions
Once your cupcakes are baked, cooled, and ready to enjoy—not just reheat—they become the heart of a birthday celebration.
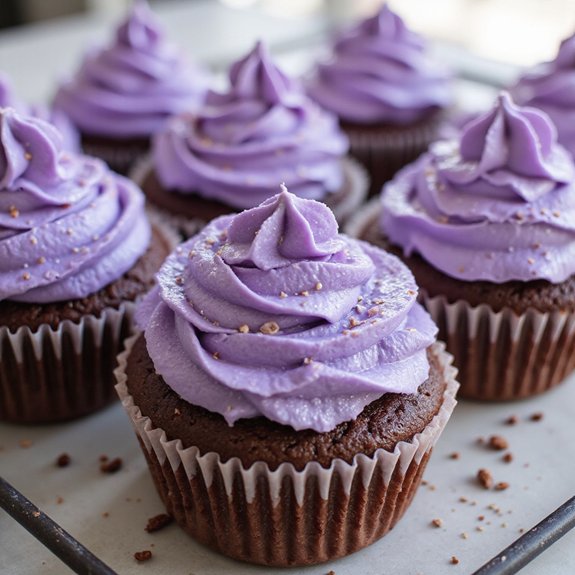
I like to arrange them in a tight circle on a cake stand, almost like a little village of chocolate peaks, then crown the center cupcake with a candle.
When the lights dim, that single flame reflecting off glossy frosting feels just as magical as any layer cake.
I invite guests to choose their “wish cupcake” first. Kids reach for the tallest swirl; adults quietly scan for extra sprinkles.
I set out small bowls of toppings—colored sugar, mini chips, confetti—and let everyone finish decorating their own.
It turns dessert into an activity, and suddenly the table’s full of laughter, stained napkins, and chocolate-smudged smiles.
Final Thoughts
Give these chocolate cupcakes a try and see how beautifully rich and tender they turn out.
Once you’ve made them once, have fun tweaking the mix-ins or toppings to make the recipe your own.
Frequently Asked Questions
How Do Altitude Adjustments Affect Baking Time and Leavening for This Recipe?
At higher altitudes, I’d bake your cupcakes a few minutes longer, lower sugar slightly, and reduce baking powder and soda; that way they’ll rise gently, set firmly, and still taste like a warm, tender hug.
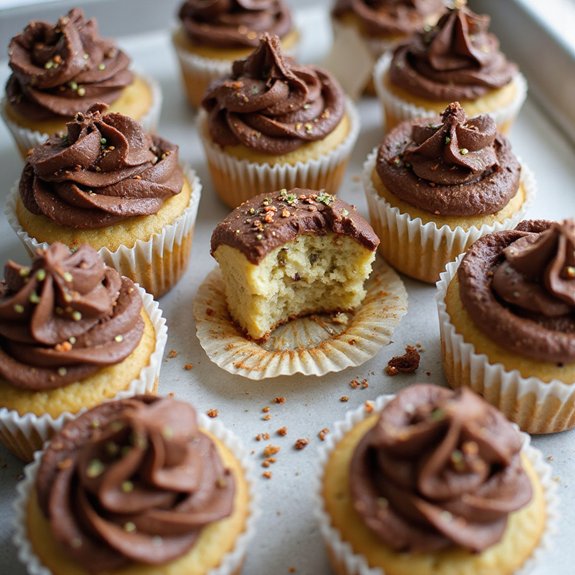
What Frosting Flavors Pair Best Specifically With Sour-Cream-Based Cupcakes?
I’d pair yours with silky dark chocolate ganache, whipped espresso buttercream, or tangy cream cheese frosting; I’d also suggest salted caramel or raspberry buttercream to echo the sour cream’s richness and create a cozy, bakery-warm balance.
Can I Convert This Cupcake Recipe Into a Layered Cake Successfully?
Yes, you can. I’d double the batter, bake it in two greased 8‑inch pans at 350°F, and extend baking to about 25–30 minutes, watching for set centers and fragrant, softly domed tops.
How Can Kids Safely Help With This Cupcake Recipe?
Kids can safely help by lining tins, measuring dry ingredients, whisking gently, and sprinkling chips. I’ll handle hot coffee, oven, and sharp tools, while you invite them close, narrate each step, and keep little hands clear.

Chocolate Cupcakes with Sour Cream
Equipment
- 1 muffin tin 12-cup
- 12 paper cupcake liners
- 2 Mixing bowls
- 1 hand mixer or stand mixer
- 1 Whisk
- 1 Rubber spatula
- 1 measuring cup set
- 1 measuring spoon set
- 1 wire cooling rack
- 1 toothpick
Ingredients
- 1 cup all-purpose flour
- 0.5 cup unsweetened cocoa powder
- 1 teaspoon baking powder
- 0.5 teaspoon baking soda
- 0.25 teaspoon fine salt
- 0.75 cup granulated sugar
- 0.25 cup light brown sugar packed
- 0.5 cup sour cream full-fat
- 0.5 cup whole milk room temperature
- 0.33 cup vegetable oil neutral
- 2 large eggs room temperature
- 1 teaspoon vanilla extract
- 0.5 cup hot coffee or hot water
- 0.75 cup semi-sweet chocolate chips optional
Instructions
- Preheat the oven to 350°F (175°C) and line a 12-cup muffin tin with paper liners.
- In a mixing bowl whisk together the flour, cocoa powder, baking powder, baking soda, and salt until well combined.
- In a separate large bowl whisk the granulated sugar, brown sugar, sour cream, milk, vegetable oil, eggs, and vanilla extract until smooth.
- Add the dry ingredients to the wet ingredients and whisk gently just until no dry streaks remain.
- Pour in the hot coffee (or hot water) and whisk slowly until the batter is smooth and fairly thin.
- Fold in the chocolate chips with a rubber spatula if using.
- Divide the batter evenly among the 12 cupcake liners, filling each about two-thirds full.
- Bake the cupcakes for 16 to 18 minutes, or until a toothpick inserted in the center comes out with a few moist crumbs.
- Remove the muffin tin from the oven and let the cupcakes cool in the pan for 5 minutes.
- Transfer the cupcakes to a wire cooling rack and let them rest until completely cool, about 25 minutes, before frosting or serving.
Notes

Cynthia Weatherford is a seasoned chef and culinary enthusiast who serves as the Recipe creator of Somonday. With decades of experience in the kitchen and a passion for exploring diverse cuisines, Cynthia brings a blend of creativity and technique to every dish. Known for transforming simple ingredients into show-stopping meals, Cynthia believes that cooking is an art form anyone can master. Dedicated to inspiring home cooks, Cynthia shares approachable recipes, pro tips, and culinary wisdom to make every meal memorable.