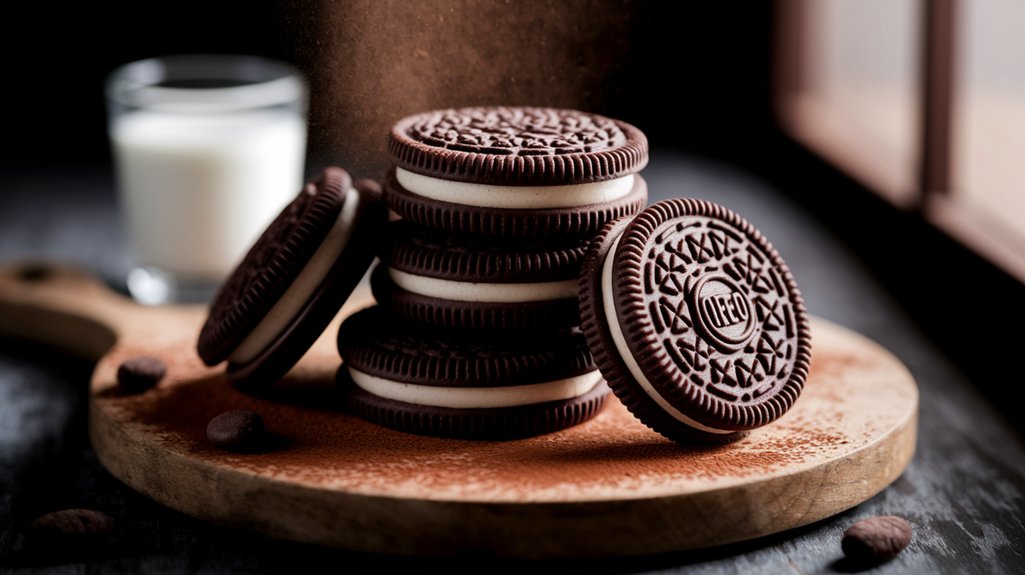
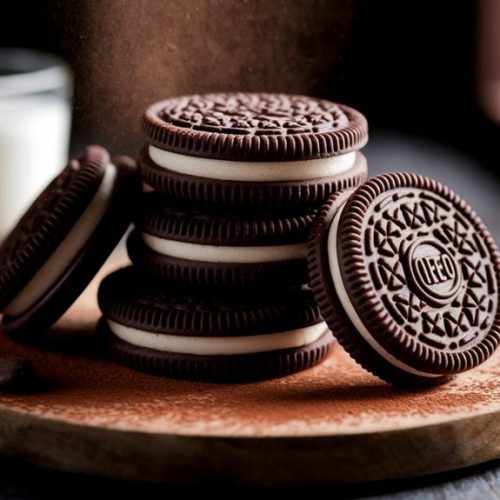
You’ve likely enjoyed an Oreo cookie at some point, whether twisting it apart or dunking it in a glass of milk.
These classic treats, with their iconic chocolate wafer and creamy filling, have been around since 1912.
But have you ever wondered about the myriad flavors and creative ways to enjoy them beyond the traditional bite?
There’s much more to explore about this beloved cookie.
Kitchen Tools Required
- 1 Mixing bowl
- 1 Electric mixer
- 1 Rolling pin
- 1 Baking sheet
- 1 Parchment paper
- 1 Cookie cutter
Ingredients
- 1 cup Unsalted butter, softened
- 1 cup Granulated sugar
- 1 Egg, large
- 1 teaspoon Vanilla extract
- 2 cups All-purpose flour
- 3/4 cup Unsweetened cocoa powder
- 1/2 teaspoon Baking soda
- 1/4 teaspoon Salt
- 1 1/2 cups Powdered sugar
- 1/2 cup Unsalted butter, softened (for filling)
- 1 teaspoon Vanilla extract (for filling)
Cook & Prep Time
To efficiently manage your time while making homemade Oreo cookies, follow this timeline:
- Reading & Preparation (10 minutes):
- Read through the entire recipe and instructions to familiarize yourself with the process.
- Gather all ingredients and equipment needed for the recipe.
- Preparation (30 minutes):
- Start by preheating the oven to 350°F (175°C).
- Cream together the butter and sugar, then add the egg and vanilla extract.
- In a separate bowl, whisk together the dry ingredients (flour, cocoa powder, baking soda, and salt).
- Gradually combine the wet and dry ingredients to form a dough.
- Dough Handling (10 minutes):
- Roll out the dough on a floured surface to 1/4 inch thickness.
- Use a cookie cutter to cut out circles and place them onto a parchment-lined baking sheet.
- Baking (10 minutes):
- Bake the cookies in the preheated oven for 10 minutes or until the edges are firm.
- While cookies are baking, prepare the filling by beating together the butter, powdered sugar, and vanilla extract.
- Cooling & Filling (20 minutes):
- Allow the cookies to cool on a wire rack.
- Once cooled, spread or pipe the filling onto the flat side of half of the cookies.
- Assembling (10 minutes):
- Top each filled cookie with another cookie to form a sandwich.
- Resting (30 minutes):
- Let the cookies rest for 30 minutes to allow the filling to set.
Total time: 2 hours (including reading, prep, baking, and resting time).
Recipe Instructions
Preheat the oven to 350°F (175°C).
In a mixing bowl, cream together 1 cup of unsalted butter and granulated sugar using an electric mixer.
Add the egg and vanilla extract to the butter mixture and mix until combined.
In another bowl, whisk together flour, cocoa powder, baking soda, and salt.
Gradually add the dry ingredients to the wet ingredients and mix until a dough forms.
Roll out the dough on a floured surface to 1/4 inch thickness.
Use a cookie cutter to cut out circles and place them onto a baking sheet lined with parchment paper.
Bake in the preheated oven for 10 minutes or until the edges are firm.
Allow the cookies to cool on a wire rack.
For the filling, beat together 1/2 cup of unsalted butter, powdered sugar, and 1 teaspoon of vanilla extract until smooth.
Spread or pipe the filling onto the flat side of half of the cookies.
Top with another cookie to form a sandwich.
Let the cookies rest for 30 minutes to allow the filling to set.
Serving Tips
- Milk: The classic pairing, a glass of cold milk complements the sweet and rich flavors of the homemade Oreo cookies perfectly.
- Vanilla Ice Cream: Serve the cookies alongside a scoop of vanilla ice cream for a delightful dessert combination.
- Coffee: Enjoy your cookies with a cup of coffee for a delicious snack with a caffeine kick.
- Whipped Cream: Add a dollop of whipped cream on the side for an extra creamy touch.
- Fruit Salad: Pair the cookies with a fresh fruit salad to balance the richness with some invigorating flavors.
Storage
To store homemade Oreo cookies, place them in an airtight container at room temperature for up to a week.
Alternatively, refrigerate or freeze for longer shelf life.
Freezing
To freeze homemade Oreo cookies, first confirm they’re fully cooled.
Place them in an airtight container or freezer bag, separating layers with parchment paper.
Freeze for up to three months.
Reheating
To reheat homemade Oreo cookies, place them in a preheated oven at 300°F (150°C) for 3-5 minutes.
Make certain they regain their crisp texture without melting the filling.
Final Thoughts
Creating homemade Oreo cookies is a rewarding endeavor that combines the rich flavors of chocolate and vanilla.
These cookies aren’t only delicious but also provide a fun baking experience.
By following the simple steps and utilizing common kitchen equipment, you can enjoy a fresh batch of cookies that rival the store-bought version.
Whether enjoyed with a glass of milk or shared with friends and family, homemade Oreos are a delightful treat that everyone will love.
Remember to be patient during the process, especially when allowing the cookies to cool and the filling to set.
This guarantees the perfect texture and taste.
Additionally, don’t be afraid to experiment with different flavors or fillings to create your own unique twist on this classic cookie.
Happy baking!
Frequently Asked Questions
Are These Homemade Oreo Cookies Gluten-Free?
You can’t consider these cookies gluten-free because they contain all-purpose flour, which has gluten. To make them gluten-free, substitute the all-purpose flour with a gluten-free flour blend. Always check ingredient labels for cross-contamination.
Can I Use a Different Filling Flavor?
Absolutely, you can experiment with different filling flavors. Try adding mint extract for a revitalizing twist or peanut butter for a nutty touch. Adjust sweetness to taste, and you’ll create a delightful variation tailored to your preference.
How Long Do Homemade Oreo Cookies Stay Fresh?
Your homemade cookies will stay fresh for up to a week if you store them in an airtight container at room temperature. For longer storage, consider freezing them. Enjoy the delightful taste while they last!
What Is the Origin of Oreo Cookies?
You’d be fascinated to know that the iconic cookies originated in 1912 in New York City. Nabisco introduced them, aiming to create a delightful, unique treat, and they’ve since become a beloved classic worldwide.
Can I Use a Stand Mixer Instead of an Electric Mixer?
Absolutely, you can use a stand mixer instead of an electric hand mixer. It’ll make the process easier and more efficient. Just make sure to scrape down the sides occasionally to mix everything evenly for perfect results.
Homemade Oreo Cookies
Equipment
- 1 Mixing bowl
- 1 Electric mixer
- 1 Rolling Pin
- 1 Baking sheet
- 1 Parchment paper
- 1 Cookie cutter
Ingredients
- 1 cup Unsalted butter softened
- 1 cup Granulated sugar
- 1 Egg large
- 1 teaspoon Vanilla extract
- 2 cups All-purpose flour
- 3/4 cup Unsweetened cocoa powder
- 1/2 teaspoon Baking soda
- 1/4 teaspoon Salt
- 1 1/2 cups Powdered sugar
- 1/2 cup Unsalted butter softened (for filling)
- 1 teaspoon Vanilla extract for filling
Instructions
- Preheat the oven to 350°F (175°C).
- In a mixing bowl, cream together 1 cup of unsalted butter and granulated sugar using an electric mixer.
- Add the egg and vanilla extract to the butter mixture and mix until combined.
- In another bowl, whisk together flour, cocoa powder, baking soda, and salt.
- Gradually add the dry ingredients to the wet ingredients and mix until a dough forms.
- Roll out the dough on a floured surface to 1/4 inch thickness.
- Use a cookie cutter to cut out circles and place them onto a baking sheet lined with parchment paper.
- Bake in the preheated oven for 10 minutes or until the edges are firm.
- Allow the cookies to cool on a wire rack.
- For the filling, beat together 1/2 cup of unsalted butter, powdered sugar, and 1 teaspoon of vanilla extract until smooth.
- Spread or pipe the filling onto the flat side of half of the cookies.
- Top with another cookie to form a sandwich.
- Let the cookies rest for 30 minutes to allow the filling to set.
Notes

Cynthia Weatherford is a seasoned chef and culinary enthusiast who serves as the Recipe creator of Somonday. With decades of experience in the kitchen and a passion for exploring diverse cuisines, Cynthia brings a blend of creativity and technique to every dish. Known for transforming simple ingredients into show-stopping meals, Cynthia believes that cooking is an art form anyone can master. Dedicated to inspiring home cooks, Cynthia shares approachable recipes, pro tips, and culinary wisdom to make every meal memorable.


