Imagine crafting raspberry thumbprint cookies with precision and flair.
As you cream butter and sugar, the transformation begins, leading to a dough that embodies balance and expertise.
Shaping each ball, your fingers create a canvas for vibrant jam, promising a blend of textures and flavors.
Baking brings them to golden perfection. Pair them with tea or fresh berries for an elegant presentation.
Curious about the next steps to elevate this treat?
Kitchen Tools Required
- 1 Baking sheet
- 1 Parchment paper
- 1 Mixing bowl
- 1 Electric mixer
- 1 Measuring cup set
- 1 Measuring spoon set
- 1 Spoon
- 1 Cooling rack
Cook & Prep Time
To efficiently manage your time while preparing and baking the Raspberry Thumbprint Cookies, follow this timeline:
- Prep Time (15 minutes):
- 0:00 – 0:05: Gather all ingredients and equipment. Verify the butter is softened at room temperature.
- 0:05 – 0:10: Preheat the oven to 350°F (175°C) and line a baking sheet with parchment paper.
- 0:10 – 0:15: In a mixing bowl, cream together the softened butter and granulated sugar using an electric mixer until light and fluffy. Mix in the vanilla extract.
- Cook Time (15 minutes):
- 0:15 – 0:20: Gradually add the all-purpose flour and salt to the mixture, mixing until just combined. Roll the dough into 1-inch balls and place them on the prepared baking sheet.
- 0:20 – 0:25: Use your thumb to make an indentation in the center of each dough ball and fill each indentation with a small spoonful of raspberry jam.
- 0:25 – 0:30: Place the baking sheet in the preheated oven and bake for 12-15 minutes until the edges are lightly golden.
- Resting/Cooling Time (10 minutes):
- 0:30 – 0:35: Remove the cookies from the oven and let them cool on the baking sheet for 5 minutes.
- 0:35 – 0:40: Transfer the cookies to a cooling rack to cool completely.
- Final Touch:
- 0:40 – 0:45: Dust the cooled cookies with powdered sugar before serving.
Recipe
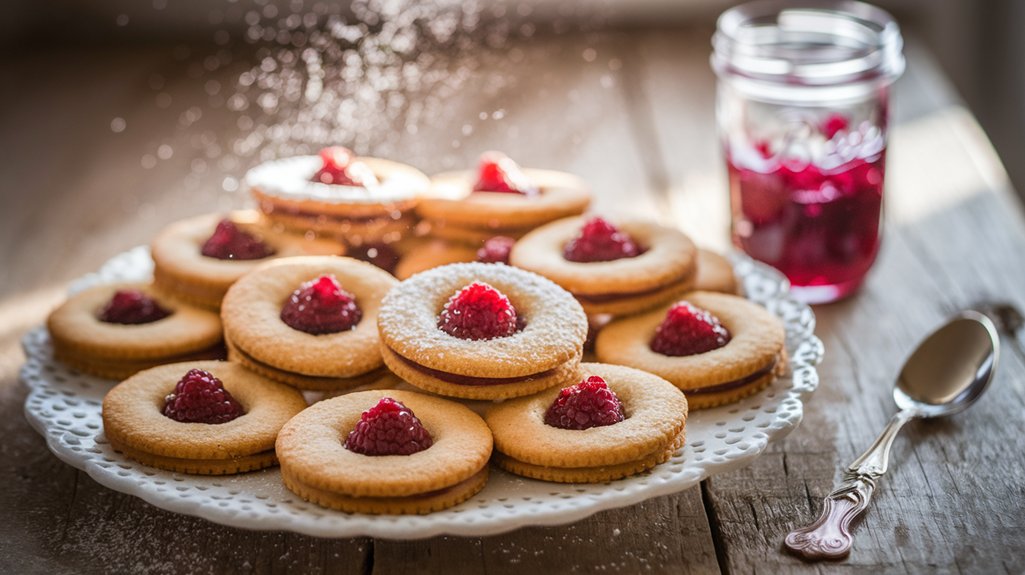
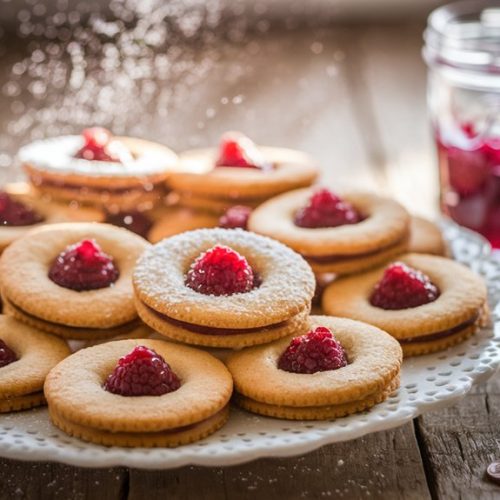
Raspberry Thumbprint Cookies are a delightful and classic treat that pairs a buttery shortbread base with the sweet-tart flavor of raspberry jam.
These cookies are perfect for any occasion, from holiday gatherings to afternoon tea.
The simple yet elegant presentation makes them a favorite among both bakers and cookie lovers alike.
With a tender crumb and a burst of fruity flavor, Raspberry Thumbprint Cookies are certain to impress.
The process begins by creating a smooth and rich dough, which is then shaped into small balls.
An indentation is made in the center of each ball to hold a small spoonful of raspberry jam, which adds both flavor and visual appeal.
Once baked, the cookies are dusted with a light layer of powdered sugar, adding a touch of sweetness and a beautiful finish to these delectable treats.
Ingredients:
- 1 cup Unsalted butter, softened
- 2/3 cup Granulated sugar
- 1 teaspoon Vanilla extract
- 2 cups All-purpose flour
- 1/4 teaspoon Salt
- 1/2 cup Raspberry jam
- 1 tablespoon Powdered sugar (for dusting)
To prepare the cookies, start by preheating your oven to 350°F (175°C) and line a baking sheet with parchment paper.
Using an electric mixer, cream together the softened butter and granulated sugar in a mixing bowl until the mixture is light and fluffy.
Blend in the vanilla extract.
Gradually add the all-purpose flour and salt, mixing until just combined.
Roll the dough into 1-inch balls and place them on the prepared baking sheet.
Use your thumb to make an indentation in the center of each ball, then fill each indentation with a small spoonful of raspberry jam.
Bake the cookies in the preheated oven for 12-15 minutes, or until the edges are lightly golden.
Allow the cookies to cool on the baking sheet for about 5 minutes before transferring them to a cooling rack to cool completely.
Once cooled, dust with powdered sugar before serving.
For the best results, verify that your butter is at room temperature before starting this recipe, as this will help you achieve the ideal texture for your cookies.
Also, be careful not to overfill the indentations with jam, as it can overflow during baking.
If you’re feeling adventurous, you can experiment with different fruit preserves in place of raspberry jam for a variety of flavors.
Enjoy these cookies fresh for the best taste!
Cooking Steps
You’ll begin by setting your oven to a precise 350°F, ensuring an even bake.
As the oven heats, expertly cream the softened butter and granulated sugar until they achieve a light, fluffy texture, then gradually blend in the aromatic vanilla extract.
With finesse, incorporate the all-purpose flour and salt until just combined, then shape the dough into small, uniform balls, ready to cradle the sweet raspberry jam.
Step 1. Heat Oven to 350°F
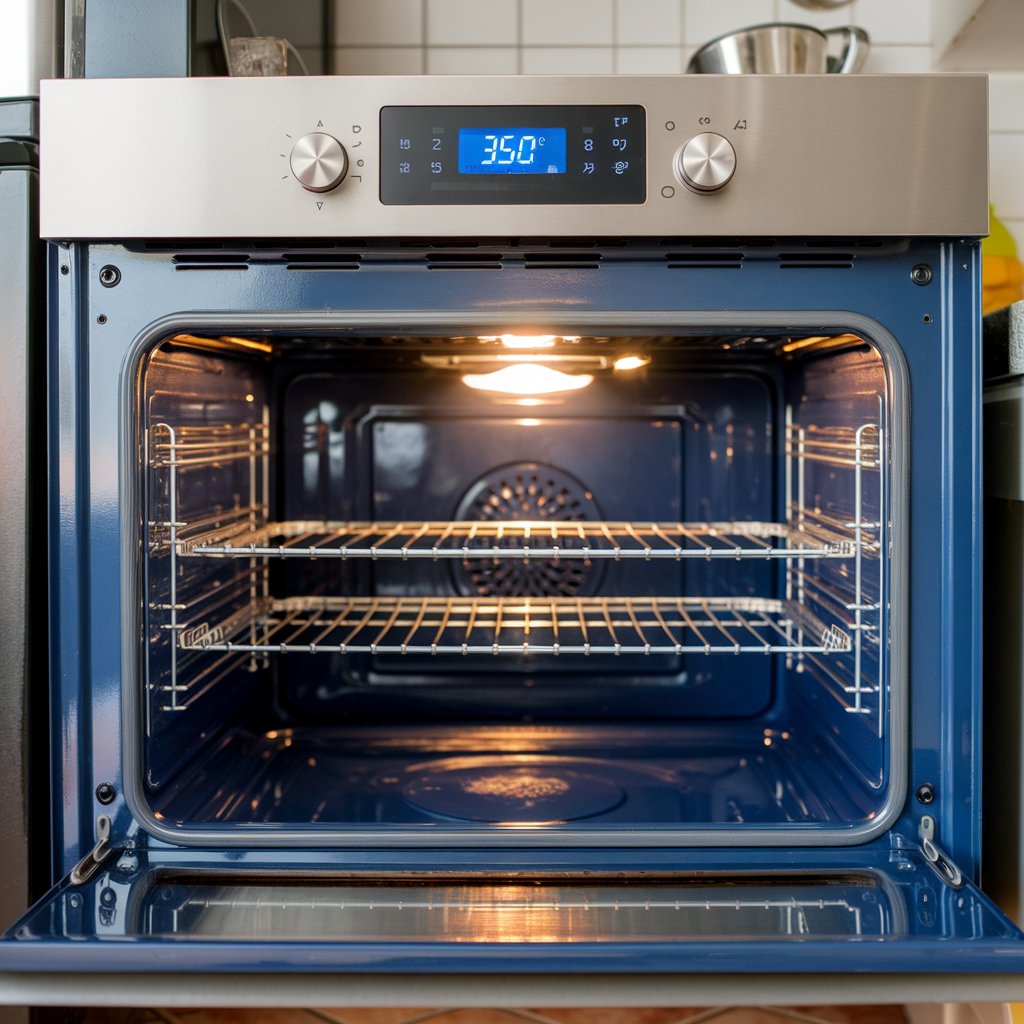
Start by setting your culinary stage with precision: preheat your oven to 350°F (175°C), guaranteeing it reaches the exact temperature needed to transform your cookie dough into a delightful masterpiece.
This temperature is essential for evenly baking the cookies, allowing their edges to turn perfectly golden while maintaining a soft center.
Use an oven thermometer for accuracy and adjust as needed to prevent under or over-baking.
While the oven warms, take the opportunity to prepare your baking sheet by lining it with parchment paper.
This step guarantees a non-stick surface, making it easy to transfer cookies to the cooling rack later.
Your attention to these details will set the tone for a flawless execution of these raspberry-infused treats, ensuring they bake to perfection every time.
Step 2. Cream Butter and Sugar Together

Elevate your cookie-making process as you blend softened butter with granulated sugar, creating the foundation for your dough.
Use an electric mixer on medium speed to guarantee the butter and sugar integrate seamlessly, achieving a creamy and light texture.
This vital step not only infuses air into the mixture but also sets the stage for perfectly tender cookies.
With each rotation of the mixer, watch as the sugar granules dissolve into the butter, transforming the mixture into a pale, fluffy masterpiece.
Be patient and verify every granule is thoroughly incorporated for consistency in your dough.
This delicate dance of fat and sweetness is essential; it’s the backbone of your cookies’ structure, assuring uniformity and enhancing the natural sweetness of the raspberry jam that comes later.
Step 3. Add Vanilla Extract Gradually
Once your butter and sugar have achieved that perfect, airy blend, it’s time to enhance the mixture with vanilla extract.
Measure precisely one teaspoon of vanilla extract; this aromatic ingredient lends depth and warmth to your cookies.
Slowly pour the vanilla into the creamed mixture, allowing the electric mixer to incorporate it thoroughly.
This gradual addition guarantees the flavor disperses evenly, preventing any overwhelming notes.
As you blend, notice the subtle transformation in aroma, a delicate dance of scents that promises delectable results.
The vanilla not only enriches the taste but also complements the raspberry jam’s fruity tang.
This step, though simple, is pivotal in crafting cookies that are both classic and memorable, a fusion of technical expertise and culinary artistry.
Step 4. Incorporate Flour and Salt
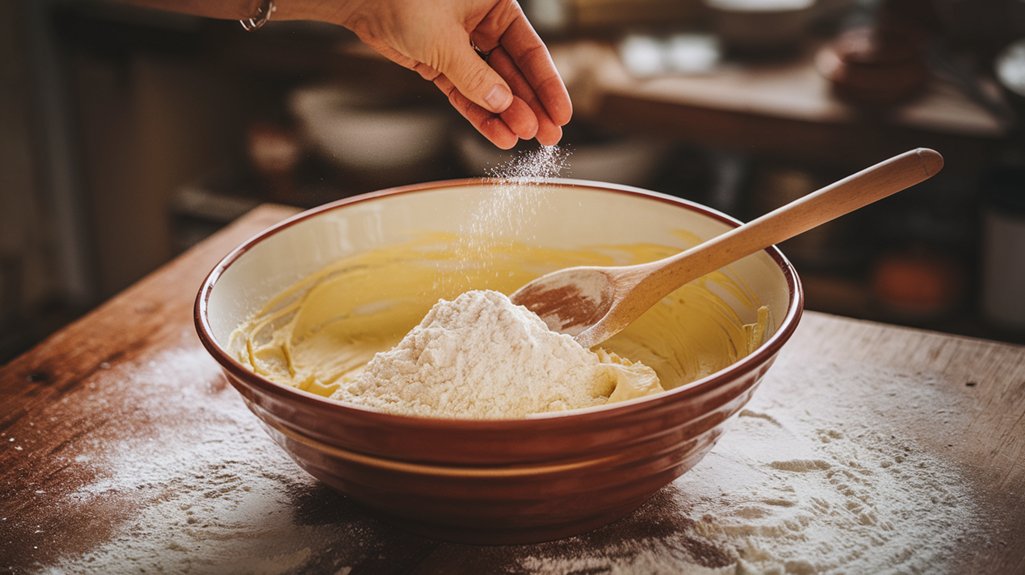
As you prepare to incorporate the dry ingredients, guarantee your workspace reflects the precision of the task ahead.
Measure two cups of all-purpose flour and a quarter teaspoon of salt with meticulous care.
These simple yet essential components are the backbone of your cookie’s structure.
Gradually introduce them to the creamed butter and sugar mixture, allowing them to merge seamlessly.
Use an electric mixer on low speed, ensuring the flour and salt blend without overworking the dough.
Maintain a gentle hand; too much mixing can lead to toughness, robbing the cookies of their desired tenderness.
The resulting dough should be cohesive yet tender, a reflection of your skillful integration of these foundational ingredients.
Your path to perfect cookies is now set.
Step 5. Shape Dough Into Small Balls
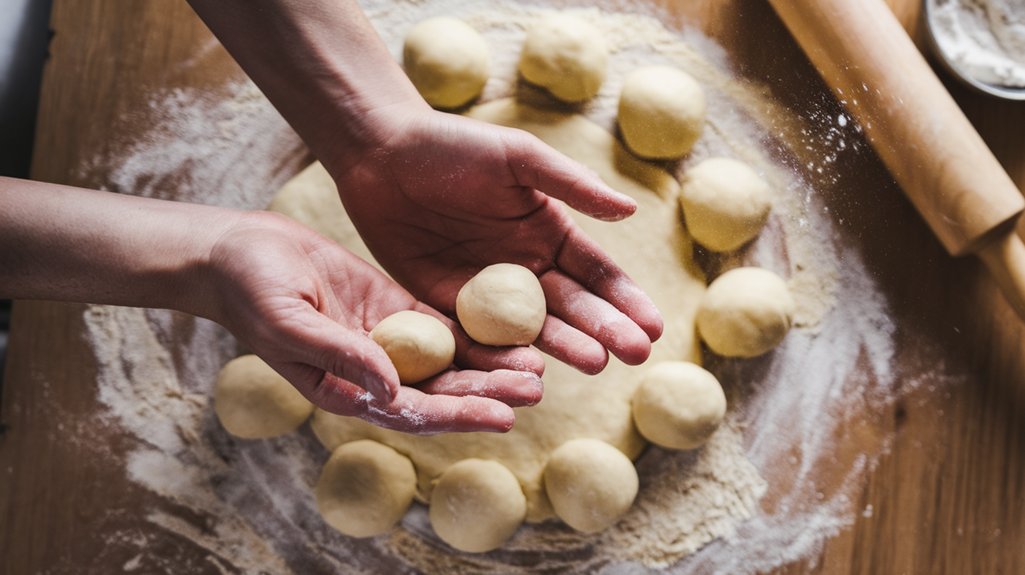
With your dough perfectly integrated, it’s time to shape it into small spheres.
Begin by pinching off a portion of the dough, approximately the size of a walnut.
Roll it gently between your palms, letting the warmth of your hands coax it into a smooth, even ball.
This technique guarantees uniform baking and an aesthetically pleasing final product.
Place each sphere onto your parchment-lined baking sheet, allowing space for slight expansion.
Precision is key—aim for consistency in size to promote even cooking.
Your sphere should be firm yet pliable, a reflection of the perfect balance of butter and flour.
Continue this rhythmic motion until all the dough is transformed into a delightful array of potential cookies, ready for the next step.
Serving Tips
Though the raspberry thumbprint cookies are delightful on their own, you can elevate your presentation by pairing them with complementary accompaniments.
Consider serving them on a platter adorned with fresh mint leaves, which add a revitalizing aroma and a pop of color.
A side of clotted cream or mascarpone cheese provides a rich, creamy contrast to the sweet, tangy jam filling.
For a festive touch, arrange the cookies alongside a bowl of mixed berries, enhancing the fruity theme and adding visual appeal.
If you’re hosting an afternoon tea, present the cookies with a selection of fine teas; Earl Grey or chamomile’s subtle notes harmonize beautifully with the cookies’ flavors.
These thoughtful pairings transform your cookies into an unforgettable dessert experience.
Storage/Freezing/Reheating
To store Raspberry Thumbprint Cookies, place them in an airtight container at room temperature for up to one week.
Make certain the container is kept in a cool, dry place to maintain freshness.
For freezing, arrange the cookies in a single layer on a baking sheet and freeze until solid.
Transfer to a freezer-safe container or bag, separating layers with parchment paper, and store for up to three months.
To reheat frozen cookies, allow them to thaw at room temperature for about 30 minutes.
Alternatively, warm them in a 300°F (150°C) oven for 5-7 minutes to restore their freshly baked texture.
Final Thoughts
Storing and reheating your raspberry thumbprint cookies guarantees they remain as delightful as when first baked.
For storage, keep them in an airtight container at room temperature for up to a week.
If you’re planning to enjoy them later, freeze them for up to three months.
When it’s time to reheat, a brief stint in the oven at 300°F (150°C) will revive their just-baked charm.
| Method | Duration |
|---|---|
| Room Temp | Up to 1 week |
| Freezer | Up to 3 months |
| Reheat Oven | 300°F for 5 mins |
These cookies blend technical precision with artistic flair, ensuring each bite is a symphony of buttery richness and raspberry sweetness.
Whether indulging alone or sharing, they’re a demonstration of the timeless joy of baking.
Frequently Asked Questions
Can I Use Salted Butter Instead of Unsalted?
You can use salted butter, but reduce the added salt to balance flavors. The salted butter adds depth, but be cautious. Over-salting can overwhelm delicate notes. Precision in butter and salt adjustments guarantees a harmoniously flavored masterpiece.
How Do I Prevent Cookies From Spreading Too Much?
Chill your dough for about 30 minutes before baking to prevent excess spreading. This technique solidifies the butter, allowing your cookies to maintain their shape. Don’t skip this step for perfectly formed, bakery-worthy treats.
Is There a Gluten-Free Alternative for the Flour?
You can replace all-purpose flour with a gluten-free blend. Opt for a mix that includes rice flour, tapioca starch, and xanthan gum. These ingredients guarantee your cookies retain their delightful texture and taste. Happy baking!
Can I Use a Different Type of Sugar?
Absolutely, you can substitute granulated sugar with coconut sugar for a caramel-like depth or brown sugar for added moisture and richness. Just make certain these alternatives blend well with the other ingredients for a harmonious flavor.
How Do I Make the Cookies Vegan-Friendly?
To make the cookies vegan-friendly, replace butter with vegan margarine, and use a flaxseed or chia seed egg substitute. Swap granulated sugar for organic sugar. You’ll maintain that delightful texture and flavor with these simple adjustments.
Raspberry Thumbprint Cookies
Equipment
- 1 Baking sheet
- 1 Parchment paper
- 1 Mixing bowl
- 1 Electric mixer
- 1 measuring cup set
- 1 measuring spoon set
- 1 Spoon
- 1 Cooling rack
Ingredients
- 1 cup Unsalted butter Softened
- 2/3 cup Granulated sugar
- 1 teaspoon Vanilla extract
- 2 cups All-purpose flour
- 1/4 teaspoon Salt
- 1/2 cup Raspberry jam
- 1 tablespoon powdered sugar for dusting
Instructions
- Preheat the oven to 350°F (175°C) and line a baking sheet with parchment paper.
- In a mixing bowl, cream together the softened butter and granulated sugar using an electric mixer until light and fluffy.
- Mix in the vanilla extract.
- Gradually add the all-purpose flour and salt, mixing until just combined.
- Roll the dough into 1-inch balls and place them on the prepared baking sheet.
- Use your thumb to make an indentation in the center of each dough ball.
- Fill each indentation with a small spoonful of raspberry jam.
- Bake in the preheated oven for 12-15 minutes until the edges are lightly golden.
- Remove from the oven and let the cookies cool on the baking sheet for 5 minutes.
- Transfer the cookies to a cooling rack to cool completely.
- Dust the cooled cookies with powdered sugar before serving.
Notes

Cynthia Weatherford is a seasoned chef and culinary enthusiast who serves as the Recipe creator of Somonday. With decades of experience in the kitchen and a passion for exploring diverse cuisines, Cynthia brings a blend of creativity and technique to every dish. Known for transforming simple ingredients into show-stopping meals, Cynthia believes that cooking is an art form anyone can master. Dedicated to inspiring home cooks, Cynthia shares approachable recipes, pro tips, and culinary wisdom to make every meal memorable.


