You’ll find Red Velvet Cheesecake Bites a masterful blend of flavors and textures.
Each bite features a 1:1 ratio of moist red velvet cake to creamy cheesecake.
Precision is key: use 1 cup of flour, 1/2 cup cocoa, and 8 oz of cream cheese. Bake at 350°F for 18 minutes.
These bites demand attention, promising to elevate your baking skills and satisfy dessert aficionados seeking perfection in every morsel.
Kitchen Tools Required
- 1 x 9×9 inch Baking pan
- 1 Mixing bowl
- 1 Electric mixer
- 1 Spatula
- 1 Measuring cups
- 1 Measuring spoons
- 1 Cooling rack
Ingredients
- 1 cup all-purpose flour
- 1 tablespoon cocoa powder
- 1/4 teaspoon baking powder
- 1/4 teaspoon salt
- 1/2 cup unsalted butter, softened
- 1 cup granulated sugar
- 4 large eggs
- 1 teaspoon vanilla extract
- 1 tablespoon red food coloring
- 8 ounces cream cheese, softened
- 1/3 cup granulated sugar
- 1 teaspoon vanilla extract
Cook & Prep Time
To efficiently manage your time while preparing and cooking Red Velvet Cheesecake Bites, follow this timeline:
Timeline for Red Velvet Cheesecake Bites
Preparation:
- 0:00 – 0:05 minutes: Preheat the oven to 350°F (175°C) and line the 9×9 inch baking pan with parchment paper.
- 0:05 – 0:10 minutes: Gather and measure out all ingredients needed for the recipe.
- 0:10 – 0:15 minutes: In a mixing bowl, whisk together the dry ingredients: flour, cocoa powder, baking powder, and salt.
- 0:15 – 0:20 minutes: In another bowl, beat the butter and sugar with an electric mixer until light and fluffy.
Cooking:
- 0:20 – 0:23 minutes: Add the eggs to the butter-sugar mixture, one at a time, beating well after each addition.
- Mix in the vanilla extract and red food coloring.
- 0:23 – 0:27 minutes: Gradually add the dry ingredients to the wet ingredients, mixing until just combined.
- 0:27 – 0:30 minutes: Spread the red velvet batter evenly into the prepared baking pan.
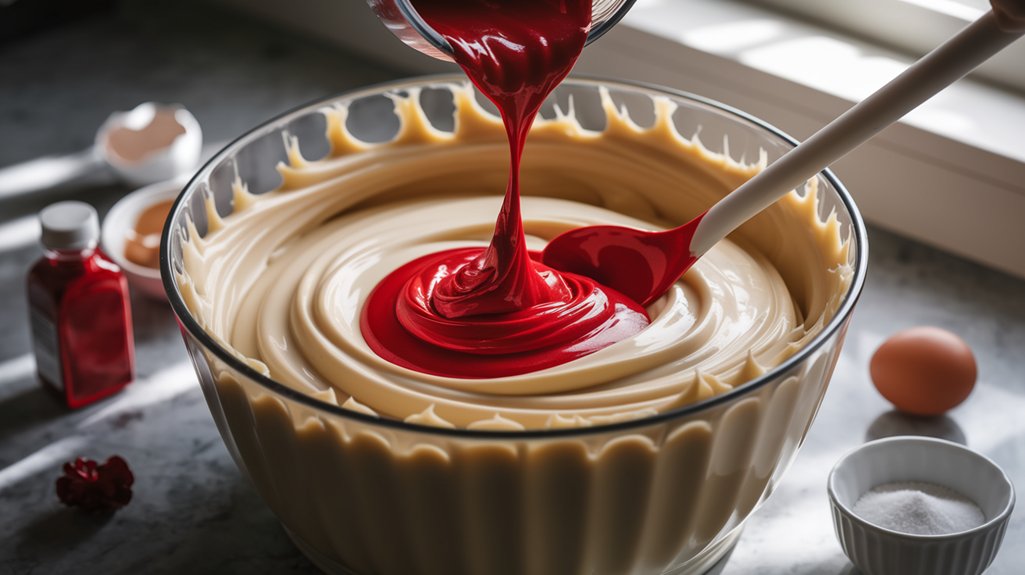
- 0:30 – 0:35 minutes: In a separate bowl, beat the cream cheese, sugar, vanilla extract, and egg until smooth.
- 0:35 – 0:38 minutes: Drop spoonfuls of the cream cheese mixture over the red velvet batter and swirl with a spatula.
- 0:38 – 0:58 minutes: Bake in the oven for 18-20 minutes or until set.
Cooling and Resting:
- 0:58 – 1:00 minutes: Remove from the oven and cool on a cooling rack.
- 1:00 – 2:00 hours: Once cooled, refrigerate for at least 1 hour before cutting into bite-sized squares.
Recipe
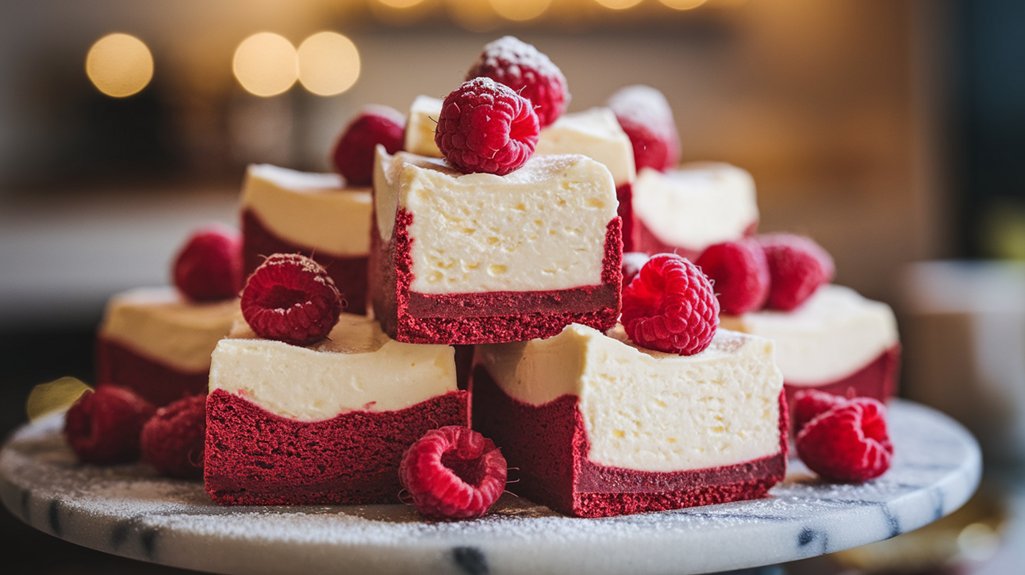
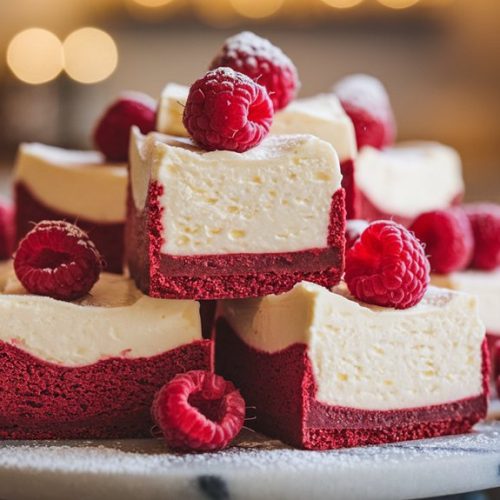
Red Velvet Cheesecake Bites are a delightful fusion of rich red velvet cake and creamy cheesecake, perfect for any dessert lover.
These bite-sized treats aren’t only visually stunning with their vibrant red hue and creamy swirls but also incredibly delicious.
The base is a soft and tender red velvet layer, while the top is a smooth and tangy cream cheese mixture that balances the flavors perfectly.
Ideal for parties, gatherings, or simply a sweet treat at home, these cheesecake bites are easy to make and certain to impress your guests.
The recipe is straightforward and requires minimal preparation time, making it a convenient choice for both novice and experienced bakers.
With a quick bake and some time to chill, you’ll have a dessert that’s as delightful to look at as it’s to eat.
To prepare the Red Velvet Cheesecake Bites, start by preheating your oven to 350°F (175°C) and line a 9×9 inch baking pan with parchment paper.
Whisk together the flour, cocoa powder, baking powder, and salt in a mixing bowl.
In a separate bowl, beat the butter and sugar with an electric mixer until light and fluffy.
Add the eggs one at a time, mixing well after each addition, then incorporate the vanilla extract and red food coloring.
Gradually add the dry ingredients to the wet ingredients, mixing until just combined, and spread this red velvet batter evenly into the prepared pan.
For the cheesecake layer, beat together the cream cheese, sugar, vanilla extract, and egg until smooth, then drop spoonfuls of the mixture over the red velvet batter and swirl with a spatula.
Bake for 18-20 minutes or until set, then cool on a cooling rack.
Once cooled, refrigerate for at least 1 hour before cutting into bite-sized squares.
For the best results, confirm that your cream cheese is at room temperature to achieve a smoother texture and even mixing.
Avoid overmixing the batter to maintain the softness and tenderness of the bites.
Additionally, when swirling the cream cheese mixture into the red velvet batter, be gentle to create beautiful marbled patterns without fully blending the two layers.
These tips will help you create perfectly textured and visually appealing Red Velvet Cheesecake Bites.
Cooking Steps
Start by preheating your oven to 350°F (175°C) to guarantee even baking.
In one bowl, thoroughly combine 1 cup of all-purpose flour, 1 tablespoon of cocoa powder, 1/4 teaspoon of baking powder, and 1/4 teaspoon of salt.
In another bowl, cream together 1/2 cup of softened unsalted butter with 1 cup of granulated sugar until the mixture is light and fluffy before adding 2 large eggs and mixing until smooth, then stir in 1 tablespoon of red food coloring for that signature red velvet hue.
Step 1. Preheat Oven to 350°F
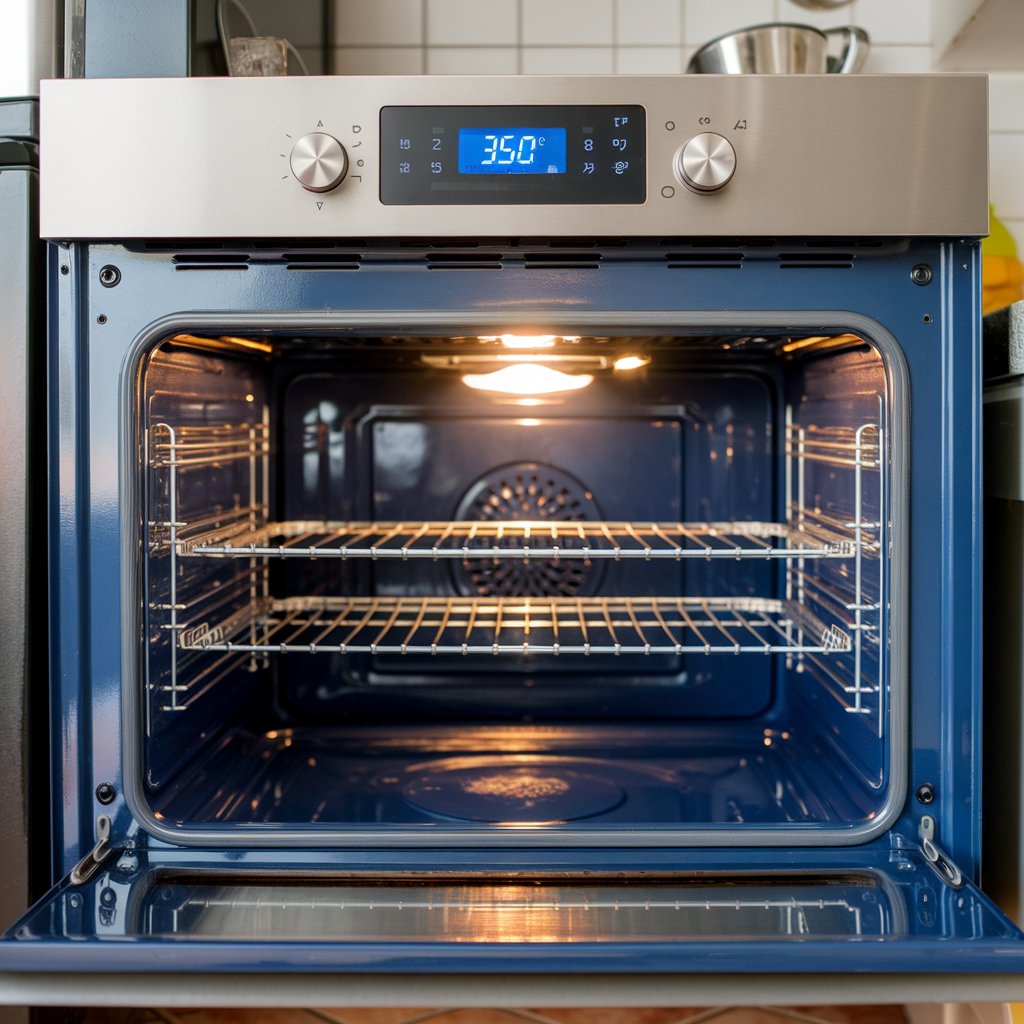
Begin by setting your oven to precisely 350°F (175°C) to guarantee an even baking environment.
Achieving this temperature is essential for the red velvet batter and cheesecake mixture to cook uniformly, ensuring the perfect texture and taste.
Use an oven thermometer if necessary to verify accuracy since some ovens may differ slightly from the set temperature.
While your oven heats, prepare your 9×9 inch baking pan by lining it with parchment paper.
This prevents sticking and allows for easier removal of your cheesecake bites once baked.
Step 2. Combine Dry Ingredients Thoroughly
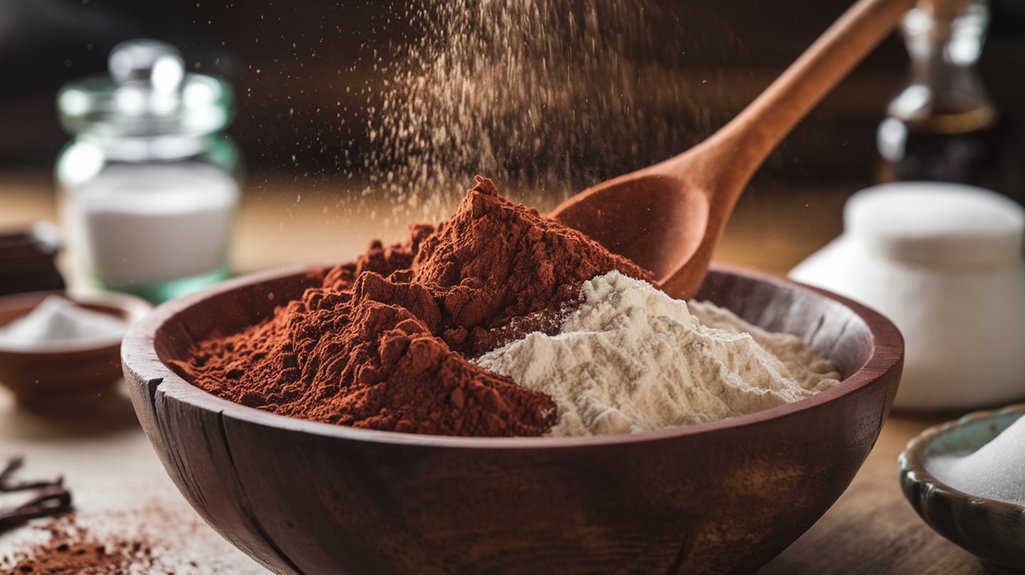
To create the perfect foundation for your Red Velvet Cheesecake Bites, you’ll need to meticulously combine the dry ingredients.
Start by gathering the precise measurements of each component. In a mixing bowl, add the following:
- 1 cup all-purpose flour
- 1 tablespoon cocoa powder
- 1/4 teaspoon baking powder
- 1/4 teaspoon salt
Using a whisk, thoroughly blend these ingredients until they’re uniformly distributed.
This step guarantees that each bite maintains the right balance of texture and flavor.
Pay close attention to the cocoa powder, as it should evenly integrate with the flour.
Properly mixing the dry ingredients contributes to the cake’s lightness and guarantees the baking powder is activated evenly during baking.
Your diligence here sets the stage for success.
Step 3. Cream Butter and Sugar Mixture
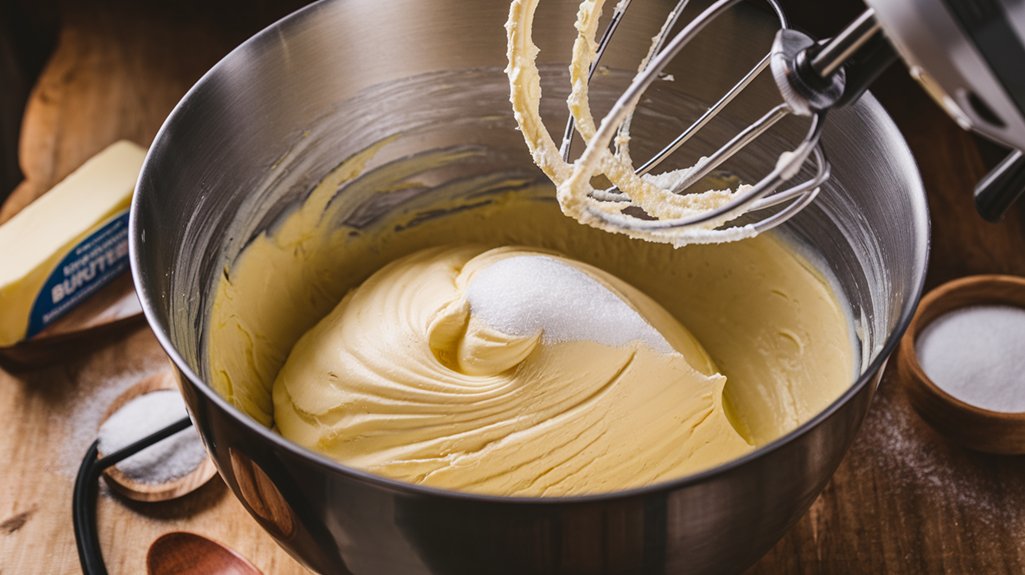
With your dry ingredients thoroughly combined, you can now focus on crafting the butter and sugar mixture.
Begin by placing 1/2 cup of softened unsalted butter into a mixing bowl.
Use an electric mixer to beat the butter until it’s smooth and creamy, around 2-3 minutes.
Gradually add 1 cup of granulated sugar, integrating it with the butter until the mixture is light and fluffy, taking another 3-4 minutes.
This process creates a rich, airy base for your red velvet batter.
| Ingredient | Amount | Purpose |
|---|---|---|
| Unsalted Butter | 1/2 cup | Base for texture and richness |
| Granulated Sugar | 1 cup | Sweetness and structure |
| Mixing Time | 5-7 minutes | Achieve light, fluffy texture |
Ensure your butter is soft for ideal creaming.
Step 4. Add Eggs and Mix Thoroughly
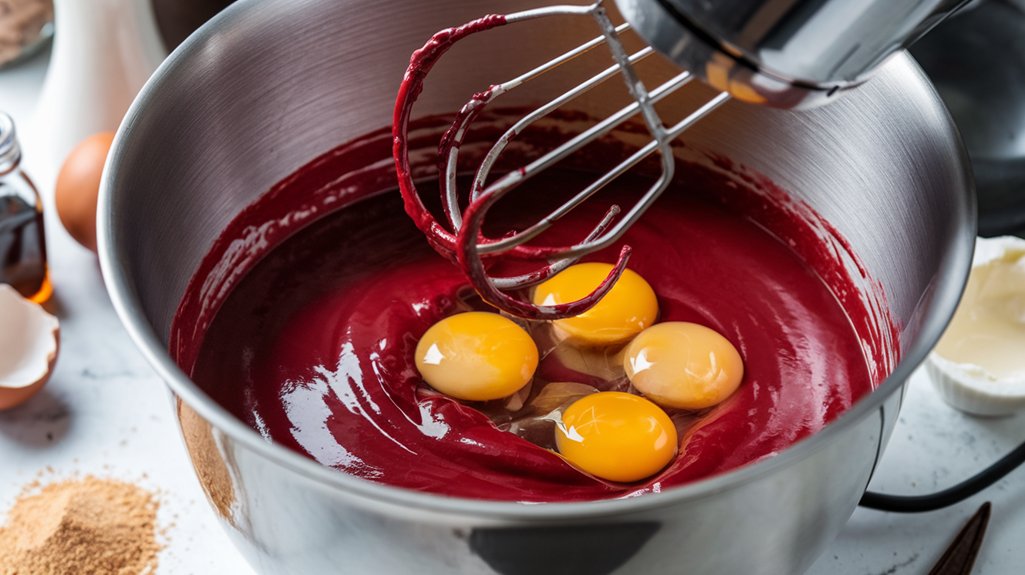
Incorporate the eggs into your butter and sugar mixture to create the foundation of your red velvet batter.
Add four large eggs, one at a time, guaranteeing each is fully integrated before adding the next. This step is essential for achieving a smooth, cohesive batter.
Use your electric mixer set to medium speed for ideal blending. Once the eggs are well combined, introduce 1 teaspoon of vanilla extract to enhance the flavor complexity.
Remember:
- Mix each egg individually until no traces remain.
- Maintain a consistent medium speed with your mixer to avoid overworking the mixture.
- Scrape down the sides of the bowl with a spatula to guarantee even mixing.
- Monitor the batter’s texture; it should be creamy and slightly thick.
This meticulous approach guarantees a well-blended base for your cheesecake bites.
Step 5. Mix in Red Food Coloring
After confirming your eggs and vanilla extract are fully integrated into the butter and sugar mixture, it’s time to add the signature color to your red velvet batter.
Measure precisely 1 tablespoon of red food coloring and pour it into the bowl.
Use your electric mixer on low speed to slowly blend the coloring, guaranteeing an even distribution throughout the mixture.
Be thorough in your mixing to achieve that iconic, vibrant red hue without any streaks.
Once the color is uniform, prepare to combine the dry ingredients.
It’s important that the batter is smooth and consistent in tone. This step is vital for achieving the characteristic appearance of red velvet.
Your attention to detail here will confirm the final bites are visually appealing and evenly flavored.
Serving Tips
- Fresh Berries: Serve with a side of fresh strawberries or raspberries for a burst of fruity freshness that complements the creamy cheesecake.
- Whipped Cream: Add a dollop of whipped cream on top of each bite for an extra layer of indulgence.
- Chocolate Drizzle: Drizzle some melted dark or white chocolate over the bites to enhance the chocolatey flavor.
- Mint Leaves: Garnish with fresh mint leaves for a revitalizing contrast and a pop of color.
- Powdered Sugar Dusting: Lightly dust with powdered sugar for a touch of sweetness and an elegant presentation.
Storage/Freezing/Reheating
Storage: Store Red Velvet Cheesecake Bites in an airtight container in the refrigerator for up to 5 days.
Ascertain they’re completely cooled before storing to maintain freshness and texture.
Freezing: To freeze, wrap each bite individually in plastic wrap and place them in a freezer-safe container.
They can be stored in the freezer for up to 2 months. Thaw in the refrigerator before serving.
Reheating: Red Velvet Cheesecake Bites are best enjoyed cold, but if desired, allow them to sit at room temperature for 10-15 minutes before serving to slightly soften the texture.
Final Thoughts
If you’re looking to impress with a dessert that’s both visually striking and delicious, Red Velvet Cheesecake Bites are an excellent choice.
These bites balance the rich cocoa flavor with the creamy tang of cheesecake.
By following the precise measurements and instructions, you’ll craft a delightful treat.
Guarantee your ingredients are perfectly prepped for success:
- Cream Cheese: Use 8 ounces at room temperature for smooth blending.
- Red Food Coloring: One tablespoon guarantees the signature red hue.
- Eggs: Incorporate them one at a time for an even batter mixture.
- Baking Pan: A 9×9 inch pan provides uniform bite-sized pieces.
Frequently Asked Questions
Can I Use a Different Type of Food Coloring?
Yes, you can use gel or liquid food coloring. Gel provides more vibrant color with less quantity, while liquid might require adjustments. Measure precisely to maintain the desired hue, ensuring it complements the dish’s overall aesthetic and taste.
What Can I Substitute for Cream Cheese?
You can substitute cream cheese with mascarpone cheese or Neufchâtel cheese for a similar texture. Use a 1:1 ratio for either option. Make certain both alternatives are at room temperature for ideal blending and a creamy consistency.
Are There Any Gluten-Free Alternatives for the Flour?
You can substitute the all-purpose flour with a gluten-free blend. Use 1 cup of a mix like rice flour, potato starch, and tapioca flour. Make sure the blend includes xanthan gum for proper binding and texture.
How Can I Make These Bites Vegan?
Substitute 1 cup all-purpose flour with a gluten-free blend. Use 1/2 cup vegan butter, 2 flax eggs (2 tablespoons flaxseed meal + 5 tablespoons water), and 8 ounces vegan cream cheese. Verify sugar and food coloring are vegan-friendly.
What Can I Use Instead of a 9×9 Inch Baking Pan?
You can replace a 9×9 inch baking pan with an 8×8 inch pan. Adjust baking time by checking for doneness a few minutes earlier. Guarantee even batter spreading to maintain consistent thickness and texture for best results.
Red Velvet Cheesecake Bites
Equipment
- 1 x 9×9 inch baking pan
- 1 x Mixing bowl
- 1 x Electric mixer
- 1 x Spatula
- 1 x Measuring cups
- 1 x Measuring spoons
- 1 x Cooling rack
Ingredients
- 1 cup all-purpose flour
- 1 tablespoon cocoa powder
- 1/4 teaspoon baking powder
- 1/4 teaspoon salt
- 1/2 cup unsalted butter softened
- 1 cup granulated sugar
- 4 large eggs
- 1 teaspoon vanilla extract
- 1 tablespoon red food coloring
- 8 ounces cream cheese softened
- 1/3 cup granulated sugar
- 1 teaspoon vanilla extract
Instructions
- Preheat the oven to 350°F (175°C) and line a 9×9 inch baking pan with parchment paper.
- In a mixing bowl, whisk together flour, cocoa powder, baking powder, and salt.
- In another bowl, beat the butter and sugar with an electric mixer until light and fluffy.
- Add the eggs, one at a time, beating well after each addition, then mix in vanilla extract and red food coloring.
- Gradually add the dry ingredients to the wet ingredients, mixing until just combined.
- Spread the red velvet batter evenly into the prepared baking pan.
- In a separate bowl, beat cream cheese, sugar, vanilla extract, and egg until smooth.
- Drop spoonfuls of the cream cheese mixture over the red velvet batter and swirl with a spatula.
- Bake for 18-20 minutes or until set, then remove from the oven and cool on a cooling rack.
- Once cooled, refrigerate for at least 1 hour before cutting into bite-sized squares.
Notes

Cynthia Weatherford is a seasoned chef and culinary enthusiast who serves as the Recipe creator of Somonday. With decades of experience in the kitchen and a passion for exploring diverse cuisines, Cynthia brings a blend of creativity and technique to every dish. Known for transforming simple ingredients into show-stopping meals, Cynthia believes that cooking is an art form anyone can master. Dedicated to inspiring home cooks, Cynthia shares approachable recipes, pro tips, and culinary wisdom to make every meal memorable.


