You’re about to commence on a culinary journey that marries the elegant flavors of red velvet with the creamy delight of cheesecake.
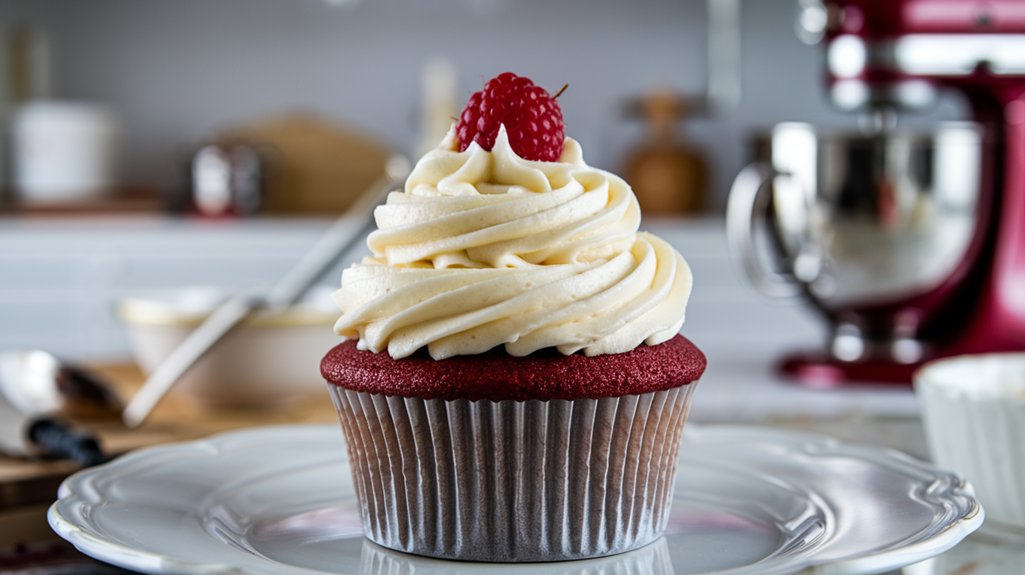
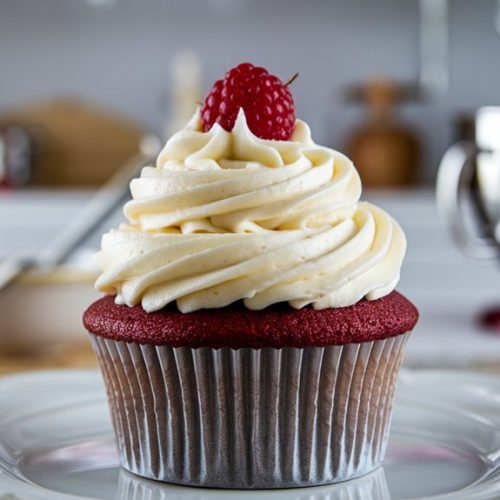
Imagine this: a moist, vibrantly-hued red velvet cupcake cradling a rich, creamy cheesecake center.
Each bite offers a harmonious blend of textures, crowned with a delicate whipped cream topping.
As you gather your ingredients and tools, prepare to transform your kitchen into a haven of sweet artistry.
Ready to indulge your senses?
Kitchen Tools Required
- 1 muffin tin
- 12 cupcake liners
- 1 large mixing bowl
- 1 medium mixing bowl
- 1 electric mixer
- 1 spatula
- 1 wire cooling rack
- 1 piping bag
Ingredients
- 1 cup all-purpose flour
- 1 tablespoon cocoa powder
- 1/4 teaspoon baking soda
- 1/4 teaspoon salt
- 1/2 cup unsalted butter, softened
- 3/4 cup granulated sugar
- 2 large egg
- 1 1/2 teaspoon vanilla extract
- 1/2 cup buttermilk
- 1 tablespoon red food coloring
- 1 teaspoon white vinegar
- 8 ounces cream cheese, softened
- 1/2 cup heavy cream
- 1/4 cup powdered sugar
Cook & Prep Time
To efficiently manage your time while preparing and cooking Red Velvet Cheesecake Cupcakes, follow this timeline:
- Preparation (20 minutes):
- 0:00 – 0:05: Preheat the oven to 350°F (175°C) and line a muffin tin with cupcake liners.
- 0:05 – 0:10: In a large mixing bowl, whisk together flour, cocoa powder, baking soda, and salt.
- 0:10 – 0:15: In a medium mixing bowl, beat together the softened butter and granulated sugar until light and fluffy.
- 0:15 – 0:20: Add the egg and vanilla extract to the butter mixture and mix until combined.
- Mixing and Filling (10 minutes):
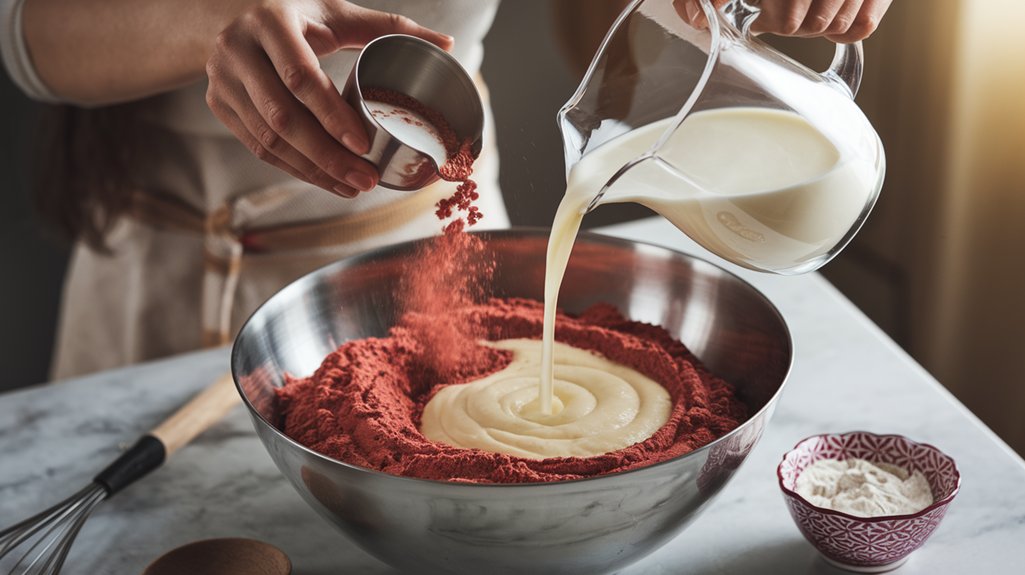
- 0:20 – 0:25: Slowly add dry ingredients to the wet ingredients, alternating with buttermilk, and mix until just combined.
- 0:25 – 0:30: Stir in red food coloring and vinegar until the batter is evenly colored. Fill each cupcake liner halfway with the red velvet batter.
- Cheesecake Filling (10 minutes):
- 0:30 – 0:35: In a separate bowl, beat cream cheese and granulated sugar until smooth.
- 0:35 – 0:40: Add egg and vanilla extract to the cream cheese mixture and beat until fully combined.
- 0:40 – 0:45: Spoon a tablespoon of the cream cheese mixture onto the center of each red velvet batter-filled liner.
- Baking (20 minutes):
- 0:45 – 1:05: Bake the cupcakes in the preheated oven for 18-20 minutes or until a toothpick inserted comes out clean.
- Cooling (35 minutes):
- 1:05 – 1:10: Allow cupcakes to cool in the pan for 5 minutes.
- 1:10 – 1:35: Transfer cupcakes to a wire cooling rack to cool completely (approximately 25 minutes).
- Whipped Cream Topping (15 minutes):
- 1:35 – 1:45: In a clean bowl, whip heavy cream and powdered sugar until stiff peaks form.
- 1:45 – 1:50: Transfer the whipped cream to a piping bag.
- 1:50 – 1:55: Pipe the whipped cream on top of cooled cupcakes.
Recipe
Red Velvet Cheesecake Cupcakes are a delightful treat that combine the classic flavors of red velvet with a creamy cheesecake center, making them an indulgent dessert perfect for any occasion.
With a luscious red velvet cake base and a rich, tangy cream cheese filling, these cupcakes are bound to impress your friends and family.
Whether you’re making them for a party or just to enjoy at home, they’re an irresistible combination that will satisfy any sweet tooth.
To make these cupcakes, you’ll need a few basic ingredients and some simple kitchen equipment.
The process involves creating a red velvet batter, a cream cheese filling, and a fluffy whipped cream topping.
The cupcakes bake up beautifully, with a moist texture and a striking contrast between the red cake and the creamy center.
Once cooled, they’re topped with a light and airy whipped cream that complements the richness of the cheesecake filling.
To prepare the cupcakes, preheat your oven to 350°F (175°C) and line a muffin tin with cupcake liners.
Begin by whisking together the flour, cocoa powder, baking soda, and salt in a large mixing bowl.
In a separate bowl, cream the butter and granulated sugar until light and fluffy, then mix in the egg and vanilla extract.
Gradually add the dry ingredients to the wet mixture, alternating with buttermilk, until just combined.
Stir in the red food coloring and vinegar to achieve the signature red hue.
Fill each cupcake liner halfway with the batter.
In another bowl, beat the cream cheese and sugar until smooth, adding an egg and vanilla extract until fully mixed.
Place a tablespoon of this cream cheese mixture in the center of each red velvet-filled liner.
Bake for 18-20 minutes, or until a toothpick comes out clean.
Let the cupcakes cool for 5 minutes in the pan before transferring them to a wire rack to cool completely.
Finally, whip the heavy cream and powdered sugar to stiff peaks and pipe onto the cooled cupcakes.
For the best results, use high-quality cocoa powder to enhance the flavor of your red velvet cupcakes.
Confirm your cream cheese is properly softened to achieve a smooth filling.
If the red color isn’t vibrant enough, feel free to add a bit more food coloring until you reach your desired shade.
Allow the cupcakes to cool completely before topping with whipped cream to prevent it from melting.
Enjoy these delightful cupcakes as a stunning and delicious dessert for any occasion!
Cooking Steps
You’ll start your red velvet cheesecake cupcakes by preheating your oven to 350°F, guaranteeing an even bake.
In a large bowl, meticulously combine all-purpose flour, cocoa powder, baking soda, and salt to guarantee a uniform dry mix.
Next, cream softened butter with granulated sugar until the texture is light and airy, then blend in the egg and vanilla extract, creating a smooth, well-incorporated mixture.
Step 1. Preheat Oven to 350°F
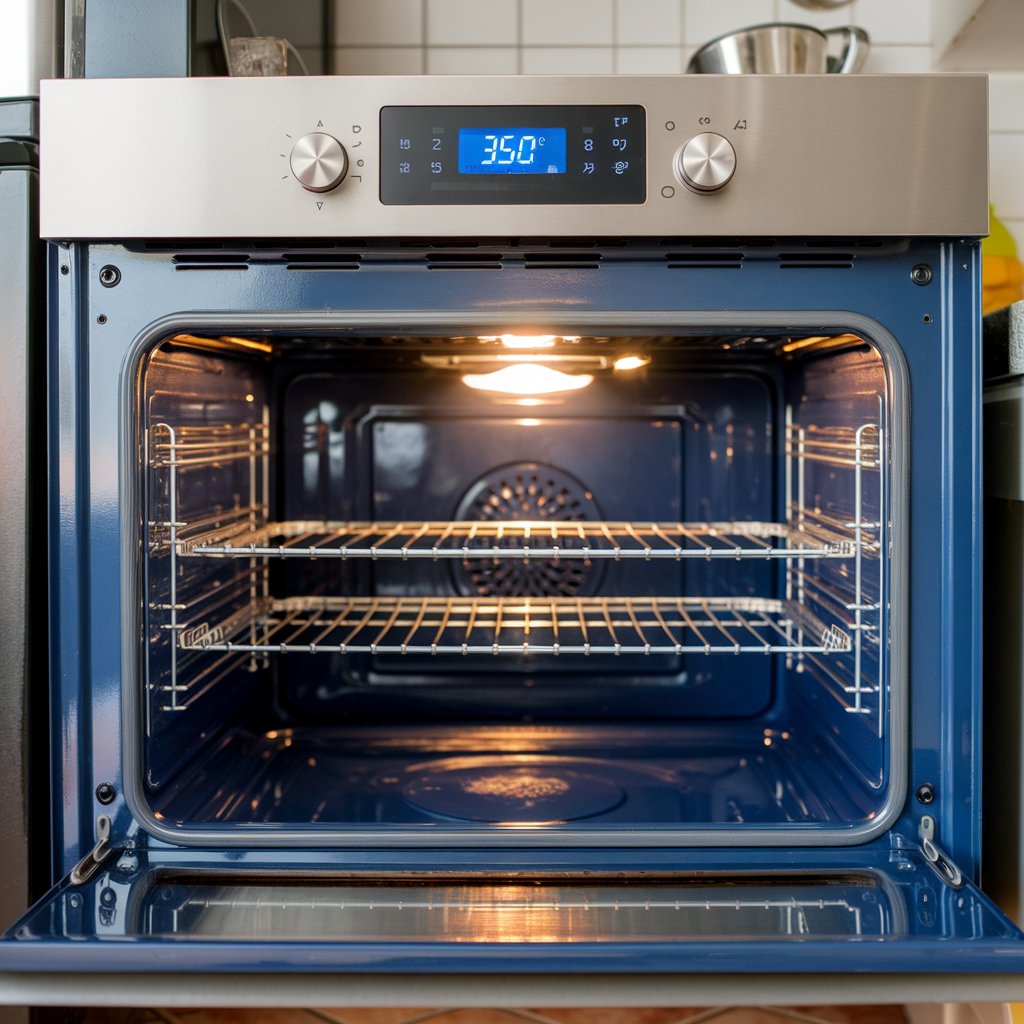
As you commence creating these delightful Red Velvet Cheesecake Cupcakes, begin by setting your oven to 350°F (175°C), guaranteeing it reaches the proper temperature for ideal baking results.
This precise temperature is essential for achieving a perfect balance of texture and flavor.
Once the oven is preheating, line your muffin tin with cupcake liners, meticulously positioning each for uniformity.
This simple yet significant step prevents sticking and facilitates an even rise.
The aroma of preheating will soon fill your kitchen, setting the stage for your baking masterpiece.
As the oven reaches its desired heat, it’s your cue to shift seamlessly into the next phase.
Every moment counts in baking, and this attention to detail guarantees your cupcakes’ success.
Step 2. Combine Dry Ingredients Thoroughly
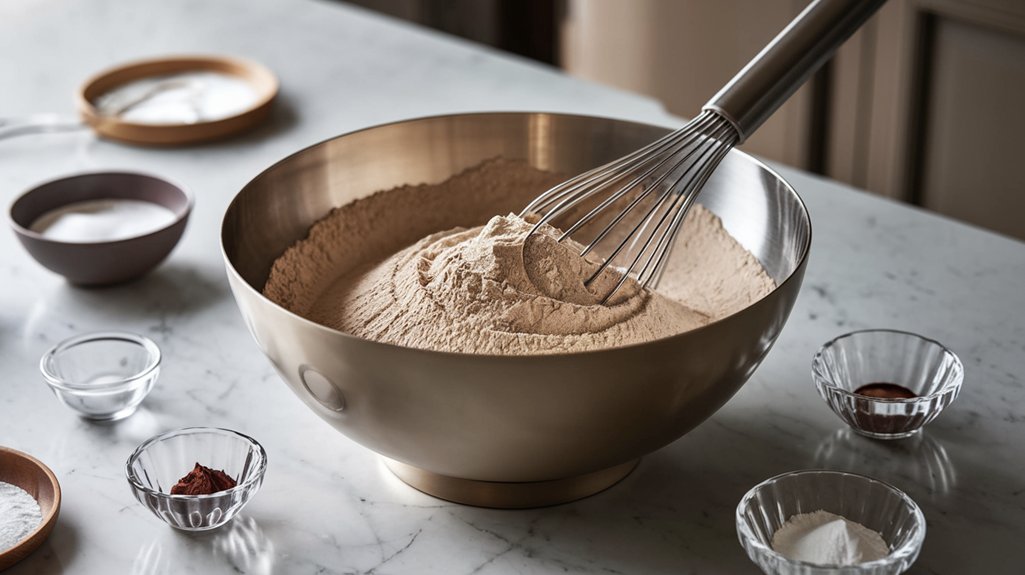
While the oven preheats, focus on the foundational step of combining the dry ingredients to guarantee your cupcakes achieve the right texture.
Gather your large mixing bowl and whisk, two essential tools for this task.
Measure precisely: 1 cup all-purpose flour, 1 tablespoon cocoa powder, 1/4 teaspoon baking soda, and 1/4 teaspoon salt. Add them to the bowl.
Whisk with a gentle, rhythmic motion, ensuring the cocoa powder disperses evenly, and the baking soda and salt integrate seamlessly into the flour.
This meticulous blending process not only aerates the flour but also prevents lumps, ensuring a smooth batter.
Take a moment to appreciate the uniform, rich cocoa hue, a prelude to the decadent cupcakes you’ll soon enjoy.
Your dry mixture’s now ready to meet its creamy counterpart.
Step 3. Cream Butter and Sugar Mixture
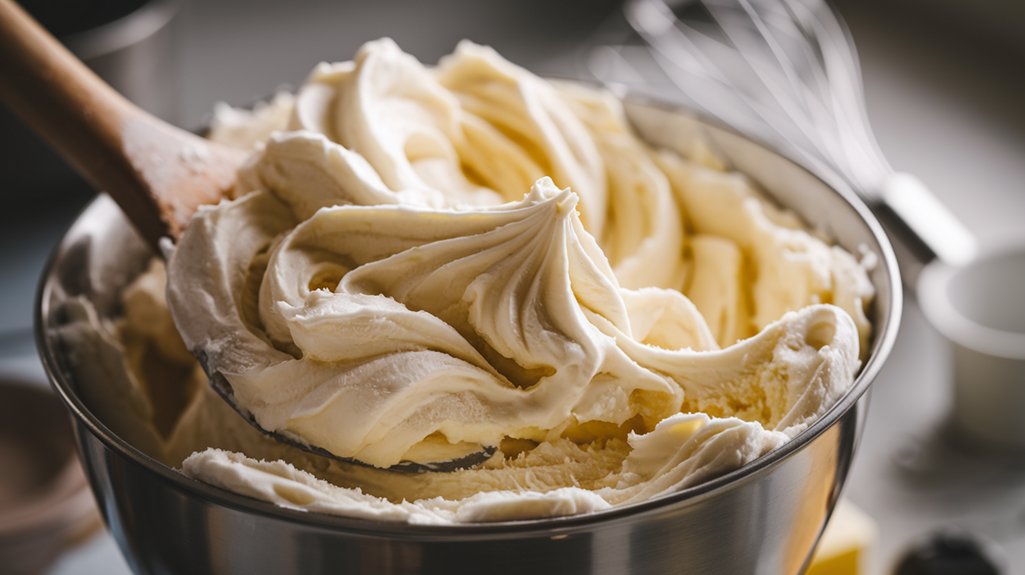
Begin by taking your medium mixing bowl and combining the softened butter with the granulated sugar.
Use your electric mixer to beat the mixture until it reaches a light, fluffy consistency.
This process is essential as it incorporates air, creating a smoother texture for your cupcake batter.
Follow these steps to perfect your creaming technique:
- Start on low speed: Gradually increase to medium-high, preventing sugar spillage and guaranteeing even mixing.
- Observe color change: The mixture should become pale and creamy, indicating proper aeration.
- Check texture: Scrape down the bowl’s sides with a spatula to confirm all particles are blended.
This meticulous creaming step lays the foundation for your red velvet cupcakes, making sure they’re as tender and delightful as they’re visually stunning.
Step 4. Mix in Egg and Vanilla

Having achieved a light and fluffy texture in your butter and sugar mixture, it’s time to incorporate the egg and vanilla extract, enhancing the batter’s richness and depth.
Carefully crack the egg into the bowl, ensuring no shell bits slip through.
As you pour in the vanilla extract, a fragrant wave envelops the room, setting the stage for a robust flavor profile.
Use your electric mixer on a medium setting, blending until just combined.
| Step | Action |
|---|---|
| Crack Egg | Add to butter-sugar mixture |
| Add Vanilla | Pour in 1 teaspoon |
| Mix Settings | Use medium speed on mixer |
| Consistency | Aim for a smooth, cohesive mix |
| Visual Check | Batter should be creamy |
Every ingredient marries harmoniously in this step, crafting a velvety cake batter base.
Step 5. Alternate Dry and Wet Ingredients
As you progress to the essential step of alternating dry and wet ingredients, make certain each addition is well-balanced to achieve a uniform batter.
Begin by making sure your mixer is set to low speed for controlled integration.
- Add a third of the dry mixture – Slowly incorporate the flour blend into the butter mixture, mixing until just combined.
- Pour in half of the buttermilk – Introduce it gently, allowing the batter to absorb the moisture evenly.
- Repeat the process – Continue with another third of the dry ingredients, followed by the remaining buttermilk, and finally, the last of the dry mixture.
This method makes for a smooth, lump-free batter, ready to be transformed by the vibrant red food coloring and the tang of vinegar.
Serving Tips
- Fresh Berries: Serve with a side of strawberries or raspberries for a burst of freshness and color contrast.
- Chocolate Drizzle: Add a drizzle of melted chocolate over the whipped cream for an extra layer of indulgence.
- Mint Leaves: Garnish with fresh mint leaves to add a hint of freshness and an elegant touch.
- Vanilla Ice Cream: Pair with a scoop of vanilla ice cream for a classic combination of warm and cold dessert elements.
- Espresso Shot: Serve with a shot of espresso to balance the sweetness with a rich coffee flavor.
Storage/Freezing/Reheating
Storage: Store Red Velvet Cheesecake Cupcakes in an airtight container in the refrigerator for up to 3 days to maintain freshness and prevent the whipped cream from spoiling.
Freezing: To freeze, wrap cupcakes individually in plastic wrap, then place in a freezer-safe container.
They can be frozen for up to 2 months. Thaw in the refrigerator overnight before serving.
Reheating: For the best taste, allow refrigerated cupcakes to come to room temperature before serving.
Avoid microwaving as it can alter the texture of the cheesecake filling.
Final Thoughts
Even though Red Velvet Cheesecake Cupcakes may appear elaborate, they’re surprisingly straightforward to make with the right tools and ingredients.
By following each step meticulously, you’ll achieve a delightful harmony of flavors and textures.
The vibrant red velvet base, paired with a creamy cheesecake center, offers a visual and gustatory feast.
Ensure your cocoa powder is high-quality for ideal taste, and the cream cheese is adequately softened for a silky filling.
The contrast of the rich red hue against the velvety white cheesecake is an artistic masterpiece.
As a finishing touch, the whipped cream crown adds elegance and a hint of sweetness.
These cupcakes aren’t just desserts; they’re an experience, a demonstration of the joy of baking with precision and creativity.
Frequently Asked Questions
Can I Use Gluten-Free Flour for This Recipe?
Yes, you can substitute gluten-free flour. Confirm you use a blend designed for baking to maintain texture. Mix thoroughly to prevent lumps. Check doneness with a toothpick, as baking times may slightly vary. Enjoy your gluten-free delight!
How Can I Make These Cupcakes Vegan?
To make these cupcakes vegan, substitute gluten-free flour with almond flour, replace butter with coconut oil, use flaxseed meal as the egg replacer, and swap cream cheese and heavy cream with vegan alternatives. Add coconut milk for richness.
What Is a Substitute for Buttermilk?
For a buttermilk substitute, mix 1/2 cup plant-based milk with 1/2 tablespoon lemon juice or apple cider vinegar. Stir gently, let it sit for 5 minutes. This creates a tangy, slightly thickened mixture, perfect for baking.
Can I Add Nuts or Chocolate Chips to the Batter?
Sure, you can add nuts or chocolate chips to the batter. Gently fold in 1/2 cup of your choice after mixing the batter. Guarantee even distribution for a delightful texture and enhanced flavor in every bite.
How Do I Prevent the Cheesecake Filling From Sinking?
To prevent cheesecake filling from sinking, make certain batter consistency is thick enough to support it. Create a slight indentation in the batter, then gently spoon filling. Avoid overmixing and maintain oven temperature for even baking.
Red Velvet Cheesecake Cupcake
Equipment
- 1 muffin tin
- 12 cupcake liners
- 1 large mixing bowl
- 1 medium mixing bowl
- 1 Electric mixer
- 1 Spatula
- 1 wire cooling rack
- 1 piping bag
Ingredients
- 1 cup all-purpose flour
- 1 tablespoon cocoa powder
- 1/4 teaspoon baking soda
- 1/4 teaspoon salt
- 1/2 cup unsalted butter softened
- 3/4 cup granulated sugar
- 2 large egg
- 1 1/2 teaspoon vanilla extract
- 1/2 cup buttermilk
- 1 tablespoon red food coloring
- 1 teaspoon white vinegar
- 8 ounces cream cheese softened
- 1/2 cup heavy cream
- 1/4 cup powdered sugar
Instructions
- Preheat the oven to 350°F (175°C) and line a muffin tin with cupcake liners.
- In a large mixing bowl, whisk together flour, cocoa powder, baking soda, and salt.
- In a medium mixing bowl, beat together butter and granulated sugar until light and fluffy.
- Add egg and vanilla extract to the butter mixture and mix until combined.
- Slowly add dry ingredients to the wet ingredients, alternating with buttermilk, and mix until just combined.
- Stir in red food coloring and vinegar until the batter is evenly colored.
- Fill each cupcake liner halfway with the red velvet batter.
- In a separate bowl, beat cream cheese and granulated sugar until smooth.
- Add egg and vanilla extract to the cream cheese mixture and beat until fully combined.
- Spoon a tablespoon of the cream cheese mixture onto the center of each red velvet batter-filled liner.
- Bake the cupcakes in the preheated oven for 18-20 minutes or until a toothpick inserted comes out clean.
- Allow cupcakes to cool in the pan for 5 minutes, then transfer to a wire cooling rack to cool completely.
- In a clean bowl, whip heavy cream and powdered sugar until stiff peaks form.
- Transfer the whipped cream to a piping bag and pipe on top of cooled cupcakes.
Notes

Cynthia Weatherford is a seasoned chef and culinary enthusiast who serves as the Recipe creator of Somonday. With decades of experience in the kitchen and a passion for exploring diverse cuisines, Cynthia brings a blend of creativity and technique to every dish. Known for transforming simple ingredients into show-stopping meals, Cynthia believes that cooking is an art form anyone can master. Dedicated to inspiring home cooks, Cynthia shares approachable recipes, pro tips, and culinary wisdom to make every meal memorable.


