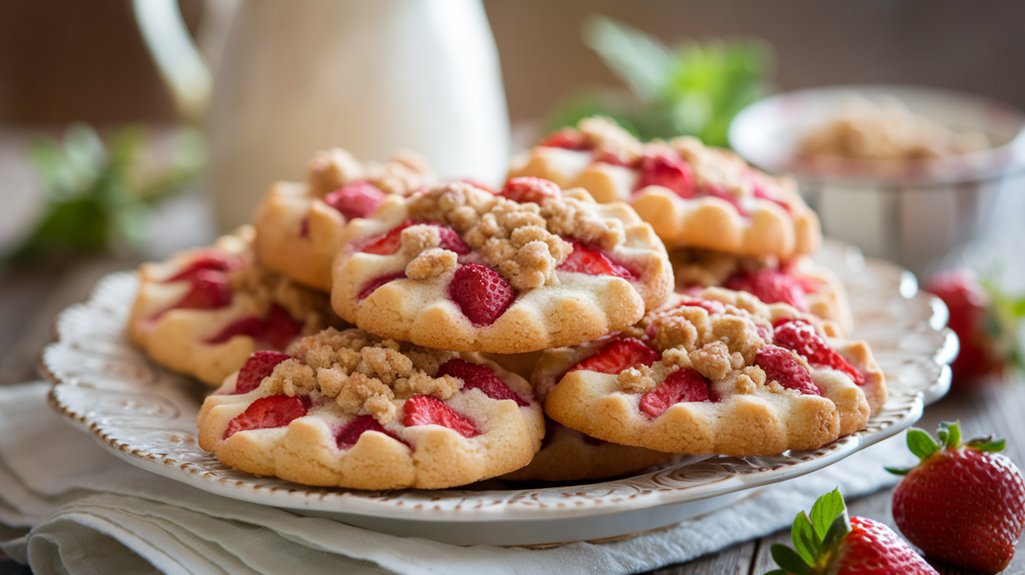
Imagine biting into a Strawberry Crunch Cookie, where the tartness of strawberries meets the creamy smoothness of white chocolate.
You’ll need basic kitchen tools like a mixer and baking sheet, alongside ingredients such as strawberry gelatin mix and freeze-dried strawberries.
The cookies’ crispy edges and chewy centers offer a delightful texture contrast.
As you commence on preparing this treat, you’ll discover a balance of flavors that promises more than just a simple snack.
Kitchen Tools Required
- 1 Mixing bowl
- 1 Electric mixer
- 1 Baking sheet
- 1 Parchment paper
- 1 Cooling rack
- 1 Measuring cup set
- 1 Measuring spoon set
- 1 Cookie scoop
Ingredients
- 1 cup unsalted butter, softened
- 1 cup granulated sugar
- 1/2 cup brown sugar, packed
- 2 large eggs
- 1 teaspoon vanilla extract
- 2 3/4 cups all-purpose flour
- 1 teaspoon baking soda
- 1/2 teaspoon salt
- 1 package (3 oz) strawberry gelatin mix
- 1 cup freeze-dried strawberries, crushed
- 1/2 cup white chocolate chips
Cook & Prep Time
To efficiently manage your time while preparing and baking Strawberry Crunch Cookies, you can follow this timeline:
- Preparation (15 minutes)
- 0:00 – 0:05: Gather all ingredients and equipment.
- 0:05 – 0:10: Preheat the oven to 350°F (175°C) and line a baking sheet with parchment paper.
- 0:10 – 0:15: Measure and mix ingredients as follows:
- Cream together the butter, granulated sugar, and brown sugar until fluffy.
- Add the eggs one at a time, mixing well after each addition.
- Stir in the vanilla extract.
- In a separate bowl, whisk together the flour, baking soda, salt, and strawberry gelatin mix.
- Mixing and Shaping (10 minutes)
- 0:15 – 0:20: Gradually add the dry ingredients to the wet ingredients, mixing until just combined.
- 0:20 – 0:25: Fold in the crushed freeze-dried strawberries and white chocolate chips.
- 0:25 – 0:30: Use a cookie scoop to drop dough onto the prepared baking sheet, spacing them about 2 inches apart.
- Baking (12 minutes)
- 0:30 – 0:42: Bake for 10-12 minutes or until the edges are lightly golden.
- Cooling (10 minutes)
- 0:42 – 0:47: Remove the cookies from the oven and let them cool on the baking sheet for 5 minutes.
- 0:47 – 0:52: Transfer the cookies to a cooling rack to cool completely.
Recipe
Strawberry Crunch Cookies are a delightful treat that combines the sweet and tangy flavors of strawberries with the rich creaminess of white chocolate.
These cookies are perfect for any occasion, whether it’s a family gathering or a casual afternoon snack.
The addition of strawberry gelatin mix and freeze-dried strawberries gives these cookies their signature strawberry flavor and a beautiful pink hue, making them as visually appealing as they’re delicious.
With a crisp edge and a soft, chewy center, these cookies are sure to become a favorite.
To get started, you’ll need to gather your ingredients and equipment.
The recipe is straightforward and doesn’t require any fancy gadgets, just some basic kitchen tools like a mixing bowl and an electric mixer.
The preparation time is quick, and the result is a batch of 24 delectable cookies that can be enjoyed fresh out of the oven or stored for later indulgence.
To make the Strawberry Crunch Cookies, start by preheating your oven to 350°F (175°C) and lining a baking sheet with parchment paper.
In a mixing bowl, cream together the softened butter, granulated sugar, and brown sugar until the mixture is fluffy.
Beat in the eggs one at a time, ensuring each is well incorporated before adding the next, then mix in the vanilla extract.
In a separate bowl, whisk together the flour, baking soda, salt, and strawberry gelatin mix.
Gradually combine the dry ingredients with the wet ingredients until just mixed.
Gently fold in the crushed freeze-dried strawberries and white chocolate chips.
Using a cookie scoop, drop dough onto the prepared baking sheet, spacing them about 2 inches apart.
Bake for 10-12 minutes until the edges are lightly golden. Let the cookies cool on the baking sheet for 5 minutes before transferring them to a cooling rack to cool completely.
For the best results, make sure your butter is softened to room temperature before creaming it with the sugars, as this will help achieve the ideal cookie texture.
If you’re a fan of an even stronger strawberry flavor, consider adding a few drops of strawberry extract to the dough.
And remember, don’t overbake the cookies; remove them from the oven when the edges are just beginning to turn golden, as they’ll continue to firm up while cooling on the baking sheet.
Enjoy your Strawberry Crunch Cookies!
Cooking Steps
Start by preheating your oven to 350°F to guarantee it’s ready for baking.
Cream the softened butter with granulated and brown sugars until the mixture is fluffy and smooth.
Then, mix in the eggs one at a time, followed by thoroughly incorporating the vanilla extract to enhance the flavor profile.
Step 1. Preheat Oven to 350°F
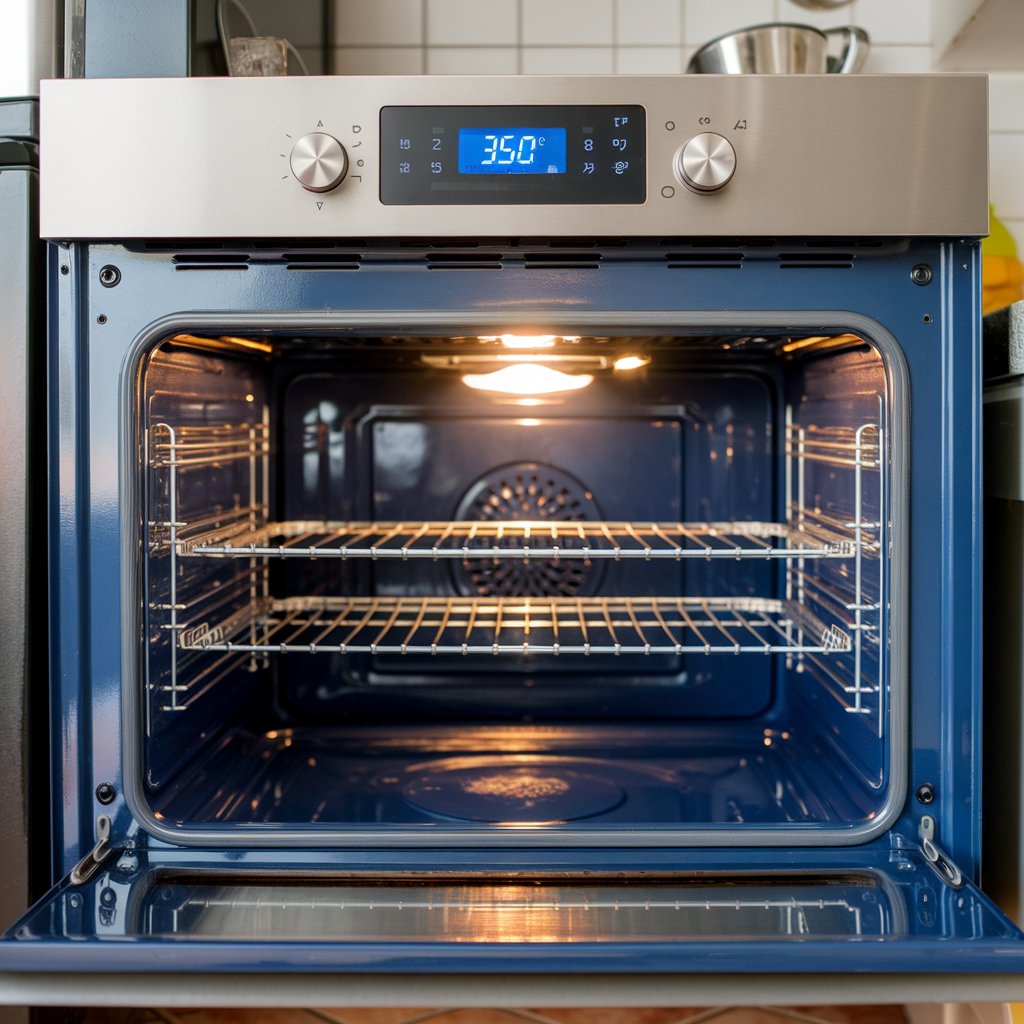
Begin by setting your oven to 350°F (175°C) to make certain it’s at the right temperature when your cookie dough is ready.
This precise preheating step is essential for achieving the perfect bake on your Strawberry Crunch Cookies.
While your oven heats, line a baking sheet with parchment paper to guarantee even baking and easy removal.
The parchment acts as a barrier, preventing the cookies from sticking and promoting uniform heat distribution.
Accuracy is key here; use an oven thermometer if necessary to confirm the temperature.
The gentle heat will encourage the strawberry and white chocolate flavors to meld beautifully.
Step 2. Cream Butter and Sugars

Before you plunge into mixing, make sure your butter is softened to room temperature for ideal creaming.
This guarantees a smooth blend with both granulated and brown sugars, creating a light, fluffy foundation for your Strawberry Crunch Cookies.
Use an electric mixer on medium speed to achieve a creamy consistency. Here’s what you should focus on:
- Butter Texture: Softened, not melted. This allows air to incorporate, enhancing volume.
- Sugar Ratio: Balance sweetness with 1 cup granulated and 1/2 cup packed brown sugar. The brown sugar adds moisture and a hint of caramel flavor.
- Mixing Duration: Cream the mixture for approximately 3-4 minutes. You’re looking for a pale, airy concoction, signaling readiness for the next ingredients.
Step 3. Mix in Eggs Individually
Once you’ve achieved a fluffy butter and sugar mixture, it’s essential to incorporate the eggs one at a time to guarantee a smooth, well-blended dough.
Begin by cracking the first egg into the bowl and using an electric mixer on low speed to gently blend it with the creamed mixture.
This guarantees the egg emulsifies with the fats, preventing any curdling.
Once fully integrated, add the second egg, repeating the same process.
Mixing each egg thoroughly allows the dough to maintain a uniform consistency, important for achieving the perfect cookie texture.
Be mindful to scrape down the sides of the mixing bowl with a spatula as needed, ensuring every ingredient is evenly distributed before proceeding to the next step.
Step 4. Incorporate Vanilla Extract Thoroughly

With both eggs fully integrated into the mixture, it’s time to add the vanilla extract.
Measure precisely 1 teaspoon of vanilla extract and pour it into the bowl.
Use your electric mixer on low speed to guarantee the extract is distributed uniformly throughout the batter.
This not only enhances the aroma but also guarantees a balanced flavor in each cookie.
To achieve peak results, follow these steps:
- Measure Accurately: Use a measuring spoon to avoid over or under-flavoring.
- Mix Gradually: Start the mixer slowly to incorporate the extract without splattering.
- Observe Consistency: Blend until the mixture is homogenous, with no visible streaks of liquid.
Incorporating vanilla extract properly lays the foundation for the delectable taste of your strawberry crunch cookies.
Step 5. Combine Dry Ingredients Thoroughly
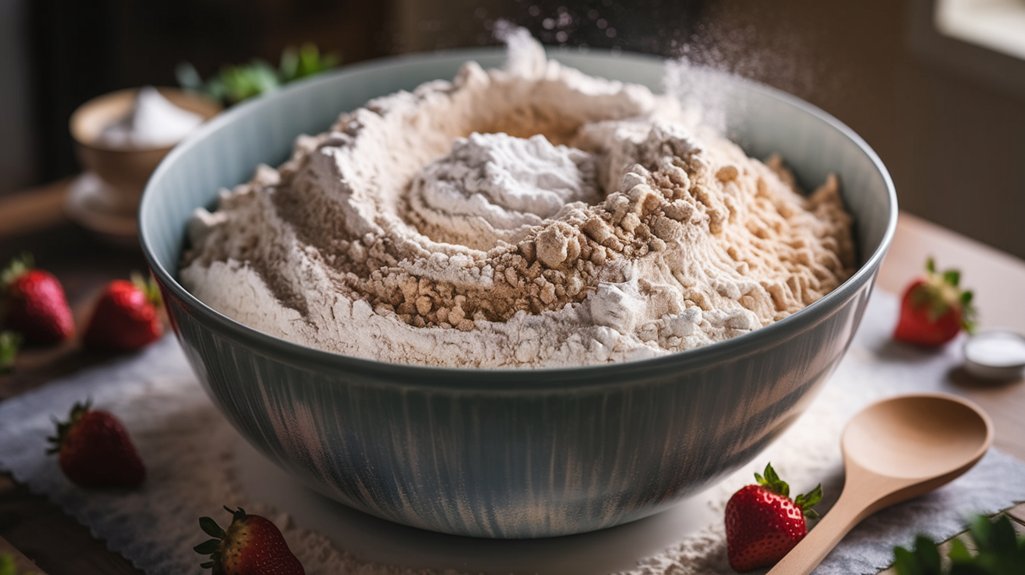
To guarantee your cookies have the perfect texture, start by whisking together the dry ingredients.
In a mixing bowl, combine 2 3/4 cups of all-purpose flour, 1 teaspoon of baking soda, 1/2 teaspoon of salt, and the entire 3-ounce package of strawberry gelatin mix.
Use a whisk to make sure these components are evenly distributed, breaking up any clumps in the flour or gelatin.
This step is vital for achieving a uniform texture and making certain the strawberry flavor is well-integrated throughout each cookie.
Thorough mixing also helps the baking soda activate uniformly, promoting even rising.
Once combined, gradually incorporate this mixture into your wet ingredients.
Don’t rush this step; patience guarantees every bite is perfectly balanced and delicious.
Serving Tips
- Vanilla Ice Cream: Pair the cookies with a scoop of vanilla ice cream for a classic dessert combination.
- Strawberry Milkshake: Enjoy the cookies alongside a strawberry milkshake for a double dose of strawberry flavor.
- Topped with Whipped Cream: Add a dollop of whipped cream on top of each cookie for an extra creamy touch.
- Dipped in Melted Chocolate: Dip half of each cookie in melted dark or white chocolate for a decadent treat.
- Fruit Parfait: Crumble the cookies over a fruit parfait for added crunch and sweetness.
Storage/Freezing/Reheating
Storage: Store Strawberry Crunch Cookies in an airtight container at room temperature for up to one week. This helps maintain their freshness and prevents them from becoming stale.
Freezing: To freeze, place cookies in a single layer on a baking sheet, then transfer to a freezer-safe bag. They can be frozen for up to three months.
Reheating: Reheat cookies in a preheated oven at 300°F (150°C) for about 5 minutes. This restores their crispiness without drying them out.
Avoid using a microwave.
Final Thoughts
While ensuring your Strawberry Crunch Cookies stay fresh with proper storage techniques, it’s important to reflect on the delightful experience these treats offer.
Each bite combines the perfect balance of textures and flavors, making them a true delight for the senses.
Here are three key aspects to contemplate:
- Flavor Harmony: The strawberry gelatin mix and freeze-dried strawberries infuse a robust berry flavor, beautifully contrasted by the creamy white chocolate chips.
- Texture Excellence: Achieve a crisp edge with a soft center by not overbaking. Proper cooling is essential to maintain this texture.
- Storage Savvy: Use airtight containers to preserve freshness, extending enjoyment for up to a week.
Frequently Asked Questions
Can I Use Fresh Strawberries Instead of Freeze-Dried?
You can’t directly substitute fresh strawberries for freeze-dried ones. Fresh strawberries add moisture, altering texture and consistency. Stick to freeze-dried for best results, or adjust flour and baking time if using fresh for moisture balance.
How Can I Make These Cookies Gluten-Free?
To make them gluten-free, substitute all-purpose flour with a gluten-free flour blend. Ascertain the blend includes xanthan gum for structure. Check all other ingredients for gluten-free labels, especially the strawberry gelatin mix and white chocolate chips.
What Substitutions Can Be Made for White Chocolate Chips?
Replace white chocolate chips with dark chocolate chips for a richer flavor or try yogurt chips for a tangy twist. You could also opt for chopped nuts to add a crunchy texture, enhancing your cookie’s complexity.
Are There Any Vegan Alternatives for Ingredients in This Recipe?
You can substitute vegan butter for unsalted butter and use flax eggs instead of regular eggs. Opt for a plant-based gelatin alternative and dairy-free white chocolate chips to maintain texture and flavor while keeping the recipe vegan-friendly.
Can I Add Nuts to the Cookie Dough for Extra Crunch?
You can add nuts to the dough for extra crunch. Choose finely chopped nuts like almonds or pecans. Fold them in after incorporating the chocolate chips. Make certain nuts are evenly distributed for consistent texture throughout.
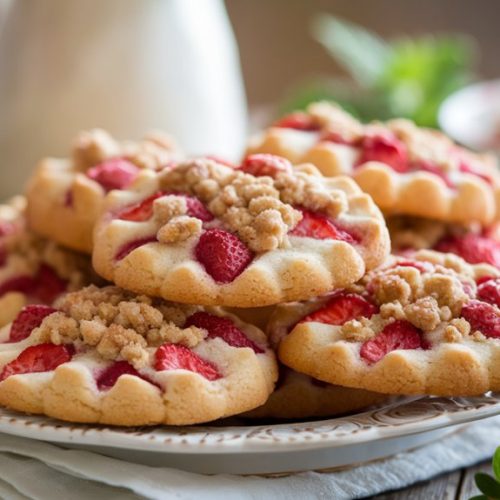
Strawberry Crunch Cookies
Equipment
- 1 Mixing bowl
- 1 Electric mixer
- 1 Baking sheet
- 1 Parchment paper
- 1 Cooling rack
- 1 measuring cup set
- 1 measuring spoon set
- 1 Cookie scoop
Ingredients
- 1 cup unsalted butter softened
- 1 cup granulated sugar
- 1/2 cup brown sugar packed
- 2 large eggs
- 1 teaspoon vanilla extract
- 2 3/4 cups all-purpose flour
- 1 teaspoon baking soda
- 1/2 teaspoon salt
- 1 package 3 oz strawberry gelatin mix
- 1 cup freeze-dried strawberries crushed
- 1/2 cup white chocolate chips
Instructions
- Preheat the oven to 350°F (175°C) and line a baking sheet with parchment paper.
- In a mixing bowl, cream together the butter, granulated sugar, and brown sugar until fluffy.
- Add the eggs one at a time, mixing well after each addition.
- Stir in the vanilla extract until combined.
- In a separate bowl, whisk together the flour, baking soda, salt, and strawberry gelatin mix.
- Gradually add the dry ingredients to the wet ingredients, mixing until just combined.
- Fold in the crushed freeze-dried strawberries and white chocolate chips.
- Use a cookie scoop to drop dough onto the prepared baking sheet, spacing them about 2 inches apart.
- Bake for 10-12 minutes or until the edges are lightly golden.
- Remove from the oven and let the cookies cool on the baking sheet for 5 minutes before transferring to a cooling rack to cool completely.
Notes

Cynthia Weatherford is a seasoned chef and culinary enthusiast who serves as the Recipe creator of Somonday. With decades of experience in the kitchen and a passion for exploring diverse cuisines, Cynthia brings a blend of creativity and technique to every dish. Known for transforming simple ingredients into show-stopping meals, Cynthia believes that cooking is an art form anyone can master. Dedicated to inspiring home cooks, Cynthia shares approachable recipes, pro tips, and culinary wisdom to make every meal memorable.


