
Imagine crafting a creamy caramel banana pudding that marries the rich allure of caramel with the sweet simplicity of bananas.
Your precision in layering vanilla wafers and the silky vanilla custard is key.
The whipped cream adds a cloud-like finish, enhancing the textural contrast.
With careful attention to each step, you’ll create a dessert that promises a symphony of flavors.
Could this be the indulgent treat your culinary repertoire has been missing?
Kitchen Tools Required
As you commence on crafting this delectable Creamy Caramel Banana Pudding, having the right kitchen tools at your disposal assures precision and ease in preparation.
You’ll need a robust arsenal to tackle each step of this culinary endeavor.
A medium saucepan becomes the stage for your sugar and milk symphony.
The whisk is your baton, elegantly blending ingredients into a luscious custard.
The mixing bowl hosts the egg yolks, primed for tempering.
A 9×9-inch baking dish is your canvas, where layers of wafers, bananas, and pudding harmonize.
A sharp knife guarantees precise banana slices, while a spatula aids in smooth layering.
Plastic wrap protects your masterpiece, making sure it sets to perfection.
| Tool | Purpose |
|---|---|
| Saucepan | Cook custard |
| Whisk | Blend ingredients |
| Mixing bowl | Temper egg yolks |
| Baking dish | Layer ingredients |
| Plastic wrap | Refrigerate pudding |
Recipe
Creamy Caramel Banana Pudding is a delightful dessert that combines the rich flavors of caramel, ripe bananas, and a smooth, creamy pudding.
Perfect for any occasion, this American classic is sure to impress your family and friends with its layers of vanilla wafers and fluffy whipped cream.
The preparation is straightforward, and with a little patience, your efforts will be rewarded with a delicious treat that everyone will love.
To start, you’ll want to gather all your ingredients and equipment to guarantee a smooth cooking process.
This dessert is made in a few stages, starting with creating the pudding base and followed by layering the components for a beautiful presentation.
Once assembled, it’s important to let the pudding rest in the refrigerator to allow the flavors to meld and the textures to set.
Ingredients:
- 1 cup granulated sugar
- 3 tablespoons cornstarch
- 1/4 teaspoon salt
- 2 1/2 cups whole milk
- 4 large egg yolks
- 2 teaspoons vanilla extract
- 3 tablespoons unsalted butter
- 1/3 cup caramel sauce
- 4 ripe bananas, sliced
- 1 cup heavy cream, whipped
- 1 box vanilla wafers
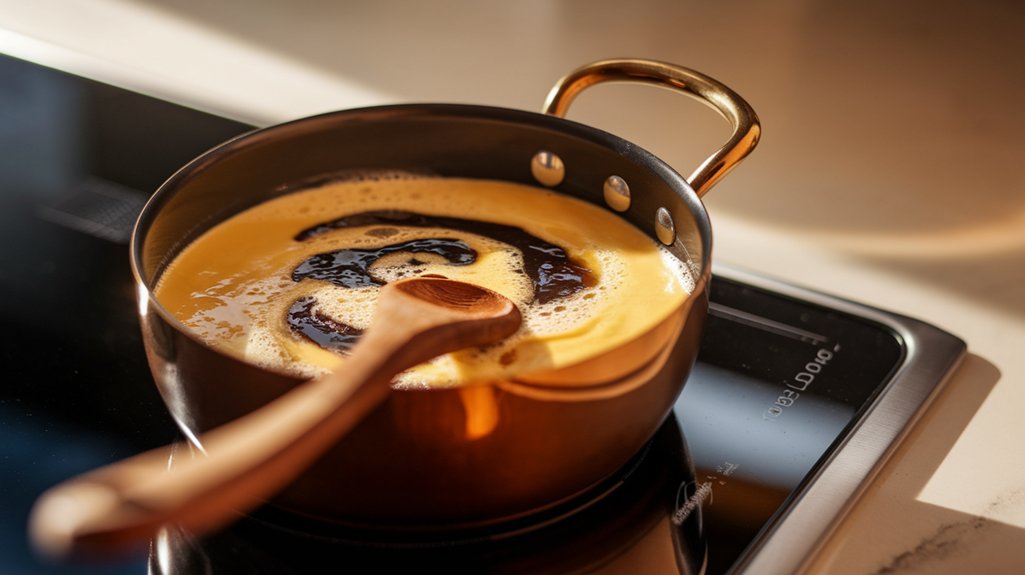
To prepare the Creamy Caramel Banana Pudding, begin by combining the sugar, cornstarch, and salt in a medium saucepan.
Gradually whisk in the milk over medium heat, stirring continuously until the mixture thickens.
In a separate bowl, whisk the egg yolks, then slowly incorporate some of the hot milk mixture to temper the yolks.
Return the yolk mixture to the saucepan and cook for an additional two minutes.
Remove from heat and stir in the vanilla extract, butter, and caramel sauce until everything is well combined.
In a 9×9-inch baking dish, layer the vanilla wafers, sliced bananas, and pudding mixture.
Repeat these layers and finish with a generous topping of whipped cream.
Cover the dish with plastic wrap and refrigerate for at least two hours to allow the flavors to develop.
For best results, make sure the caramel sauce is at room temperature before mixing it into the pudding to achieve a smooth consistency.
Using ripe bananas will add natural sweetness and a creamier texture to the dessert.
Don’t rush the resting time in the fridge, as this step is vital for setting the pudding and enhancing the overall flavor profile.
Enjoy your Creamy Caramel Banana Pudding as a perfect end to any meal!
Cook & Prep Time
Initiating the creation of Creamy Caramel Banana Pudding requires precise time management to achieve its luscious texture and flavor.
You’ll dedicate 20 minutes to methodical preparation, ensuring each ingredient is meticulously measured and ready for harmonious blending.
Your cooking phase, a swift 10-minute endeavor, demands constant attention to maintain the ideal custard consistency.
The artistry lies in the gentle thickening of milk, sugar, and cornstarch to form a silky base.
Once assembled, the pudding demands a restful 2-hour interlude in the refrigerator.
This essential pause allows flavors to meld, wafers to soften, and caramel to infuse every layer, culminating in a dessert masterpiece.
Your patience is rewarded as you reveal a sumptuous American classic, crafted with time-honored precision and culinary finesse.
Cooking Steps
Begin your culinary journey by meticulously combining the dry ingredients in your saucepan, ensuring every granule of sugar, cornstarch, and salt melds seamlessly.
Gradually whisk the milk into this blend, crafting a smooth, thickened base as it warms.
With a practiced hand, temper the egg yolks by slowly integrating the hot milk, then return this enriched mixture to the saucepan, preparing it for the aromatic infusion of vanilla and butter.
Step 1. Mix Dry Ingredients Thoroughly
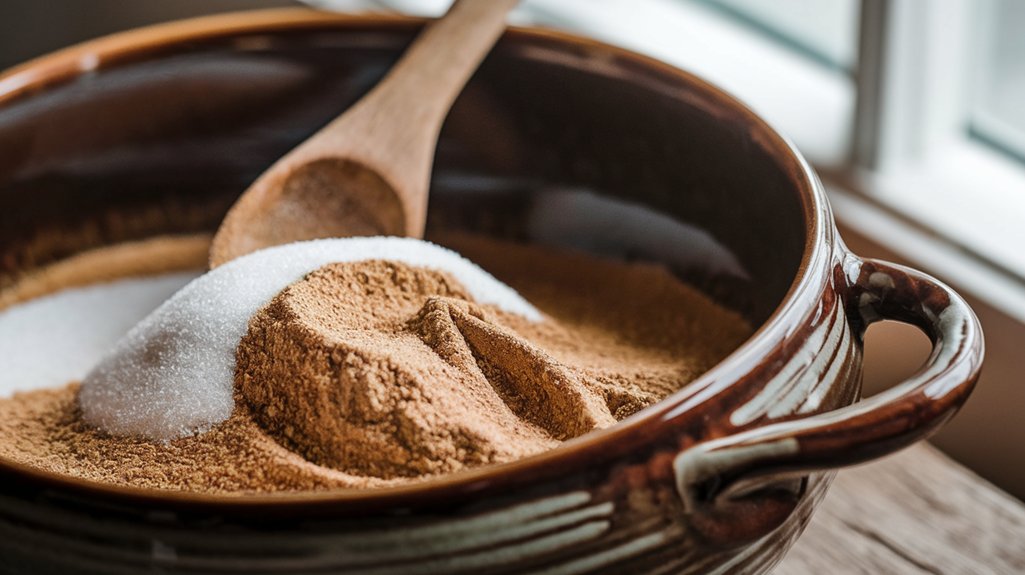
Whisk together the sugar, cornstarch, and salt in your medium saucepan until they’re perfectly blended.
This is your foundational mix, the unsung hero of your pudding’s texture.
As you whisk, imagine these steps:
- Granules Dissolving: Envision the sugar granules dissolving, their crystalline structure melding into the cornstarch.
- Fine Powder: The cornstarch, a fine powder, integrates seamlessly, creating a velvety base.
- Salt’s Subtle Presence: Salt, though minimal, amplifies sweetness and balances flavors.
- Uniform Consistency: Achieve a uniform consistency, the mix should resemble soft, fine sand.
Your goal is precision—a perfect dry blend guarantees the pudding sets correctly.
This meticulous mix lays the groundwork for the luxuriously smooth texture of your creamy caramel banana pudding.
Step 2. Whisk Milk Into Dry Mix
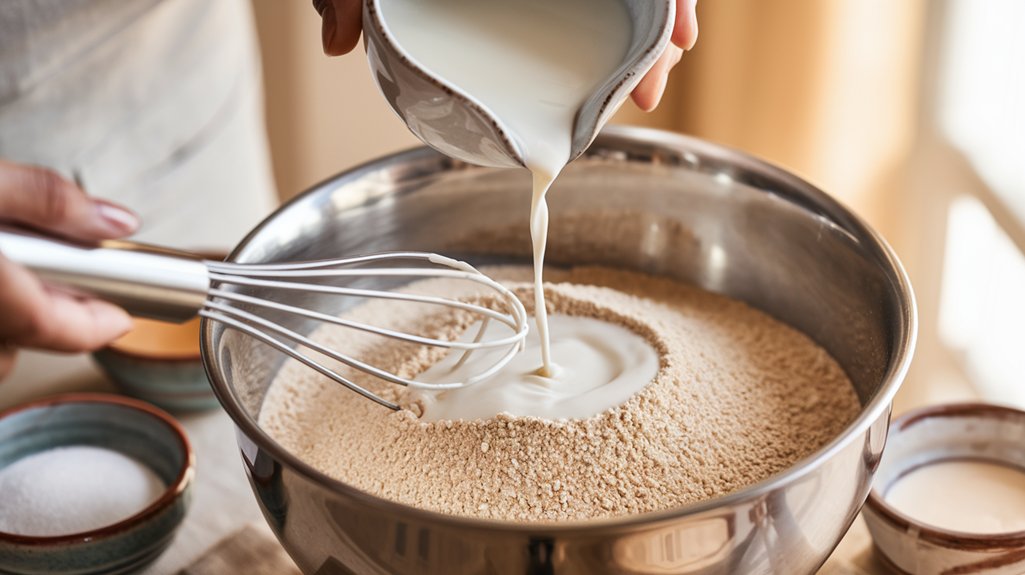
Pour the milk gradually into your saucepan, coaxing it into harmonious union with the dry ingredients.
As you whisk, let the sugar, cornstarch, and salt welcome the liquid, transforming into a smooth, velvety mixture.
Maintain a steady hand and moderate heat, allowing the milk to meld without haste.
Feel the resistance under your whisk’s gentle persuasion, as if conducting an orchestra.
Focus on achieving a seamless blend, where no lumps disturb the silky texture.
Each stroke of your whisk should be deliberate, ensuring the cornstarch dissolves completely, setting the stage for thickening.
The magic unfolds as the mixture warms, a dance of ingredients evolving into a luscious base.
Be attentive, for this foundation is pivotal for your pudding’s creamy perfection.
Step 3. Temper Yolks With Hot Milk
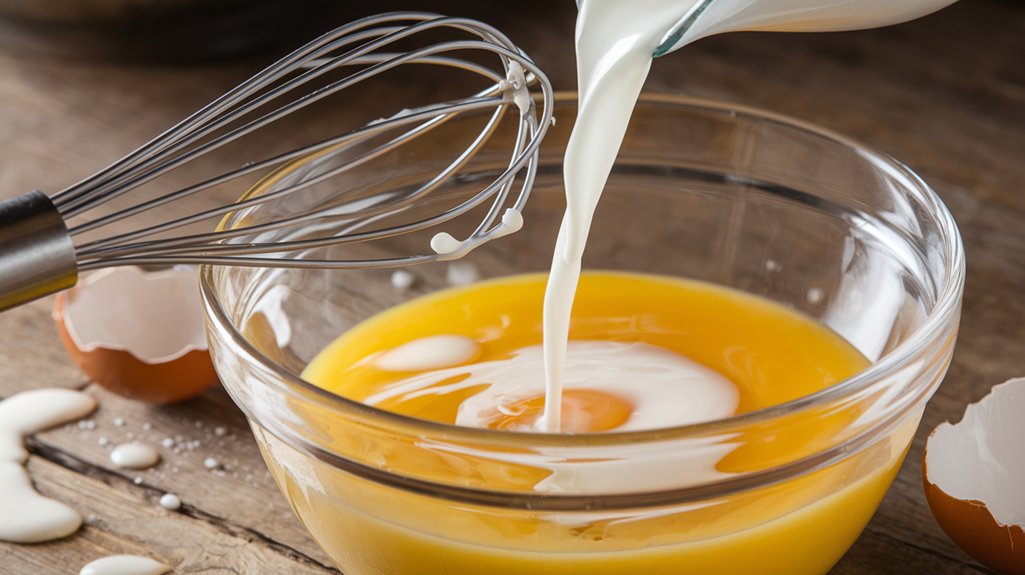
How do you bridge the delicate gap between eggs and heat without curdling?
The art lies in tempering the yolks, a precise ballet of temperature and technique. Here’s how you do it:
- Prepare the Yolks: In a mixing bowl, whisk the egg yolks until they’re smooth and uniform, creating a canvas ready for transformation.
- Heat the Milk: On the stovetop, warm your milk mixture until it’s hot but not boiling, a gentle symphony of warmth.
- The Dance of Tempering: Slowly drizzle a small amount of hot milk into the yolks, whisking vigorously to prevent curdling, a delicate choreography of heat and motion.
- Achieve Harmony: Once combined, the yolks are tempered, ready to be seamlessly integrated back into the main mixture.
Step 4. Return Yolk Mixture to Saucepan
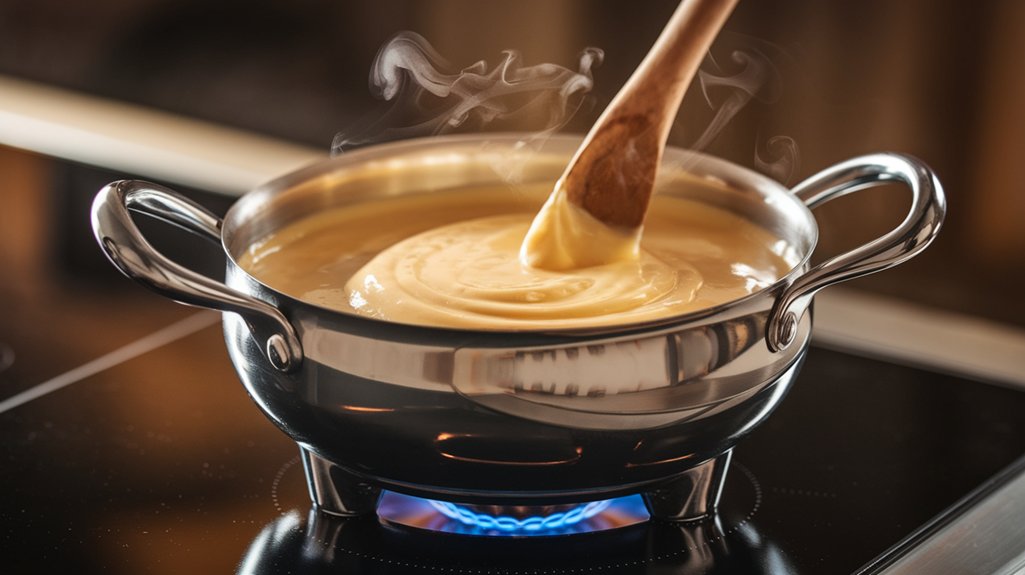
Having tempered the yolks with the hot milk, you’re now poised to bring this enriched mixture back to the saucepan.
Pour with a fluid motion, ensuring every drop returns to its original vessel.
Over medium heat, maintain a gentle, constant whisking—it’s an exquisite dance to prevent curdling.
The liquid should transform into a lush custard, coating the back of a spoon with a gleaming, velvety sheen.
Observe the subtle alchemy as the mixture thickens.
The yolks, now integrated, impart depth and color, turning the custard a golden hue.
This process demands both patience and vigilance; any lapse could compromise its silken texture.
Once thickened, promptly remove from heat, ready to advance to the next decadent stage of your pudding creation.
Step 5. Incorporate Vanilla and Butter
As you swiftly remove the saucepan from the heat, it’s time to infuse the custard with the enchanting notes of vanilla and the richness of butter.
Begin by:
- Adding the Vanilla Extract: Measure precisely 2 teaspoons of vanilla extract and pour it into the warm custard. The aroma should immediately captivate your senses, signaling the transformation of flavors.
- Introducing Unsalted Butter: Gently incorporate 3 tablespoons of unsalted butter. Its creamy texture will melt seamlessly, enhancing the custard’s silkiness.
- Whisking with Precision: Use a whisk to blend the ingredients until the butter is fully dissolved, ensuring a smooth, velvety consistency.
- Observing the Gloss: Notice the custard’s glossy sheen, a visual cue of its perfect emulsion, ready for the next sumptuous layer.
Final Thoughts
Even though the preparation of Creamy Caramel Banana Pudding involves multiple steps, the result is a culinary masterpiece that perfectly balances sweetness and texture.
You’ve skillfully crafted a dessert that showcases the harmonious blend of caramel, banana, and vanilla.
Each layer, from the velvety pudding to the crisp vanilla wafers, contributes to a symphony of flavors and textures.
The precision in tempering the egg yolks and achieving the right consistency for the pudding is essential.
Frequently Asked Questions
Can I Use a Different Type of Milk for This Recipe?
You can substitute whole milk with almond or oat milk for a dairy-free option, but expect slight texture changes. These alternatives might affect creaminess, so consider adding an extra tablespoon of cornstarch to maintain thickness.
How Can I Make This Dessert Vegan-Friendly?
To veganize this dessert, substitute plant-based milk, use cornstarch instead of eggs, and swap butter with vegan margarine. Choose vegan caramel and replace whipped cream with coconut cream. This transformation retains flavor while embracing vegan principles.
Is It Possible to Add Nuts for Extra Crunch?
Absolutely, you can introduce nuts for added texture. Consider toasting chopped pecans or walnuts for a nutty crunch. Fold them gently into each layer or sprinkle on top before serving to enhance the dessert’s complexity.
What Can I Substitute for Vanilla Wafers?
You can swap vanilla wafers with graham crackers or ladyfingers for a textural delight. Each substitute offers a unique flavor profile, enhancing your dessert’s sophistication. Experiment boldly; your palate will thank you for the adventure.
How Long Can the Pudding Be Stored in the Fridge?
You can store the pudding in the fridge for up to three days. Make certain it’s covered tightly with plastic wrap to maintain its creamy texture and prevent the bananas from browning, preserving that delectable, layered artistry.

Creamy Caramel Banana Pudding
Equipment
- 1 Medium saucepan
- 1 Whisk
- 1 Mixing bowl
- 1 9×9-inch baking dish
- 1 plastic wrap
- 1 Knife
- 1 Spatula
Ingredients
- 1 cup granulated sugar
- 3 tablespoons cornstarch
- 1/4 teaspoon salt
- 2 1/2 cups whole milk
- 4 large egg yolks
- 2 teaspoons vanilla extract
- 3 tablespoons unsalted butter
- 1/3 cup caramel sauce
- 4 ripe bananas sliced
- 1 cup heavy cream whipped
- 1 box vanilla wafers
Instructions
- Combine sugar, cornstarch, and salt in a medium saucepan.
- Gradually whisk in the milk over medium heat until the mixture thickens.
- In a separate bowl, whisk together the egg yolks.
- Temper the yolks by slowly adding some hot milk mixture while whisking.
- Return the yolk mixture to the saucepan and cook for 2 more minutes.
- Remove from heat and stir in vanilla extract and butter until melted.
- Add caramel sauce and mix until combined.
- In a baking dish, layer vanilla wafers, sliced bananas, and pudding.
- Repeat layers and finish with a layer of whipped cream on top.
- Cover with plastic wrap and refrigerate for at least 2 hours.
Notes

Cynthia Weatherford is a seasoned chef and culinary enthusiast who serves as the Recipe creator of Somonday. With decades of experience in the kitchen and a passion for exploring diverse cuisines, Cynthia brings a blend of creativity and technique to every dish. Known for transforming simple ingredients into show-stopping meals, Cynthia believes that cooking is an art form anyone can master. Dedicated to inspiring home cooks, Cynthia shares approachable recipes, pro tips, and culinary wisdom to make every meal memorable.


