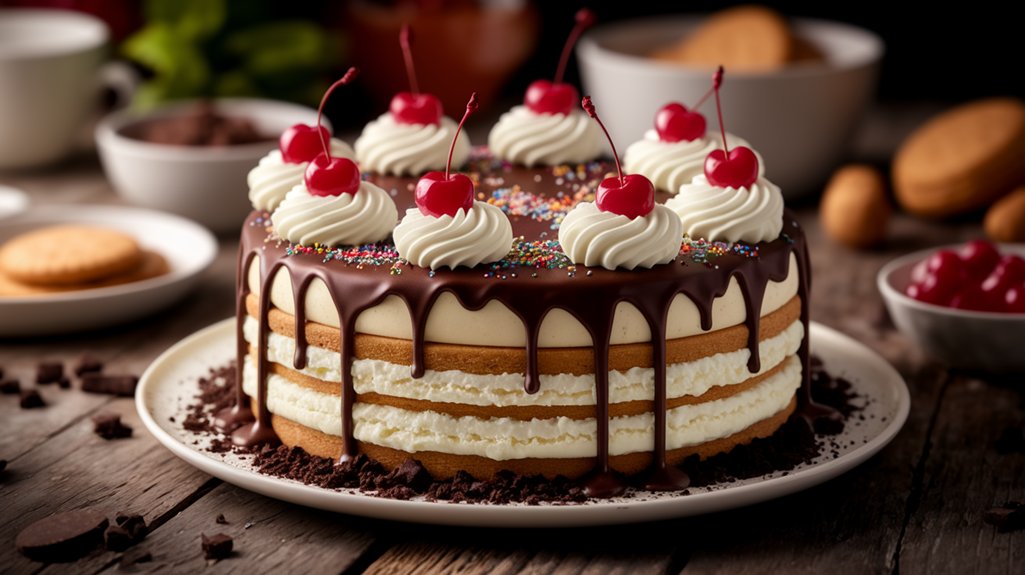
Imagine layering soft ice cream sandwiches with whipped topping, rich chocolate sauce, and a sprinkle of your favorite candies — all coming together into one irresistible, no-bake dessert.
With just a few simple steps, you can create a fun, crowd-pleasing treat that looks impressive but couldn’t be easier to make.
As the layers chill and set, you’ll see how a few basic ingredients can turn into something seriously special.
Let’s dive into making this playful Ice Cream Sandwich Cake.
Kitchen Tools Required
- 1 baking dish (9×13 inch)
- 1 large mixing bowl
- 1 rubber spatula
- 1 freezer
Ingredients
- 24 ice cream sandwiches
- 1 cup chocolate fudge sauce
- 1 cup caramel sauce
- 1 (8-ounce) container whipped topping
- 1 cup chopped peanuts
- 1 cup mini chocolate chips
Cook & Prep Time
To efficiently manage your time when making an Ice Cream Sandwich Cake, follow this timeline:
- Reading and Preparation (5 minutes):
- Read through the entire recipe and instructions to understand the process.
- Gather all ingredients and equipment needed.
- Initial Prep Work (10 minutes):
- Arrange a layer of 12 ice cream sandwiches in the bottom of the 9×13 inch baking dish.
- Spread half of the chocolate fudge sauce over the ice cream sandwiches.
- Drizzle half of the caramel sauce over the fudge layer.
- Spread half of the whipped topping evenly over the sauces.
- Sprinkle half of the chopped peanuts and mini chocolate chips over the whipped topping.
- Layering (5 minutes):
- Repeat the layering process with the remaining ice cream sandwiches, fudge sauce, caramel sauce, whipped topping, peanuts, and chocolate chips.
- Covering and Freezing (2 hours):
- Cover the baking dish with plastic wrap or aluminum foil.
- Place the dish in the freezer for at least 2 hours to set.
- Final Steps (5 minutes):
- Remove the cake from the freezer.
- Allow it to thaw slightly for a few minutes for easier slicing.
- Slice into squares before serving.
Note: The timeline doesn’t include serving time, so plan accordingly if you’re serving it at a specific event or meal.
Recipe Instructions
Arrange a layer of ice cream sandwiches in the bottom of the baking dish.
Spread half of the chocolate fudge sauce over the ice cream sandwiches.
Drizzle half of the caramel sauce over the fudge layer.
Spread half of the whipped topping evenly over the sauces.
Sprinkle half of the chopped peanuts and mini chocolate chips over the whipped topping.
Repeat layers with remaining ice cream sandwiches, fudge sauce, caramel sauce, whipped topping, peanuts, and chocolate chips.
Cover the baking dish with plastic wrap or aluminum foil.
Place the dish in the freezer for at least 2 hours to set.
Remove from freezer and slice into squares before serving.
Serving Tips
- Fresh Berries: Add a vibrant touch and a hint of tartness to balance the sweetness of the cake.
- Chocolate Shavings: Enhance the chocolate flavor and add an elegant finish on top of the cake.
- Sprinkles: Bring a pop of color and fun, especially appealing for celebrations and kids’ parties.
- Mint Leaves: Offer an invigorating contrast and add a splash of color to each slice.
- Crushed Cookies: Introduce a crunchy texture and additional flavor options, like Oreos or graham crackers.
Storage
To store Ice Cream Sandwich Cake, cover it tightly with plastic wrap or aluminum foil.
Keep it in the freezer.
Consume within one week for best taste and texture.
Freezing
To guarantee the Ice Cream Sandwich Cake sets properly, freeze it uncovered for two hours.
This helps maintain structure.
Cover with plastic wrap or foil to prevent freezer burn.
Reheating
The Ice Cream Sandwich Cake doesn’t require reheating as it’s meant to be served cold.
Allow it to thaw slightly at room temperature before slicing for easier serving.
Final Thoughts
The Ice Cream Sandwich Cake is a delightful and easy-to-make dessert that’s perfect for any occasion.
With minimal preparation time and no baking required, it’s a great option for busy days or when you’re looking to impress guests with minimal effort.
This American classic combines the creamy texture of ice cream sandwiches with layers of rich chocolate fudge, sweet caramel, and crunchy toppings, creating a symphony of flavors and textures that everyone will enjoy.
One of the best aspects of this cake is its versatility.
You can easily customize it by adding your favorite toppings or incorporating additional layers, such as cookie crumbles, for extra texture.
Just make sure that the ice cream sandwiches are aligned tightly to prevent gaps, which helps maintain the cake’s structure when slicing.
Frequently Asked Questions
Can I Use Different Flavored Ice Cream Sandwiches?
You can use different flavored ice cream sandwiches. Consider balancing flavors for artistic presentation. Guarantee precise layering by aligning each sandwich tightly. Experiment with complementary toppings for enhanced texture and taste, following the same methodical construction process.
How Do I Prevent the Cake From Becoming Too Soggy?
Guarantee tight alignment of components, and limit sauce amounts to avoid excess moisture. Layer the whipped topping evenly, and freeze promptly. If customizing, maintain balance to prevent overwhelming the structure, preserving its artistic presentation.
Are There Any Nut-Free Topping Alternatives?
You can replace chopped peanuts with 1 cup of crushed pretzels or 1 cup of sunflower seeds for a nut-free option. These alternatives add crunch and contrast, enhancing the cake’s texture without compromising flavor or presentation.
Can I Make This Cake Gluten-Free?
You can make this cake gluten-free by using gluten-free ice cream sandwiches. Ascertain you’re choosing certified gluten-free toppings and sauces. For artistic presentation, layer ingredients precisely and garnish with gluten-free cookie crumbles for added texture.
How Far in Advance Can I Prepare This Dessert?
You can prepare this dessert up to two days in advance. Make certain you store it tightly covered in the freezer to maintain its texture and freshness. Present it artistically by adding a final decorative drizzle before serving.

Ice Cream Sandwich Cake
Equipment
- 1 9×13 inch baking dish
- 1 large mixing bowl
- 1 Rubber spatula
- 1 freezer
Ingredients
- 24 ice cream sandwiches
- 1 cup chocolate fudge sauce
- 1 cup caramel sauce
- 1 container whipped topping 8-ounce
- 1 cup chopped peanuts
- 1 cup mini chocolate chips
Instructions
- Arrange a layer of ice cream sandwiches in the bottom of the baking dish.
- Spread half of the chocolate fudge sauce over the ice cream sandwiches.
- Drizzle half of the caramel sauce over the fudge layer.
- Spread half of the whipped topping evenly over the sauces.
- Sprinkle half of the chopped peanuts and mini chocolate chips over the whipped topping.
- Repeat layers with remaining ice cream sandwiches, fudge sauce, caramel sauce, whipped topping, peanuts, and chocolate chips.
- Cover the baking dish with plastic wrap or aluminum foil.
- Place the dish in the freezer for at least 2 hours to set.
- Remove from freezer and slice into squares before serving.


