As you explore the iconic Bloomin’ Onion from Outback Steakhouse, you’ll notice its impressive presentation and irresistible aroma.
There’s something undeniably appealing about the way it’s crafted—each petal coated in seasoned flour and fried to perfection.
You might find yourself contemplating what makes this appetizer so beloved.
Is it the satisfying crunch or the zesty dipping sauce that elevates the dish?
There’s more to uncover about this popular starter’s allure.
Recipe
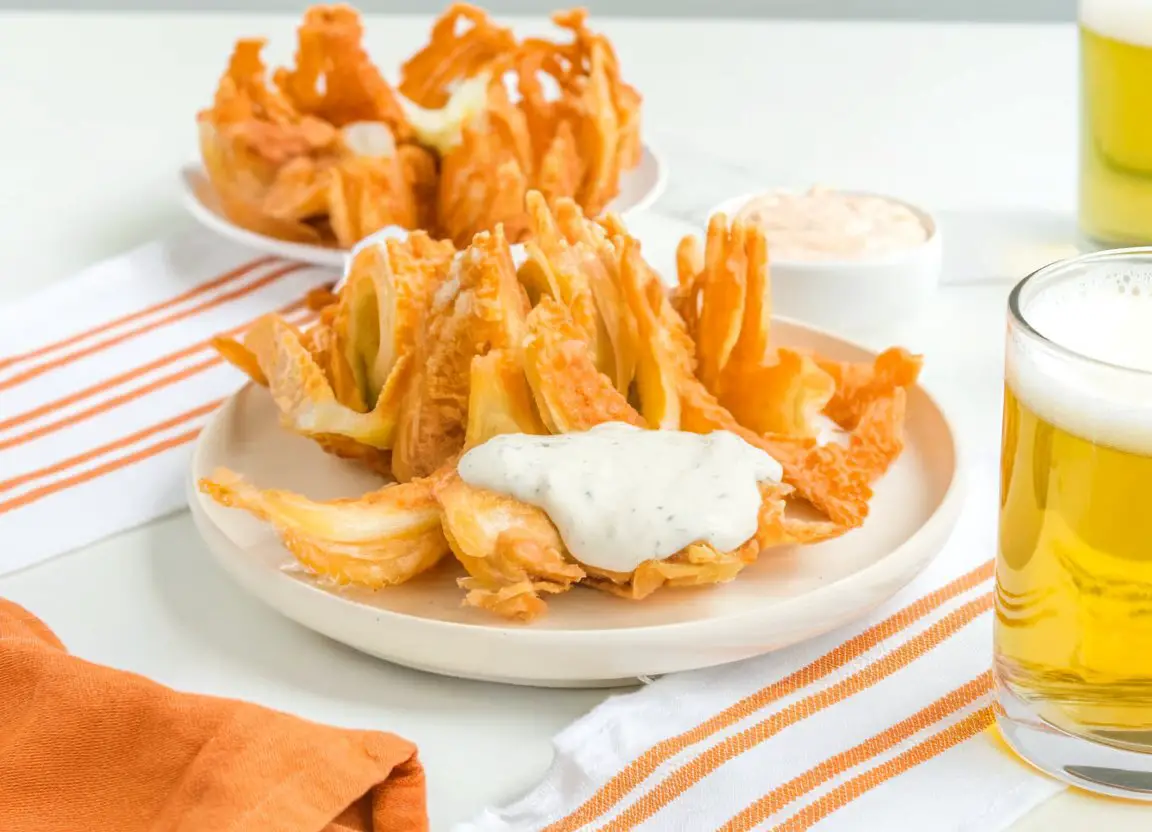
The Bloomin’ Onion is a popular appetizer originating from Outback Steakhouse, known for its crispy, flavorful petals.
This dish consists of a large onion that’s cut to resemble a blooming flower, then coated in a seasoned flour mixture, and deep-fried to golden perfection.
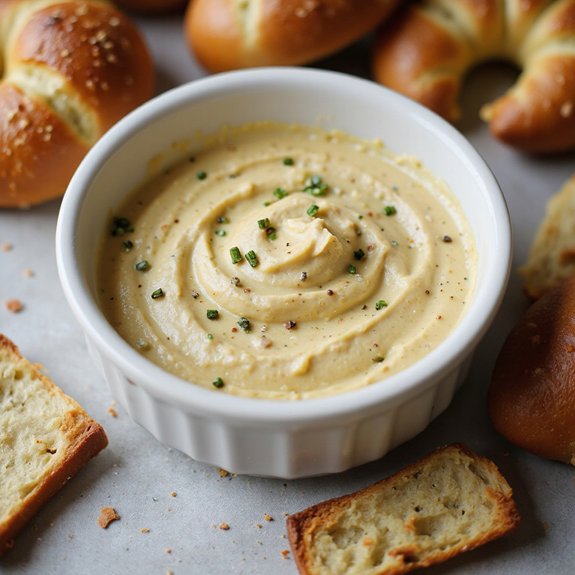
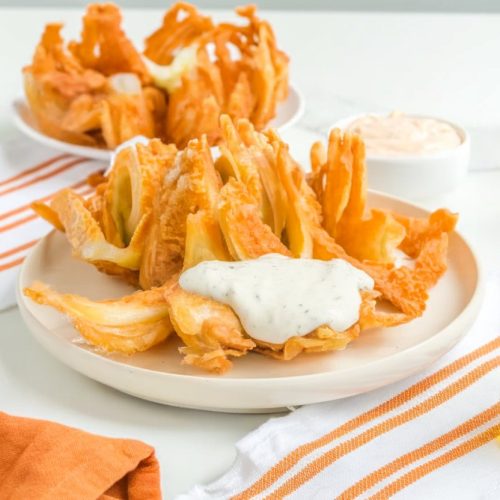
It’s a favorite for its unique presentation and delicious taste, often served with a dipping sauce like ranch or spicy mayonnaise to enhance its flavor.
To achieve the perfect Bloomin’ Onion at home, you’ll need to begin by preparing the onion and creating a flavorful coating.
The key is to carefully cut the onion to create petals while keeping the root intact, allowing it to open up during frying.
The onion is then dipped in a seasoned flour mixture followed by a milk and egg wash, guaranteeing each petal is well coated.
Once fried, the result is a crispy, aromatic appetizer that’s sure to impress your guests.
Ingredients:
- 1 large onion
- 2 cups all-purpose flour
- 1 teaspoon cayenne pepper
- 2 tablespoons paprika
- 1 teaspoon salt
- 1 teaspoon black pepper
- 1 cup milk
- 1 cup buttermilk
- 2 eggs
- 1 gallon vegetable oil
- 1 tablespoon garlic powder
- 1 tablespoon dried oregano
To prepare the Bloomin’ Onion, start by peeling the onion and cutting off the top to create a flat surface.
Place the onion on the flat surface and make several vertical cuts downward to form petals, ensuring not to cut through the root.
In a large mixing bowl, combine the flour, cayenne pepper, paprika, salt, black pepper, garlic powder, and oregano.
In another bowl, whisk together the milk, buttermilk, and eggs.
Dip the onion into the flour mixture, then into the milk mixture, and back into the flour mixture for a double coating.
Heat the vegetable oil in a deep fryer or pot to 350°F (175°C) and carefully lower the onion into the oil using a slotted spoon.
Fry for about 10 minutes or until golden brown, then remove and drain on a paper towel-lined plate for 5 minutes before serving.
For best results, guarantee each petal is thoroughly coated by gently separating them as you dredge the onion in the flour mixture.
Be cautious when lowering the onion into the hot oil to prevent splattering.
You can adjust the level of spiciness by altering the amount of cayenne pepper used.
Pairing the Bloomin’ Onion with a flavorful dipping sauce like ranch or spicy mayonnaise can elevate its taste even further, making it a perfect appetizer for any occasion.
Kitchen Tools Required
Creating the perfect Bloomin’ Onion at home isn’t just about getting the ingredients right; it’s also about having the right kitchen tools on hand.
Without them, your dish might fall short of that restaurant-quality experience. Here’s what you’ll need:
- Large Mixing Bowl: Essential for mixing the flour and spices, ensuring your onion gets an even coating.
- Deep Fryer or Deep Pot: This is vital for achieving that crispy exterior by maintaining consistent oil temperature.
- Sharp Knife: Precise cuts create those iconic petals, making the onion bloom beautifully.
- Slotted Spoon: It safely lowers the onion into the hot oil and retrieves it without excess oil.
Investing in these tools transforms your Bloomin’ Onion from good to exceptional, promising a delightful appetizer.
Cook & Prep Time
A mere 30 minutes is all it takes to prepare and cook a delicious Bloomin’ Onion, making it a surprisingly quick appetizer for any occasion.
With just 15 minutes of prep, you’ll swiftly peel, cut, and coat the onion, transforming it into a blooming masterpiece.
The process is efficient, yet it requires a keen eye for detail to guarantee even coating and perfect petal separation.
Cooking takes only 10 minutes, providing a golden crispness that’s hard to resist.
After a brief 5-minute rest, the Bloomin’ Onion is ready to serve, delighting taste buds with its rich, seasoned flavor.
This quick turnaround makes it an ideal choice for impromptu gatherings or a spontaneous treat, blending convenience with culinary delight.
Cooking Steps
You start by peeling and trimming the onion’s top, making sure it rests steadily on the flat surface before slicing it into distinctive petals.
The key step is mixing the dry ingredients thoroughly, ensuring a balanced flavor with every bite.
Double-coating the onion, first with the flour mixture and then with the milk blend, not only enhances the crunch but also locks in the spices beautifully.
Step 1. Peel and Trim Onion Top
Before you can transform a simple onion into the iconic Bloomin’ Onion, it’s vital to master the initial step of peeling and trimming the onion top.
This foundational task sets the stage for the entire dish. Here’s how you can do it effectively:
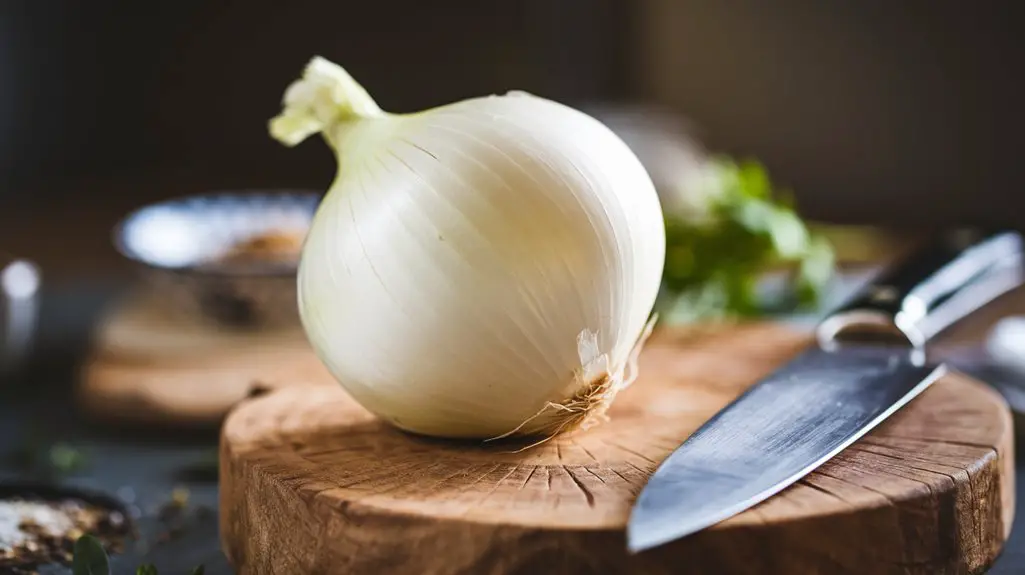
- Select a large onion: A big, firm onion provides the best structure for those famous petals.
- Peel the onion: Remove the outer layer to reveal a clean, smooth surface.
- Trim the top: Cut off about half an inch from the top, creating a flat surface for stability.
- Leave the root intact: This is essential for holding the onion together during cooking.
In my opinion, precision at this stage guarantees an even, visually appealing Bloomin’ Onion.
Step 2. Slice Onion Into Petals
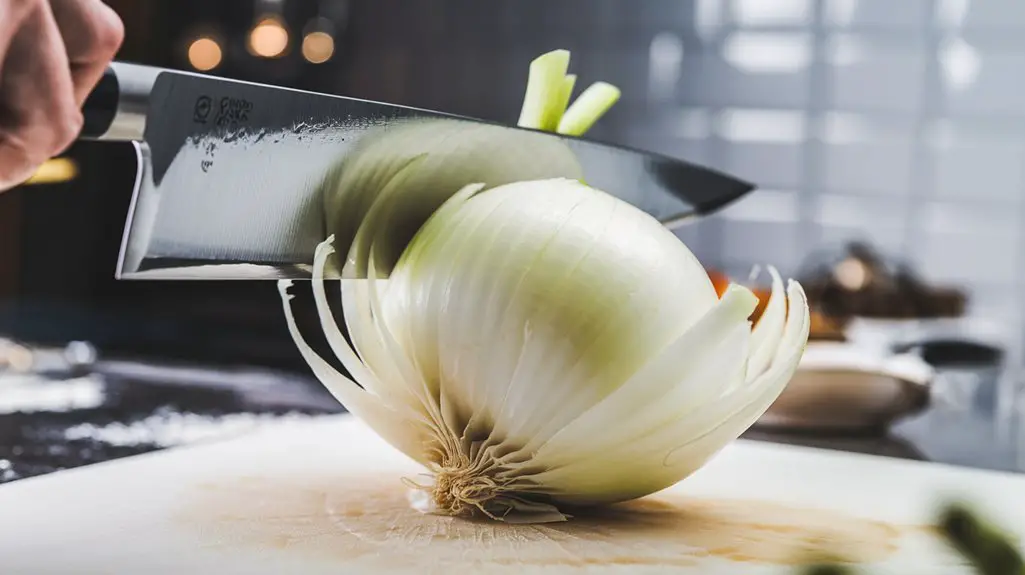
When slicing the onion into petals, precision is key to achieving that iconic Bloomin’ Onion appearance.
Start by setting the onion on its trimmed flat surface to stabilize it.
Use a sharp knife to make vertical cuts downwards, like a clock face, guaranteeing not to slice through the root.
This method maintains structural integrity, allowing each petal to bloom beautifully during frying.
Consider this visual guide for understanding the cutting technique:
| Step | Action | Tip |
|---|---|---|
| 1 | Position onion | Flat side down |
| 2 | Make first cut | Imagine cutting at 12 o’clock |
| 3 | Continue slicing | Work around the clock face |
| 4 | Avoid the root | Stop before reaching the base |
| 5 | Inspect the petals | Guarantee evenness for best bloom |
Your patience will pay off with a stunning result.
Step 3. Mix Dry Ingredients Thoroughly
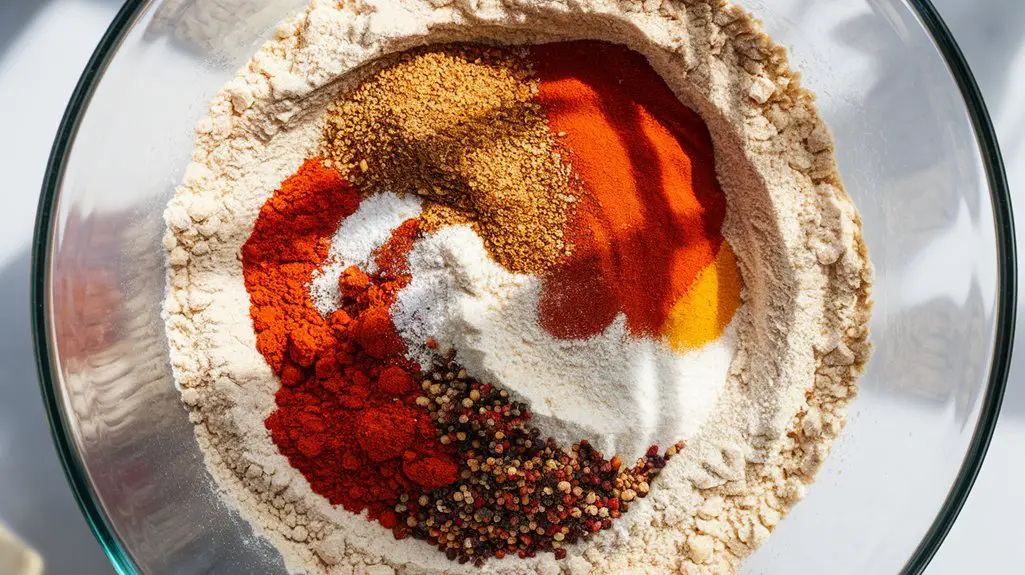
Achieve the perfect blend for your Bloomin’ Onion by meticulously combining the dry ingredients.
This step is essential, as it guarantees each petal of your onion bursts with flavor.
Start by placing the following spices and flour into a large mixing bowl:
- 2 cups all-purpose flour – the base that provides structure and crispiness.
- 1 teaspoon cayenne pepper – adds a kick that awakens the taste buds.
- 2 tablespoons paprika – imparts a smoky depth and vibrant color.
- A blend of salt, black pepper, garlic powder, and dried oregano – balances the flavors with savory notes.
Mix these ingredients thoroughly, guaranteeing even distribution.
This attention to detail assures that each bite delivers a harmonious taste experience, elevating your Bloomin’ Onion to restaurant-quality.
Step 4. Coat Onion With Flour Mixture
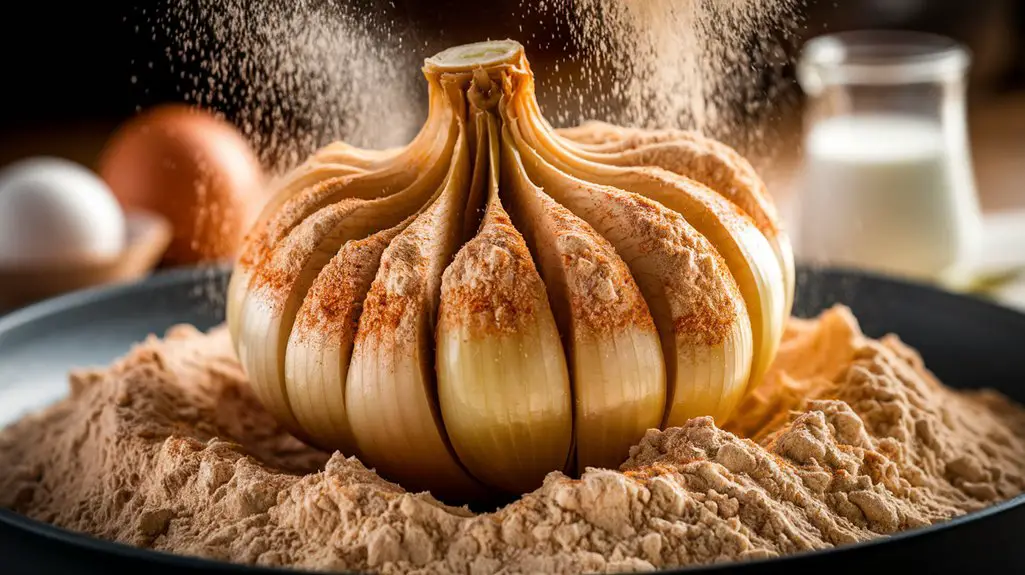
The initial coating of the onion with the flour mixture is a pivotal step, guaranteeing each petal is enveloped in the rich blend of spices.
This stage sets the foundation for a flavorful Bloomin’ Onion.
As you coat, separate the petals to allow the mixture to reach the deeper layers.
This technique guarantees each bite bursts with the harmonious blend of paprika, cayenne, and oregano.
Here’s a quick overview:
| Flour | Spice | Technique |
|---|---|---|
| 2 cups | Cayenne Pepper | Separate Petals |
| Salt | Paprika | Coat Generously |
| Pepper | Garlic Powder | Guarantee Coverage |
| Oregano | ||
| Mix Thoroughly | Focus on Details |
Don’t just dust the onion; embrace the process.
It’s the meticulous attention to coating that makes the difference between a mediocre appetizer and a memorable one.
Step 5. Double-Coat Onion in Mixtures
Mastering the art of double-coating the Bloomin’ Onion elevates this classic appetizer to a new level of crispiness and flavor.
Start by understanding that each coating step enhances texture and taste.
First, coat the onion in the dry flour mixture, ensuring every petal is covered.
Next, submerge it in the milk mixture, which creates a sticky base for the second flour layer.
Here’s a breakdown:
- Flour Mixture: Evenly coat petals for a solid foundation.
- Milk Mixture: Soak thoroughly to bind the flour effectively.
- Second Flour Layer: Seal in moisture, adding extra crunch.
- Fry: Maintain 350°F for perfect crispness.
This process isn’t just about following instructions—it’s about precision and care, ensuring your Bloomin’ Onion delights with every bite.
Final Thoughts
Crafting a Bloomin’ Onion at home offers a delightful challenge that combines creativity with culinary skill.
You’re not just making an appetizer; you’re creating an experience.
The key lies in mastering the art of slicing the onion to achieve perfect petals, ensuring every bit is well-coated with the flavorful spice mix.
Frying it to a crisp, golden perfection is where the magic happens, transforming humble ingredients into something extraordinary.
The result is a dish that’s not only visually stunning but also tantalizes your taste buds.
While it may take some practice, the satisfaction of enjoying a homemade Bloomin’ Onion is unmatched.
Pair it with your favorite dipping sauce, and you’ve got a restaurant-quality treat that showcases your cooking prowess.
Frequently Asked Questions
What Makes the Bloomin’ Onion Popular at Outback Steakhouse?
You’re drawn to its crispy, flavorful layers and the distinctive presentation that makes it a conversation starter. The bold spices and perfect fry create a unique experience, while the accompanying dipping sauce enhances its addictive appeal.
Are There Any Alternatives for Buttermilk in the Recipe?
You can substitute buttermilk with a mixture of regular milk and a tablespoon of lemon juice or vinegar. This alternative mimics buttermilk’s tanginess and helps achieve a similar texture, ensuring your dish remains flavorful and crispy.
How Can I Ensure the Onion Is Crispy and Not Soggy?
To guarantee a crispy onion, double-dip it in the flour mixture, guaranteeing each petal’s coated. Maintain oil at 350°F and drain on paper towels. This method prevents sogginess, yielding an irresistible crunch in each bite.
What Dipping Sauces Complement a Bloomin’ Onion Best?
You’ll find that spicy mayonnaise adds a kick, while ranch offers a cool contrast. Honey mustard’s sweetness balances the spice, and blue cheese dressing provides depth. Each sauce brings its unique flavor, enhancing the appetizer’s appeal.
Can the Bloomin’ Onion Be Made Gluten-Free?
You can definitely make it gluten-free by swapping all-purpose flour with a gluten-free alternative, like rice or almond flour. Confirm your other ingredients are gluten-free, and you’ll still enjoy a delicious, crispy appetizer.
Outback Steakhouse Bloomin’ Onion (Copycat)
Equipment
- 1 large mixing bowl
- 1 deep fryer or deep pot
- 1 sharp knife
- 1 slotted spoon
- 1 paper towel
- 1 plate
Ingredients
- 1 large onion
- 2 cups all-purpose flour
- 1 teaspoon cayenne pepper
- 2 tablespoons paprika
- 1 teaspoon salt
- 1 teaspoon black pepper
- 1 cup milk
- 1 cup buttermilk
- 2 eggs
- 1 gallon vegetable oil
- 1 tablespoon garlic powder
- 1 tablespoon dried oregano
Instructions
- Peel the onion and cut off the top to make a flat surface.
- Set the onion on the flat surface and make cuts downward to create petals without cutting through the root.
- Mix flour, cayenne pepper, paprika, salt, black pepper, garlic powder, and oregano in a large mixing bowl.
- In a separate bowl, whisk together the milk, buttermilk, and eggs.
- Dip the onion into the flour mixture, ensuring to coat all the petals.
- Submerge the floured onion into the milk mixture, then return it to the flour mixture for a second coating.
- Heat vegetable oil in the deep fryer or pot to 350°F (175°C).
- Carefully place the coated onion into the hot oil using a slotted spoon.
- Fry the onion for about 10 minutes or until golden brown.
- Remove the onion from the oil and place it on a plate lined with paper towels to drain and rest for 5 minutes.
Notes

Cynthia Weatherford is a seasoned chef and culinary enthusiast who serves as the Recipe creator of Somonday. With decades of experience in the kitchen and a passion for exploring diverse cuisines, Cynthia brings a blend of creativity and technique to every dish. Known for transforming simple ingredients into show-stopping meals, Cynthia believes that cooking is an art form anyone can master. Dedicated to inspiring home cooks, Cynthia shares approachable recipes, pro tips, and culinary wisdom to make every meal memorable.